ASTM D7466/D7466M-10(2015)e1
(Test Method)Standard Test Method for Measuring Asperity Height of Textured Geomembranes
Standard Test Method for Measuring Asperity Height of Textured Geomembranes
SIGNIFICANCE AND USE
5.1 The asperity height is an index property used to quantify one of the physical attributes related to the surface roughness of textured geomembranes.
5.2 This test method is applicable to all currently available textured geomembranes that are deployed as manufactured geomembrane sheets.
SCOPE
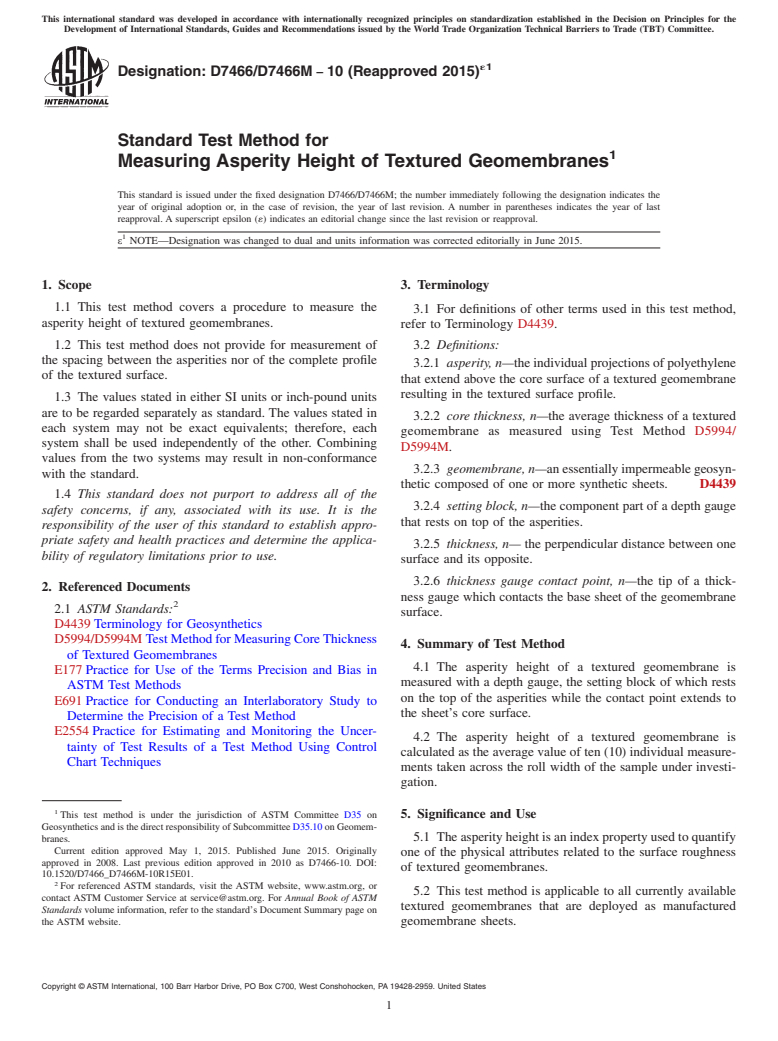
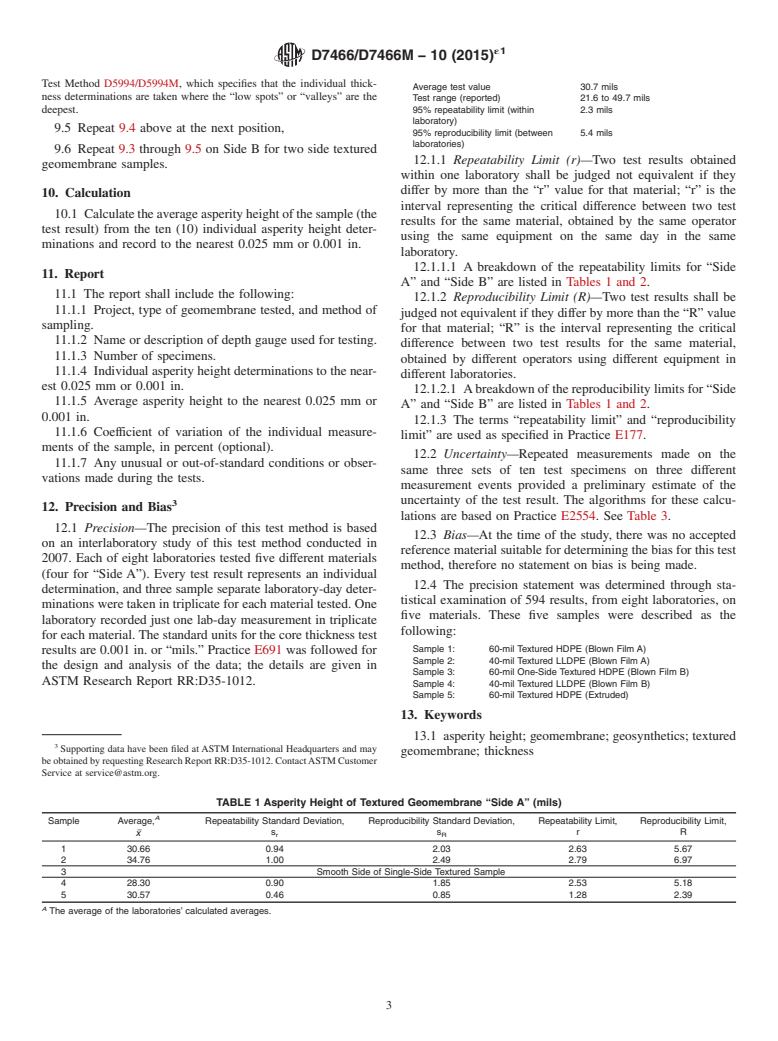
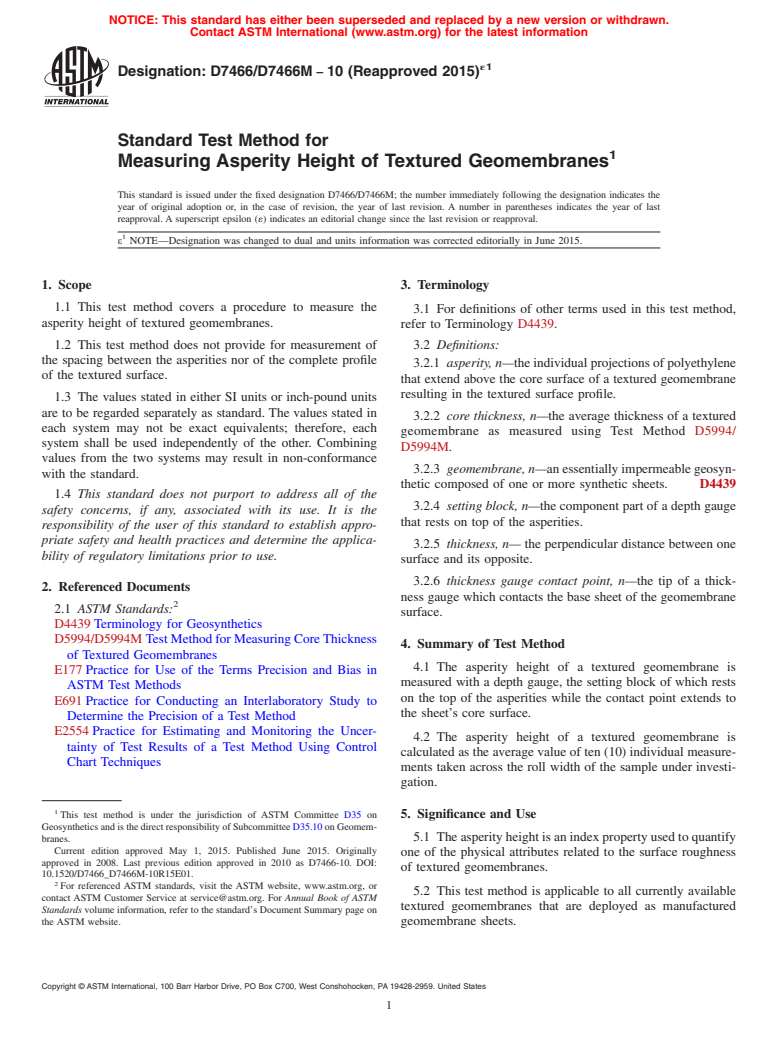
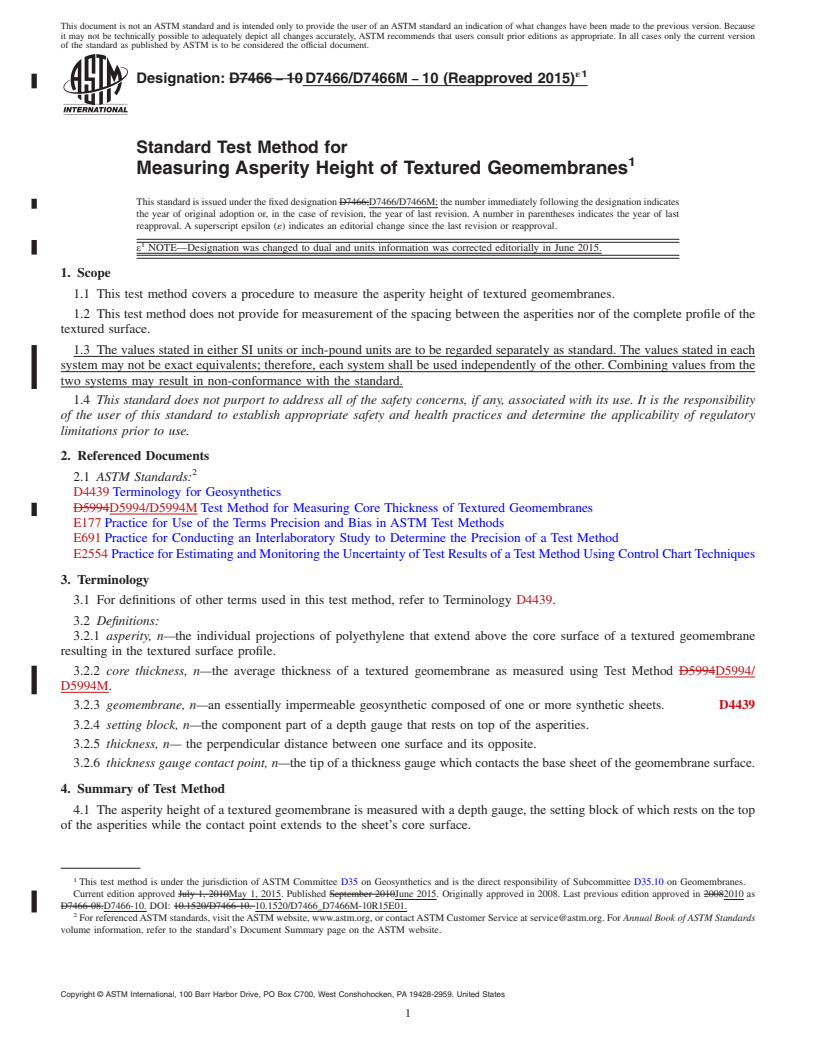
1.1 This test method covers a procedure to measure the asperity height of textured geomembranes.
1.2 This test method does not provide for measurement of the spacing between the asperities nor of the complete profile of the textured surface.
1.3 The values stated in either SI units or inch-pound units are to be regarded separately as standard. The values stated in each system may not be exact equivalents; therefore, each system shall be used independently of the other. Combining values from the two systems may result in non-conformance with the standard.
1.4 This standard does not purport to address all of the safety concerns, if any, associated with its use. It is the responsibility of the user of this standard to establish appropriate safety and health practices and determine the applicability of regulatory limitations prior to use.
General Information
Relations
Buy Standard
Standards Content (Sample)
This international standard was developed in accordance with internationally recognized principles on standardization established in the Decision on Principles for the
Development of International Standards, Guides and Recommendations issued by the World Trade Organization Technical Barriers to Trade (TBT) Committee.
´1
Designation: D7466/D7466M − 10 (Reapproved 2015)
Standard Test Method for
Measuring Asperity Height of Textured Geomembranes
This standard is issued under the fixed designation D7466/D7466M; the number immediately following the designation indicates the
year of original adoption or, in the case of revision, the year of last revision. A number in parentheses indicates the year of last
reapproval. A superscript epsilon (´) indicates an editorial change since the last revision or reapproval.
ε NOTE—Designation was changed to dual and units information was corrected editorially in June 2015.
1. Scope 3. Terminology
1.1 This test method covers a procedure to measure the
3.1 For definitions of other terms used in this test method,
asperity height of textured geomembranes.
refer to Terminology D4439.
1.2 This test method does not provide for measurement of
3.2 Definitions:
the spacing between the asperities nor of the complete profile
3.2.1 asperity, n—the individual projections of polyethylene
of the textured surface.
that extend above the core surface of a textured geomembrane
resulting in the textured surface profile.
1.3 The values stated in either SI units or inch-pound units
are to be regarded separately as standard. The values stated in
3.2.2 core thickness, n—the average thickness of a textured
each system may not be exact equivalents; therefore, each
geomembrane as measured using Test Method D5994/
system shall be used independently of the other. Combining
D5994M.
values from the two systems may result in non-conformance
3.2.3 geomembrane, n—anessentiallyimpermeablegeosyn-
with the standard.
thetic composed of one or more synthetic sheets. D4439
1.4 This standard does not purport to address all of the
3.2.4 setting block, n—the component part of a depth gauge
safety concerns, if any, associated with its use. It is the
that rests on top of the asperities.
responsibility of the user of this standard to establish appro-
priate safety and health practices and determine the applica-
3.2.5 thickness, n— the perpendicular distance between one
bility of regulatory limitations prior to use.
surface and its opposite.
3.2.6 thickness gauge contact point, n—the tip of a thick-
2. Referenced Documents
ness gauge which contacts the base sheet of the geomembrane
2.1 ASTM Standards:
surface.
D4439 Terminology for Geosynthetics
D5994/D5994M Test Method for Measuring CoreThickness
4. Summary of Test Method
of Textured Geomembranes
4.1 The asperity height of a textured geomembrane is
E177 Practice for Use of the Terms Precision and Bias in
measured with a depth gauge, the setting block of which rests
ASTM Test Methods
on the top of the asperities while the contact point extends to
E691 Practice for Conducting an Interlaboratory Study to
the sheet’s core surface.
Determine the Precision of a Test Method
E2554 Practice for Estimating and Monitoring the Uncer-
4.2 The asperity height of a textured geomembrane is
tainty of Test Results of a Test Method Using Control
calculated as the average value of ten (10) individual measure-
Chart Techniques
ments taken across the roll width of the sample under investi-
gation.
This test method is under the jurisdiction of ASTM Committee D35 on 5. Significance and Use
GeosyntheticsandisthedirectresponsibilityofSubcommitteeD35.10onGeomem-
branes. 5.1 The asperity height is an index property used to quantify
Current edition approved May 1, 2015. Published June 2015. Originally
one of the physical attributes related to the surface roughness
approved in 2008. Last previous edition approved in 2010 as D7466-10. DOI:
of textured geomembranes.
10.1520/D7466_D7466M-10R15E01.
For referenced ASTM standards, visit the ASTM website, www.astm.org, or
5.2 This test method is applicable to all currently available
contact ASTM Customer Service at service@astm.org. For Annual Book of ASTM
textured geomembranes that are deployed as manufactured
Standards volume information, refer to the standard’s Document Summary page on
the ASTM website. geomembrane sheets.
Copyright © ASTM International, 100 Barr Harbor Drive, PO Box C700, West Conshohocken, PA 19428-2959. United States
´1
D7466/D7466M − 10 (2015)
6. Apparatus
6.1 Depth Gauge—The depth gauge shall consist of three
components that conform the requirements of this section; a
dial indicator, a setting block and a contact point with exten-
sion.
6.1.1 Dial Indicator—Capable of measuring to depth of at
least 2.5 mm [0.10 in.] with an accuracy of 60.025 mm
[0.001 in.].
6.1.2 Setting Block—The setting block shall have a base
dimension of 50 mm to 63.5 mm long by 20 mm to 12.7 mm
wide [2.0 in. to 2.5 in. long by 0.75 in. to 0.50 in. wide] and a
height of 15 mm [0.60 in.]. FIG. 2 Contact Point
6.1.3 Contact Point with Extension—The contact point is
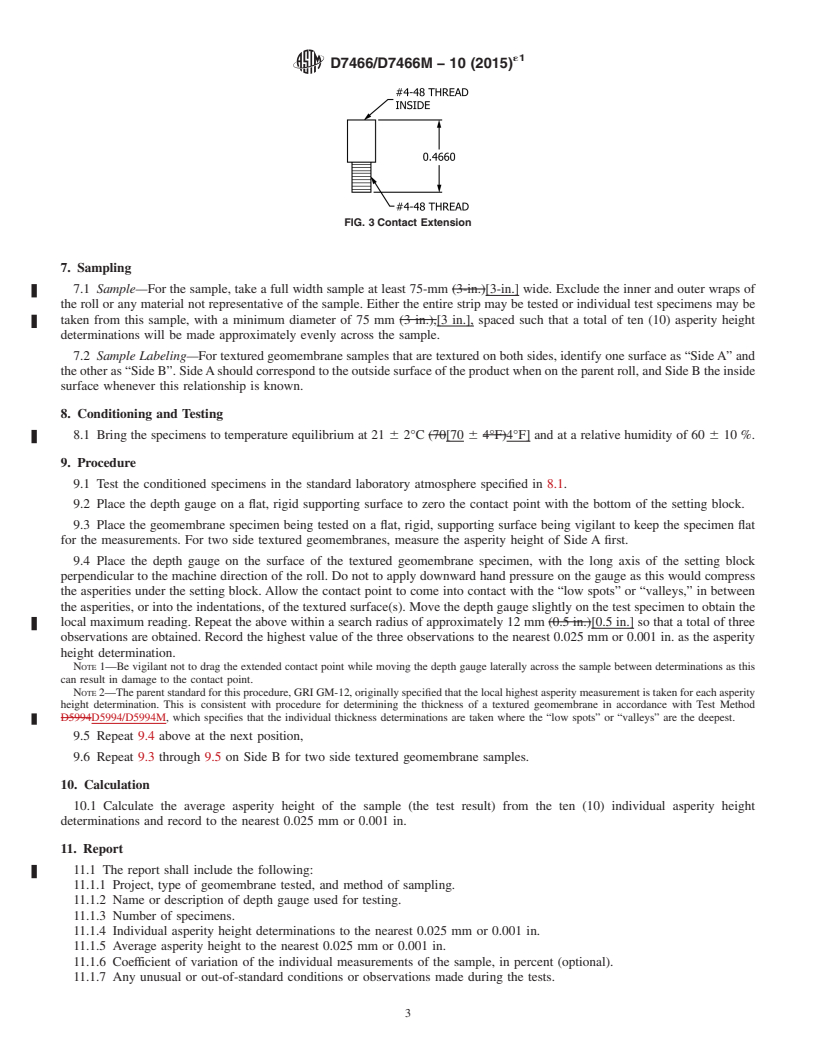
1.3 mm [0.051 in.] in diameter with the tip tapered to a point.
An extension of approximately 17 mm [0.66 in.] is required to
achieve the necessary travel beyond the base surface of the
setting block.The contact point should protrude at least 10 mm
below the setting block when not in use in order to ensure that
a competent “zero” setting is achieved. See Figs. 1-3.
6.1.4 The mass of the depth gauge fully assembled with the
dial indicator, setting block, contact point with extension
should not exceed 300 g.
FIG. 3 Contact Extension
7. Sampling
7.1 Sample—For the sample, take a full width sample at
8. Conditioning and Testing
least 75-mm [3-in.] wide. Exclude the inner and outer wraps of
the roll or any material not representative of the sample. Either 8.1 Bring the specimens to temperature equilibrium at 21 6
the entire strip may be tested or individual test specimens may 2°C [70 6 4°F] and at a relative humidity of 60 6 10 %.
be taken from this sample, with a minimum diameter of 75 mm
9. Procedure
[3 in.], spaced such that a total of ten (10) asperity height
determinations will be made approximately evenly across the
9.1 Test the conditioned specimens in the standard labora-
sample.
tory atmosphere specified in 8.1.
7.2 Sample Labeling—For textured geomembrane samples
9.2 Place the depth gauge on a flat, rigid supporting surface
that are textured on both sides, identify one surface as “SideA”
to zero the contact point with the bottom of the setting block.
and the other as “Side B.” Side A should correspond to the
9.3 Place the geomembrane specimen being tested on a flat,
outside surface of the product when on the parent roll, and Side
rigid, supporting surface being vigilant to keep the specimen
B the inside surface whenever this relationship is known.
flat for the measurements. For two side textured
geomembranes, measure the asperity height of Side A first.
9.4 Place the depth gauge on the surface of the textured
geomembrane specimen, with the long axis of the setting block
perpendicular to the machine direction of the roll. Do not to
apply downward hand pressure on the gauge as this would
compress the asperities under the setting block. Allow the
contact point to come into contact with the “low spots” or
“valleys,” in between the asperities, or into the indentations, of
the textured surface(s). Move the depth gauge slightly on the
test specimen to obtain the local maximum reading. Repeat the
above within a search radius of approximately 12 mm [0.5 in.]
so that a total of three observations are obtained.
...
NOTICE: This standard has either been superseded and replaced by a new version or withdrawn.
Contact ASTM International (www.astm.org) for the latest information
´1
Designation: D7466/D7466M − 10 (Reapproved 2015)
Standard Test Method for
Measuring Asperity Height of Textured Geomembranes
This standard is issued under the fixed designation D7466/D7466M; the number immediately following the designation indicates the
year of original adoption or, in the case of revision, the year of last revision. A number in parentheses indicates the year of last
reapproval. A superscript epsilon (´) indicates an editorial change since the last revision or reapproval.
ε NOTE—Designation was changed to dual and units information was corrected editorially in June 2015.
1. Scope 3. Terminology
1.1 This test method covers a procedure to measure the
3.1 For definitions of other terms used in this test method,
asperity height of textured geomembranes.
refer to Terminology D4439.
1.2 This test method does not provide for measurement of 3.2 Definitions:
the spacing between the asperities nor of the complete profile
3.2.1 asperity, n—the individual projections of polyethylene
of the textured surface.
that extend above the core surface of a textured geomembrane
resulting in the textured surface profile.
1.3 The values stated in either SI units or inch-pound units
are to be regarded separately as standard. The values stated in
3.2.2 core thickness, n—the average thickness of a textured
each system may not be exact equivalents; therefore, each
geomembrane as measured using Test Method D5994/
system shall be used independently of the other. Combining
D5994M.
values from the two systems may result in non-conformance
3.2.3 geomembrane, n—an essentially impermeable geosyn-
with the standard.
thetic composed of one or more synthetic sheets. D4439
1.4 This standard does not purport to address all of the
3.2.4 setting block, n—the component part of a depth gauge
safety concerns, if any, associated with its use. It is the
that rests on top of the asperities.
responsibility of the user of this standard to establish appro-
priate safety and health practices and determine the applica-
3.2.5 thickness, n— the perpendicular distance between one
bility of regulatory limitations prior to use.
surface and its opposite.
3.2.6 thickness gauge contact point, n—the tip of a thick-
2. Referenced Documents
ness gauge which contacts the base sheet of the geomembrane
2.1 ASTM Standards:
surface.
D4439 Terminology for Geosynthetics
D5994/D5994M Test Method for Measuring Core Thickness
4. Summary of Test Method
of Textured Geomembranes
4.1 The asperity height of a textured geomembrane is
E177 Practice for Use of the Terms Precision and Bias in
measured with a depth gauge, the setting block of which rests
ASTM Test Methods
on the top of the asperities while the contact point extends to
E691 Practice for Conducting an Interlaboratory Study to
the sheet’s core surface.
Determine the Precision of a Test Method
E2554 Practice for Estimating and Monitoring the Uncer-
4.2 The asperity height of a textured geomembrane is
tainty of Test Results of a Test Method Using Control
calculated as the average value of ten (10) individual measure-
Chart Techniques
ments taken across the roll width of the sample under investi-
gation.
This test method is under the jurisdiction of ASTM Committee D35 on 5. Significance and Use
Geosynthetics and is the direct responsibility of Subcommittee D35.10 on Geomem-
5.1 The asperity height is an index property used to quantify
branes.
Current edition approved May 1, 2015. Published June 2015. Originally
one of the physical attributes related to the surface roughness
approved in 2008. Last previous edition approved in 2010 as D7466-10. DOI:
of textured geomembranes.
10.1520/D7466_D7466M-10R15E01.
For referenced ASTM standards, visit the ASTM website, www.astm.org, or
5.2 This test method is applicable to all currently available
contact ASTM Customer Service at service@astm.org. For Annual Book of ASTM
textured geomembranes that are deployed as manufactured
Standards volume information, refer to the standard’s Document Summary page on
the ASTM website. geomembrane sheets.
Copyright © ASTM International, 100 Barr Harbor Drive, PO Box C700, West Conshohocken, PA 19428-2959. United States
´1
D7466/D7466M − 10 (2015)
6. Apparatus
6.1 Depth Gauge—The depth gauge shall consist of three
components that conform the requirements of this section; a
dial indicator, a setting block and a contact point with exten-
sion.
6.1.1 Dial Indicator—Capable of measuring to depth of at
least 2.5 mm [0.10 in.] with an accuracy of 60.025 mm
[0.001 in.].
6.1.2 Setting Block—The setting block shall have a base
dimension of 50 mm to 63.5 mm long by 20 mm to 12.7 mm
wide [2.0 in. to 2.5 in. long by 0.75 in. to 0.50 in. wide] and a
height of 15 mm [0.60 in.].
FIG. 2 Contact Point
6.1.3 Contact Point with Extension—The contact point is
1.3 mm [0.051 in.] in diameter with the tip tapered to a point.
An extension of approximately 17 mm [0.66 in.] is required to
achieve the necessary travel beyond the base surface of the
setting block. The contact point should protrude at least 10 mm
below the setting block when not in use in order to ensure that
a competent “zero” setting is achieved. See Figs. 1-3.
6.1.4 The mass of the depth gauge fully assembled with the
dial indicator, setting block, contact point with extension
should not exceed 300 g.
FIG. 3 Contact Extension
7. Sampling
7.1 Sample—For the sample, take a full width sample at
8. Conditioning and Testing
least 75-mm [3-in.] wide. Exclude the inner and outer wraps of
the roll or any material not representative of the sample. Either 8.1 Bring the specimens to temperature equilibrium at 21 6
the entire strip may be tested or individual test specimens may 2°C [70 6 4°F] and at a relative humidity of 60 6 10 %.
be taken from this sample, with a minimum diameter of 75 mm
9. Procedure
[3 in.], spaced such that a total of ten (10) asperity height
determinations will be made approximately evenly across the
9.1 Test the conditioned specimens in the standard labora-
sample.
tory atmosphere specified in 8.1.
7.2 Sample Labeling—For textured geomembrane samples
9.2 Place the depth gauge on a flat, rigid supporting surface
that are textured on both sides, identify one surface as “Side A”
to zero the contact point with the bottom of the setting block.
and the other as “Side B.” Side A should correspond to the
9.3 Place the geomembrane specimen being tested on a flat,
outside surface of the product when on the parent roll, and Side
rigid, supporting surface being vigilant to keep the specimen
B the inside surface whenever this relationship is known.
flat for the measurements. For two side textured
geomembranes, measure the asperity height of Side A first.
9.4 Place the depth gauge on the surface of the textured
geomembrane specimen, with the long axis of the setting block
perpendicular to the machine direction of the roll. Do not to
apply downward hand pressure on the gauge as this would
compress the asperities under the setting block. Allow the
contact point to come into contact with the “low spots” or
“valleys,” in between the asperities, or into the indentations, of
the textured surface(s). Move the depth gauge slightly on the
test specimen to obtain the local maximum reading. Repeat the
above within a search radius of approximately 12 mm [0.5 in.]
so that a total of three observations are obtained. Record the
highest value of the three observations to the nearest 0.025 mm
or 0
...
This document is not an ASTM standard and is intended only to provide the user of an ASTM standard an indication of what changes have been made to the previous version. Because
it may not be technically possible to adequately depict all changes accurately, ASTM recommends that users consult prior editions as appropriate. In all cases only the current version
of the standard as published by ASTM is to be considered the official document.
´1
Designation: D7466 − 10 D7466/D7466M − 10 (Reapproved 2015)
Standard Test Method for
Measuring Asperity Height of Textured Geomembranes
This standard is issued under the fixed designation D7466;D7466/D7466M; the number immediately following the designation indicates
the year of original adoption or, in the case of revision, the year of last revision. A number in parentheses indicates the year of last
reapproval. A superscript epsilon (´) indicates an editorial change since the last revision or reapproval.
ε NOTE—Designation was changed to dual and units information was corrected editorially in June 2015.
1. Scope
1.1 This test method covers a procedure to measure the asperity height of textured geomembranes.
1.2 This test method does not provide for measurement of the spacing between the asperities nor of the complete profile of the
textured surface.
1.3 The values stated in either SI units or inch-pound units are to be regarded separately as standard. The values stated in each
system may not be exact equivalents; therefore, each system shall be used independently of the other. Combining values from the
two systems may result in non-conformance with the standard.
1.4 This standard does not purport to address all of the safety concerns, if any, associated with its use. It is the responsibility
of the user of this standard to establish appropriate safety and health practices and determine the applicability of regulatory
limitations prior to use.
2. Referenced Documents
2.1 ASTM Standards:
D4439 Terminology for Geosynthetics
D5994D5994/D5994M Test Method for Measuring Core Thickness of Textured Geomembranes
E177 Practice for Use of the Terms Precision and Bias in ASTM Test Methods
E691 Practice for Conducting an Interlaboratory Study to Determine the Precision of a Test Method
E2554 Practice for Estimating and Monitoring the Uncertainty of Test Results of a Test Method Using Control Chart Techniques
3. Terminology
3.1 For definitions of other terms used in this test method, refer to Terminology D4439.
3.2 Definitions:
3.2.1 asperity, n—the individual projections of polyethylene that extend above the core surface of a textured geomembrane
resulting in the textured surface profile.
3.2.2 core thickness, n—the average thickness of a textured geomembrane as measured using Test Method D5994D5994/
D5994M.
3.2.3 geomembrane, n—an essentially impermeable geosynthetic composed of one or more synthetic sheets. D4439
3.2.4 setting block, n—the component part of a depth gauge that rests on top of the asperities.
3.2.5 thickness, n— the perpendicular distance between one surface and its opposite.
3.2.6 thickness gauge contact point, n—the tip of a thickness gauge which contacts the base sheet of the geomembrane surface.
4. Summary of Test Method
4.1 The asperity height of a textured geomembrane is measured with a depth gauge, the setting block of which rests on the top
of the asperities while the contact point extends to the sheet’s core surface.
This test method is under the jurisdiction of ASTM Committee D35 on Geosynthetics and is the direct responsibility of Subcommittee D35.10 on Geomembranes.
Current edition approved July 1, 2010May 1, 2015. Published September 2010June 2015. Originally approved in 2008. Last previous edition approved in 20082010 as
D7466-08.D7466-10. DOI: 10.1520/D7466-10. 10.1520/D7466_D7466M-10R15E01.
For referenced ASTM standards, visit the ASTM website, www.astm.org, or contact ASTM Customer Service at service@astm.org. For Annual Book of ASTM Standards
volume information, refer to the standard’s Document Summary page on the ASTM website.
Copyright © ASTM International, 100 Barr Harbor Drive, PO Box C700, West Conshohocken, PA 19428-2959. United States
´1
D7466/D7466M − 10 (2015)
4.2 The asperity height of a textured geomembrane is calculated as the average value of ten (10) individual measurements taken
across the roll width of the sample under investigation.
5. Significance and Use
5.1 The asperity height is an index property used to quantify one of the physical attributes related to the surface roughness of
textured geomembranes.
5.2 This test method is applicable to all currently available textured geomembranes that are deployed as manufactured
geomembrane sheets.
6. Apparatus
6.1 Depth Gauge—The depth gauge shall consist of three components that conform the requirements of this section; a dial
indicator, a setting block and a contact point with extension.
6.1.1 Dial Indicator—capable of measuring to depth of at least 2.5 mm (0.10 in.)[0.10 in.] with an accuracy of 60.025 mm
(0.001 in.).[0.001 in.].
6.1.2 Setting Block—the setting block shall have a base dimension of 50 mm to 63.5 mm long by 20 mm to 12.7 mm wide
(2.0[2.0 in. to 2.5 inin. long by 0.75 in. to 0.50 in wide)in. wide] and a height of 15 mm (0.60 in.)[0.60 in.].
FIG. 1 Asperity Height Test Gauge
6.1.3 Contact Point with Extension—The contact point is 1.3 mm (0.051 in.)[0.051 in.] in diameter with the tip tapered to a
point. An extension of approximately 17 mm (0.66 in.)[0.66 in.] is required to achieve the necessary travel beyond the base surface
of the setting block. The contact point should protrude at least 10 mm below the setting block when not in use in order to ensure
that a competent “zero” setting is achieved. See Figs. 1-3.
6.1.4 The mass of the depth gauge fully assembled with the dial indicator, setting block, contact point with extension should
not exceed 300 g.
FIG. 2 Contact Point
´1
D7466/D7466M − 10 (2015)
FIG. 3 Contact Extension
7. Sampling
7.1 Sample—For the sample, take a full width sample at least 75-mm (3-in.)[3-in.] wide. Exclude the inner and outer wraps of
the roll or any material not representative of the sample. Either the entire strip may be tested or individual test specimens may be
taken from this sample, with a minimum diameter of 75 mm (3 in.),[3 in.], spaced such that a total of ten (10) asperity height
determinations will be made approximately evenly across the sample.
7.2 Sample Labeling—For textured geomembrane samples that are textured on both sides, identify one surface as “Side A” and
the other as “Side B”. Side A should correspond to the outside surface of the product when on the parent roll, and Side B the inside
surface whenever this relationship is known.
8. Conditioning and Testing
8.1 Bring the specimens to temperature equilibrium at 21 6 2°C (70[70 6 4°F)4°F] and at a relative humidity of 60 6 10 %.
9. Procedure
9.1 Test the conditioned specimens in the standard laboratory atmosphere specified in 8.1.
9.2 Place the depth gauge on a flat, rigid supporting surface to zero the contact point with the bottom of the setting block.
9.3 Place the geomembrane specimen being tested on a flat, rigid, supporting surface being vigilant to keep the specimen flat
for the measurements. For two side textured geomembranes, measure the asperity height of Side A first.
9.4 Place the depth gauge on the surface of the textured geomembrane specimen, with the long axis of the setting block
perpendicular to the machine direction of the roll. Do not to apply downward hand pressure on the gauge as this would compress
the asperities under the setting block. Allow the contact point to come into contact with the “low spots” or “valleys,” in between
the asperities, or into the indentations, of
...



Questions, Comments and Discussion
Ask us and Technical Secretary will try to provide an answer. You can facilitate discussion about the standard in here.