ASTM E2554-18
(Practice)Standard Practice for Estimating and Monitoring the Uncertainty of Test Results of a Test Method Using Control Chart Techniques
Standard Practice for Estimating and Monitoring the Uncertainty of Test Results of a Test Method Using Control Chart Techniques
SIGNIFICANCE AND USE
4.1 This practice provides one way for a laboratory to develop data-based Type A estimates of uncertainty as referred to in Section A22 in Form and Style for ASTM Standards.
4.2 Laboratories accredited under ISO/IEC 17025 are required to present uncertainty estimates for their test results. This practice provides procedures that use test results to develop uncertainty estimates for an individual laboratory.
4.3 Generally, these test results will be from a single sample of stable and homogeneous material known as a control or check sample.
4.4 The true value of the characteristic(s) of the control sample being measured will ordinarily be unknown. However, this methodology may also be used if the control sample is a reference material, in which case the test method bias may also be estimated and incorporated into the uncertainty estimate. Many test methods do not have true reference materials available to provide traceable chains of uncertainty estimation.
4.5 This practice also allows for ongoing monitoring of the laboratory uncertainty. As estimates of the level of uncertainty change, possibly as contributions to uncertainty are identified and minimized, revision to the laboratory uncertainty will be possible.
SCOPE
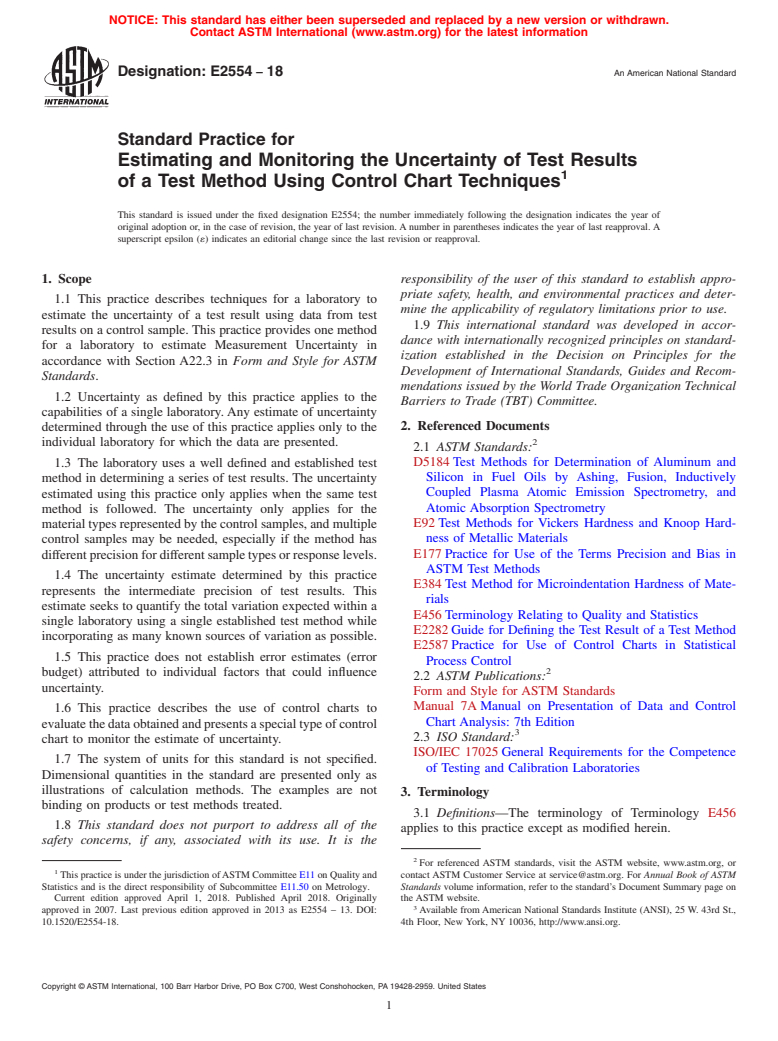
1.1 This practice describes techniques for a laboratory to estimate the uncertainty of a test result using data from test results on a control sample. This practice provides one method for a laboratory to estimate Measurement Uncertainty in accordance with Section A22.3 in Form and Style for ASTM Standards.
1.2 Uncertainty as defined by this practice applies to the capabilities of a single laboratory. Any estimate of uncertainty determined through the use of this practice applies only to the individual laboratory for which the data are presented.
1.3 The laboratory uses a well defined and established test method in determining a series of test results. The uncertainty estimated using this practice only applies when the same test method is followed. The uncertainty only applies for the material types represented by the control samples, and multiple control samples may be needed, especially if the method has different precision for different sample types or response levels.
1.4 The uncertainty estimate determined by this practice represents the intermediate precision of test results. This estimate seeks to quantify the total variation expected within a single laboratory using a single established test method while incorporating as many known sources of variation as possible.
1.5 This practice does not establish error estimates (error budget) attributed to individual factors that could influence uncertainty.
1.6 This practice describes the use of control charts to evaluate the data obtained and presents a special type of control chart to monitor the estimate of uncertainty.
1.7 The system of units for this standard is not specified. Dimensional quantities in the standard are presented only as illustrations of calculation methods. The examples are not binding on products or test methods treated.
1.8 This standard does not purport to address all of the safety concerns, if any, associated with its use. It is the responsibility of the user of this standard to establish appropriate safety, health, and environmental practices and determine the applicability of regulatory limitations prior to use.
1.9 This international standard was developed in accordance with internationally recognized principles on standardization established in the Decision on Principles for the Development of International Standards, Guides and Recommendations issued by the World Trade Organization Technical Barriers to Trade (TBT) Committee.
General Information
Relations
Buy Standard
Standards Content (Sample)
NOTICE: This standard has either been superseded and replaced by a new version or withdrawn.
Contact ASTM International (www.astm.org) for the latest information
Designation: E2554 − 18 An American National Standard
Standard Practice for
Estimating and Monitoring the Uncertainty of Test Results
1
of a Test Method Using Control Chart Techniques
This standard is issued under the fixed designation E2554; the number immediately following the designation indicates the year of
original adoption or, in the case of revision, the year of last revision. A number in parentheses indicates the year of last reapproval. A
superscript epsilon (´) indicates an editorial change since the last revision or reapproval.
1. Scope responsibility of the user of this standard to establish appro-
priate safety, health, and environmental practices and deter-
1.1 This practice describes techniques for a laboratory to
mine the applicability of regulatory limitations prior to use.
estimate the uncertainty of a test result using data from test
1.9 This international standard was developed in accor-
results on a control sample. This practice provides one method
dance with internationally recognized principles on standard-
for a laboratory to estimate Measurement Uncertainty in
ization established in the Decision on Principles for the
accordance with Section A22.3 in Form and Style for ASTM
Development of International Standards, Guides and Recom-
Standards.
mendations issued by the World Trade Organization Technical
1.2 Uncertainty as defined by this practice applies to the
Barriers to Trade (TBT) Committee.
capabilities of a single laboratory.Any estimate of uncertainty
2. Referenced Documents
determined through the use of this practice applies only to the
2
individual laboratory for which the data are presented.
2.1 ASTM Standards:
D5184 Test Methods for Determination of Aluminum and
1.3 The laboratory uses a well defined and established test
Silicon in Fuel Oils by Ashing, Fusion, Inductively
method in determining a series of test results. The uncertainty
Coupled Plasma Atomic Emission Spectrometry, and
estimated using this practice only applies when the same test
Atomic Absorption Spectrometry
method is followed. The uncertainty only applies for the
E92 Test Methods for Vickers Hardness and Knoop Hard-
materialtypesrepresentedbythecontrolsamples,andmultiple
ness of Metallic Materials
control samples may be needed, especially if the method has
E177 Practice for Use of the Terms Precision and Bias in
differentprecisionfordifferentsampletypesorresponselevels.
ASTM Test Methods
1.4 The uncertainty estimate determined by this practice
E384 Test Method for Microindentation Hardness of Mate-
represents the intermediate precision of test results. This
rials
estimate seeks to quantify the total variation expected within a
E456 Terminology Relating to Quality and Statistics
single laboratory using a single established test method while
E2282 Guide for Defining the Test Result of a Test Method
incorporating as many known sources of variation as possible.
E2587 Practice for Use of Control Charts in Statistical
1.5 This practice does not establish error estimates (error
Process Control
2
budget) attributed to individual factors that could influence
2.2 ASTM Publications:
uncertainty.
Form and Style for ASTM Standards
Manual 7A Manual on Presentation of Data and Control
1.6 This practice describes the use of control charts to
Chart Analysis: 7th Edition
evaluatethedataobtainedandpresentsaspecialtypeofcontrol
3
2.3 ISO Standard:
chart to monitor the estimate of uncertainty.
ISO/IEC 17025 General Requirements for the Competence
1.7 The system of units for this standard is not specified.
of Testing and Calibration Laboratories
Dimensional quantities in the standard are presented only as
illustrations of calculation methods. The examples are not
3. Terminology
binding on products or test methods treated.
3.1 Definitions—The terminology of Terminology E456
1.8 This standard does not purport to address all of the
applies to this practice except as modified herein.
safety concerns, if any, associated with its use. It is the
2
For referenced ASTM standards, visit the ASTM website, www.astm.org, or
1
This practice is under the jurisdiction ofASTM Committee E11 on Quality and contact ASTM Customer Service at service@astm.org. For Annual Book of ASTM
Statistics and is the direct responsibility of Subcommittee E11.50 on Metrology. Standards volume information, refer to the standard’s Document Summary page on
Current edition approved April 1, 2018. Published April 2018. Originally the ASTM website.
3
approved in 2007. Last previous edition approved in 2013 as E2554 – 13. DOI: Available fromAmerican National Standards Institute (ANSI), 25 W. 43rd St.,
10.1520/E2554-18. 4th Floor, New York, NY 10036, http://www.ansi.org.
Copyright © ASTM International, 100 Barr Harbor Drive, PO Box C700, West Conshohocken, PA 19428-2959. United States
1
---------------------- Page: 1
...
This document is not an ASTM standard and is intended only to provide the user of an ASTM standard an indication of what changes have been made to the previous version. Because
it may not be technically possible to adequately depict all changes accurately, ASTM recommends that users consult prior editions as appropriate. In all cases only the current version
of the standard as published by ASTM is to be considered the official document.
Designation: E2554 − 13 E2554 − 18 An American National Standard
Standard Practice for
Estimating and Monitoring the Uncertainty of Test Results
1
of a Test Method Using Control Chart Techniques
This standard is issued under the fixed designation E2554; the number immediately following the designation indicates the year of
original adoption or, in the case of revision, the year of last revision. A number in parentheses indicates the year of last reapproval. A
superscript epsilon (´) indicates an editorial change since the last revision or reapproval.
1. Scope
1.1 This practice describes techniques for a laboratory to estimate the uncertainty of a test result using data from test results on
a control sample. This standardpractice provides one method for a laboratory to estimate Measurement Uncertainty in accordance
with Section A22.3 in Form and Style offor ASTM Standards.
1.2 Uncertainty as defined by this practice applies to the capabilities of a single laboratory. Any estimate of uncertainty
determined through the use of this practice applies only to the individual laboratory for which the data are presented.
1.3 The laboratory uses a well defined and established test method in determining a series of test results. The uncertainty
estimated using this practice only applies when the same test method is followed. The uncertainty only applies for the material
types represented by the control samples, and multiple control samples may be needed, especially if the method has different
precision for different sample types or response levels.
1.4 The uncertainty estimate determined by this practice represents the intermediate precision of test results. This estimate seeks
to quantify the total variation expected within a single laboratory using a single established test method while incorporating as
many known sources of variation as possible.
1.5 This practice does not establish error estimates (error budget) attributed to individual factors that could influence
uncertainty.
1.6 This practice describes the use of control charts to evaluate the data obtained and presents a special type of control chart
to monitor the estimate of uncertainty.
1.7 The system of units for this standard is not specified. Dimensional quantities in the standard are presented only as
illustrations of calculation methods. The examples are not binding on products or test methods treated.
1.8 This standard does not purport to address all of the safety concerns, if any, associated with its use. It is the responsibility
of the user of this standard to establish appropriate safety safety, health, and healthenvironmental practices and determine the
applicability of regulatory limitations prior to use.
1.9 This international standard was developed in accordance with internationally recognized principles on standardization
established in the Decision on Principles for the Development of International Standards, Guides and Recommendations issued
by the World Trade Organization Technical Barriers to Trade (TBT) Committee.
2. Referenced Documents
2
2.1 ASTM Standards:
D5184 Test Methods for Determination of Aluminum and Silicon in Fuel Oils by Ashing, Fusion, Inductively Coupled Plasma
Atomic Emission Spectrometry, and Atomic Absorption Spectrometry
E92 Test Methods for Vickers Hardness and Knoop Hardness of Metallic Materials
E177 Practice for Use of the Terms Precision and Bias in ASTM Test Methods
E384 Test Method for Microindentation Hardness of Materials
E456 Terminology Relating to Quality and Statistics
E2282 Guide for Defining the Test Result of a Test Method
1
This practice is under the jurisdiction of ASTM Committee E11 on Quality and Statistics and is the direct responsibility of Subcommittee E11.20 on Test Method
Evaluation and Quality Control.
Current edition approved April 1, 2013April 1, 2018. Published May 2013April 2018. Originally approved in 2007. Last previous edition approved in 20072013 as E2554
– 07.13. DOI: 10.1520/E2554-13.10.1520/E2554-18.
2
For referenced ASTM standards, visit the ASTM website, www.astm.org, or contact ASTM Customer Service at service@astm.org. For Annual Book of ASTM Standards
volume information, refer to the standard’s Document Summary page on the ASTM website.
Copyright © ASTM International, 100 Barr Harbor Drive, PO Box C700, West Conshohocken, PA 19428-2959. United States
1
---------------------- Page: 1 ----------------------
E2554 − 18
E2587 Practice for Use of Control Charts in Statistical Process Control
ISO/ASTM 51707 Guide for Estimating Uncertainties in Dosimetr
...


Questions, Comments and Discussion
Ask us and Technical Secretary will try to provide an answer. You can facilitate discussion about the standard in here.