ASTM F3359/F3359M-21
(Test Method)Standard Test Method for Determining Bending Yield Moment of Staples
Standard Test Method for Determining Bending Yield Moment of Staples
SIGNIFICANCE AND USE
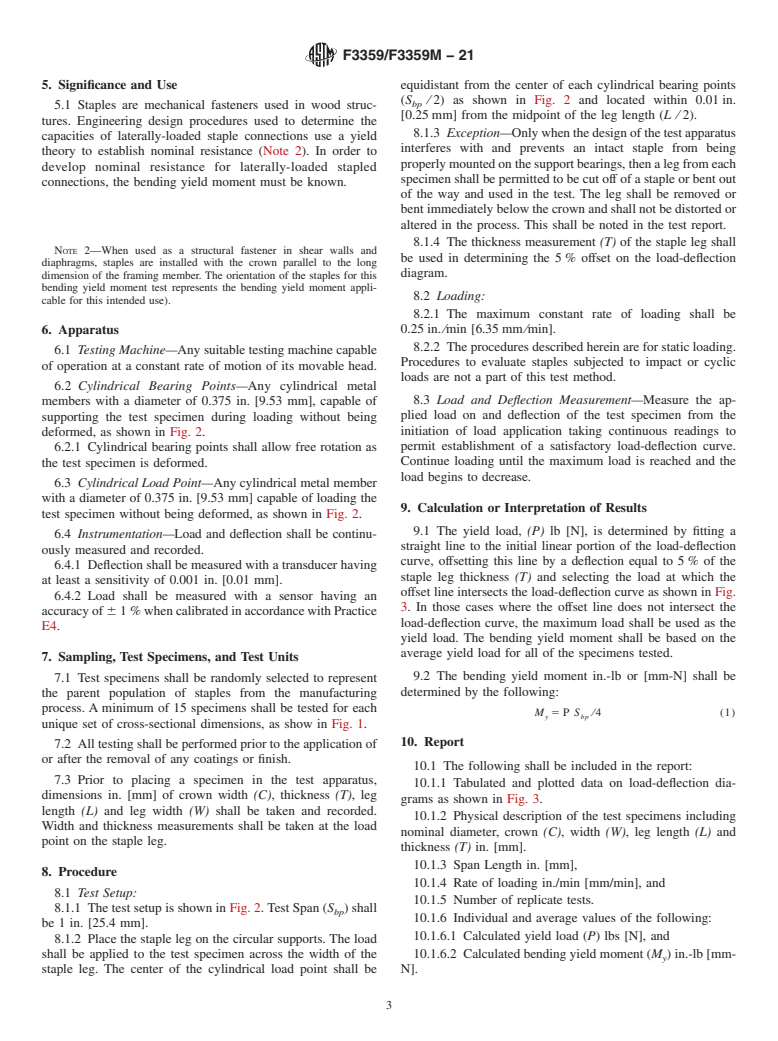
5.1 Staples are mechanical fasteners used in wood structures. Engineering design procedures used to determine the capacities of laterally-loaded staple connections use a yield theory to establish nominal resistance (Note 2). In order to develop nominal resistance for laterally-loaded stapled connections, the bending yield moment must be known.
Note 2: When used as a structural fastener in shear walls and diaphragms, staples are installed with the crown parallel to the long dimension of the framing member. The orientation of the staples for this bending yield moment test represents the bending yield moment applicable for this intended use).
SCOPE
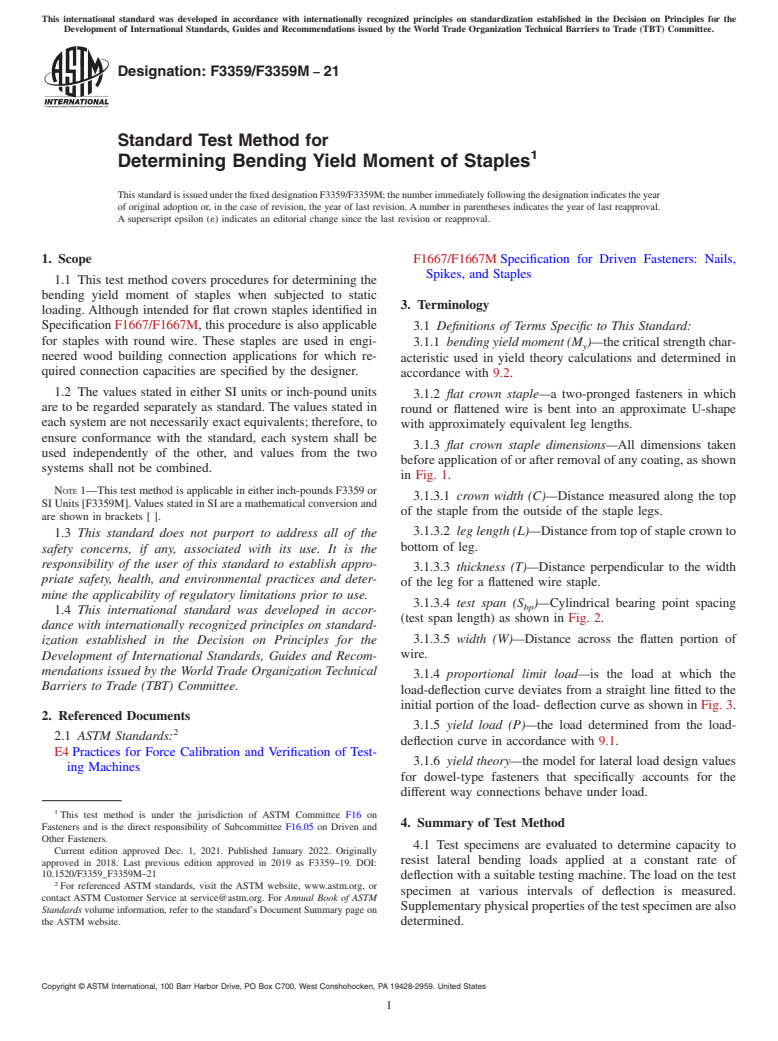
1.1 This test method covers procedures for determining the bending yield moment of staples when subjected to static loading. Although intended for flat crown staples identified in Specification F1667/F1667M, this procedure is also applicable for staples with round wire. These staples are used in engineered wood building connection applications for which required connection capacities are specified by the designer.
1.2 The values stated in either SI units or inch-pound units are to be regarded separately as standard. The values stated in each system are not necessarily exact equivalents; therefore, to ensure conformance with the standard, each system shall be used independently of the other, and values from the two systems shall not be combined.
Note 1: This test method is applicable in either inch-pounds F3359 or SI Units [F3359M]. Values stated in SI are a mathematical conversion and are shown in brackets [ ].
1.3 This standard does not purport to address all of the safety concerns, if any, associated with its use. It is the responsibility of the user of this standard to establish appropriate safety, health, and environmental practices and determine the applicability of regulatory limitations prior to use.
1.4 This international standard was developed in accordance with internationally recognized principles on standardization established in the Decision on Principles for the Development of International Standards, Guides and Recommendations issued by the World Trade Organization Technical Barriers to Trade (TBT) Committee.
General Information
Buy Standard
Standards Content (Sample)
This international standard was developed in accordance with internationally recognized principles on standardization established in the Decision on Principles for the
Development of International Standards, Guides and Recommendations issued by the World Trade Organization Technical Barriers to Trade (TBT) Committee.
Designation: F3359/F3359M −21
Standard Test Method for
1
Determining Bending Yield Moment of Staples
ThisstandardisissuedunderthefixeddesignationF3359/F3359M;thenumberimmediatelyfollowingthedesignationindicatestheyear
of original adoption or, in the case of revision, the year of last revision. A number in parentheses indicates the year of last reapproval.
A superscript epsilon (´) indicates an editorial change since the last revision or reapproval.
1. Scope F1667/F1667M Specification for Driven Fasteners: Nails,
Spikes, and Staples
1.1 This test method covers procedures for determining the
bending yield moment of staples when subjected to static
3. Terminology
loading. Although intended for flat crown staples identified in
Specification F1667/F1667M, this procedure is also applicable 3.1 Definitions of Terms Specific to This Standard:
for staples with round wire. These staples are used in engi-
3.1.1 bending yield moment (M )—the critical strength char-
y
neered wood building connection applications for which re-
acteristic used in yield theory calculations and determined in
quired connection capacities are specified by the designer.
accordance with 9.2.
1.2 The values stated in either SI units or inch-pound units
3.1.2 flat crown staple—a two-pronged fasteners in which
are to be regarded separately as standard. The values stated in
round or flattened wire is bent into an approximate U-shape
each system are not necessarily exact equivalents; therefore, to
with approximately equivalent leg lengths.
ensure conformance with the standard, each system shall be
3.1.3 flat crown staple dimensions—All dimensions taken
used independently of the other, and values from the two
before application of or after removal of any coating, as shown
systems shall not be combined.
in Fig. 1.
NOTE 1—This test method is applicable in either inch-pounds F3359 or
3.1.3.1 crown width (C)—Distance measured along the top
SI Units [F3359M].Values stated in SI are a mathematical conversion and
of the staple from the outside of the staple legs.
are shown in brackets [ ].
3.1.3.2 leg length (L)—Distance from top of staple crown to
1.3 This standard does not purport to address all of the
bottom of leg.
safety concerns, if any, associated with its use. It is the
responsibility of the user of this standard to establish appro-
3.1.3.3 thickness (T)—Distance perpendicular to the width
priate safety, health, and environmental practices and deter-
of the leg for a flattened wire staple.
mine the applicability of regulatory limitations prior to use.
3.1.3.4 test span (S )—Cylindrical bearing point spacing
bp
1.4 This international standard was developed in accor-
(test span length) as shown in Fig. 2.
dance with internationally recognized principles on standard-
3.1.3.5 width (W)—Distance across the flatten portion of
ization established in the Decision on Principles for the
wire.
Development of International Standards, Guides and Recom-
mendations issued by the World Trade Organization Technical
3.1.4 proportional limit load—is the load at which the
Barriers to Trade (TBT) Committee.
load-deflection curve deviates from a straight line fitted to the
initial portion of the load- deflection curve as shown in Fig. 3.
2. Referenced Documents
3.1.5 yield load (P)—the load determined from the load-
2
2.1 ASTM Standards:
deflection curve in accordance with 9.1.
E4 Practices for Force Calibration and Verification of Test-
3.1.6 yield theory—the model for lateral load design values
ing Machines
for dowel-type fasteners that specifically accounts for the
different way connections behave under load.
1
This test method is under the jurisdiction of ASTM Committee F16 on
4. Summary of Test Method
Fasteners and is the direct responsibility of Subcommittee F16.05 on Driven and
Other Fasteners.
4.1 Test specimens are evaluated to determine capacity to
Current edition approved Dec. 1, 2021. Published January 2022. Originally
resist lateral bending loads applied at a constant rate of
approved in 2018. Last previous edition approved in 2019 as F3359–19. DOI:
10.1520/F3359_F3359M–21
deflection with a suitable testing machine. The load on the test
2
For referenced ASTM standards, visit the ASTM website, www.astm.org, or
specimen at various intervals of deflection is measured.
contact ASTM Customer Service at service@astm.org. For Annual Book of ASTM
Supplementaryphysicalpropertiesofthetestspecimenarealso
Standards volume information, refer to the standard’s Document Summary page on
the ASTM website. determined.
Copyright © ASTM International, 100 Barr Harbor Drive, PO Box C700, West Conshohocken, PA 19428-2959. United States
1
---------------------- Page: 1 ---------------
...
This document is not an ASTM standard and is intended only to provide the user of an ASTM standard an indication of what changes have been made to the previous version. Because
it may not be technically possible to adequately depict all changes accurately, ASTM recommends that users consult prior editions as appropriate. In all cases only the current version
of the standard as published by ASTM is to be considered the official document.
Designation: F3359 − 19 F3359/F3359M − 21
Standard Test Method for
1
Determining Bending Yield Moment of Staples
This standard is issued under the fixed designation F3359;F3359/F3359M; the number immediately following the designation indicates
the year of original adoption or, in the case of revision, the year of last revision. A number in parentheses indicates the year of last
reapproval. A superscript epsilon (´) indicates an editorial change since the last revision or reapproval.
1. Scope
1.1 This test method covers procedures for determining the bending yield moment of staples when subjected to static loading.
Although intended for flat crown staples identified in Specification F1667F1667/F1667M, this procedure is also applicable for
staples with round wire. These staples are used in engineered wood building connection applications for which required connection
capacities are specified by the designer.
1.2 The values stated in either SI units or inch-pound units are to be regarded as standard. No other units of measurement are
included in this standard.separately as standard. The values stated in each system are not necessarily exact equivalents; therefore,
to ensure conformance with the standard, each system shall be used independently of the other, and values from the two systems
shall not be combined.
NOTE 1—This test method is applicable in either inch-pounds F3359 or SI Units [F3359M]. Values stated in SI are a mathematical conversion and are
shown in brackets [ ].
1.3 This standard does not purport to address all of the safety concerns, if any, associated with its use. It is the responsibility
of the user of this standard to establish appropriate safety, health, and environmental practices and determine the applicability of
regulatory limitations prior to use.
1.4 This international standard was developed in accordance with internationally recognized principles on standardization
established in the Decision on Principles for the Development of International Standards, Guides and Recommendations issued
by the World Trade Organization Technical Barriers to Trade (TBT) Committee.
2. Referenced Documents
2
2.1 ASTM Standards:
E4 Practices for Force Calibration and Verification of Testing Machines
F1667F1667/F1667M Specification for Driven Fasteners: Nails, Spikes, and Staples
3. Terminology
3.1 Definitions of Terms Specific to This Standard:
3.1.1 bending yield moment (M )—the critical strength characteristic used in yield theory calculations and determined in
y
accordance with 9.2.
1
This test method is under the jurisdiction of ASTM Committee F16 on Fasteners and is the direct responsibility of Subcommittee F16.05 on Driven and Other Fasteners.
Current edition approved Dec. 1, 2019Dec. 1, 2021. Published January 2019January 2022. Originally approved in 2018. Last previous edition approved in 20182019 as
F3359–18.–19. DOI: 10.1520/F3359–1910.1520/F3359_F3359M–21
2
For referenced ASTM standards, visit the ASTM website, www.astm.org, or contact ASTM Customer Service at service@astm.org. For Annual Book of ASTM Standards
volume information, refer to the standard’s Document Summary page on the ASTM website.
Copyright © ASTM International, 100 Barr Harbor Drive, PO Box C700, West Conshohocken, PA 19428-2959. United States
1
---------------------- Page: 1 ----------------------
F3359/F3359M − 21
3.1.2 flat crown staple—a two-pronged fasteners in which round or flattened wire is bent into an approximate U-shape with
approximately equivalent leg lengths.
3.1.3 flat crown staple dimensions—All dimensions taken before application of or after removal of any coating, as shown in Fig.
1.
3.1.3.1 crown width (C)—Distance measured along the top of the staple from the outside of the staple legs.
3.1.3.2 leg length (L)—Distance from top of staple crown to bottom of leg.
3.1.3.3 thickness (T)—Distance perpendicular to the width of the leg for a flattened wire staple.
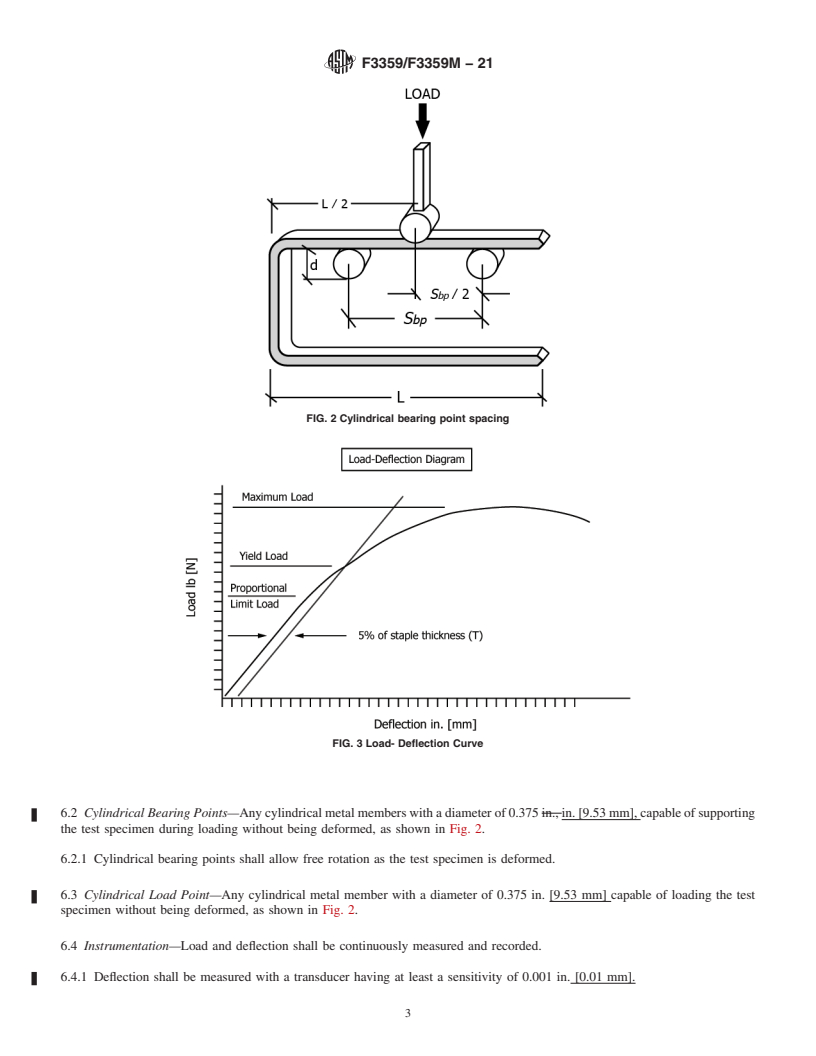
3.1.3.4 test span (S )—Cylindrical bearing point spacing (test span length) as shown in Fig. 2.
bp
3.1.3.5 width (W)—Distance across the flatten portion of wire.
3.1.4 proportional limit load—is the load at which the load-deflection curve deviates from a straight line fitted to the initial portion
of the load- deflection curve as shown in Fig. 3.
3.1.5 yield load (P)—the load determined from the load-deflection curve in accordance with 9.1.
3.1.6 yield theory—the model for lateral load design values for dowel-type fasteners that specifically accounts for the different way
connections behave under load.
4. Summary of Test Method
4.1 Test
...


Questions, Comments and Discussion
Ask us and Technical Secretary will try to provide an answer. You can facilitate discussion about the standard in here.