ASTM F1710-97(2002)
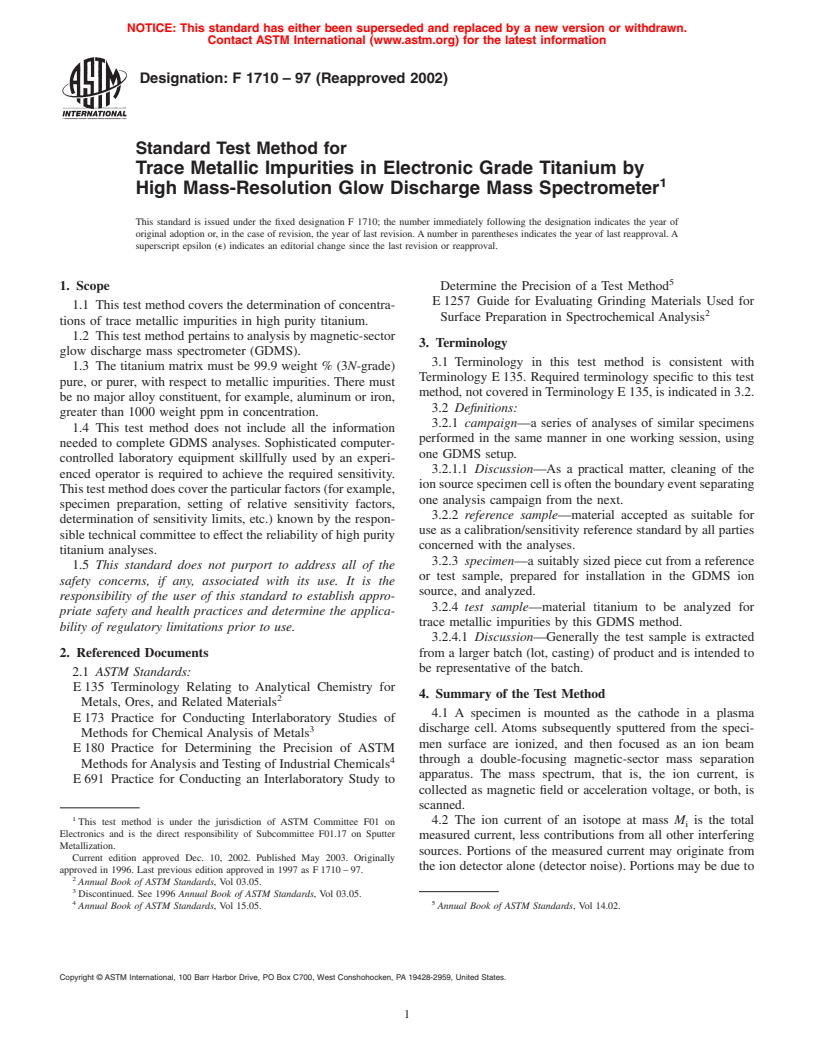
(Test Method)Standard Test Method for Trace Metallic Impurities in Electronic Grade Titanium by High Mass-Resolution Glow Discharge Mass Spectrometer
Standard Test Method for Trace Metallic Impurities in Electronic Grade Titanium by High Mass-Resolution Glow Discharge Mass Spectrometer
SIGNIFICANCE AND USE
This test method is intended for application in the semiconductor industry for evaluating the purity of materials (for example, sputtering targets, evaporation sources) used in thin film metallization processes. This test method may be useful in additional applications, not envisioned by the responsible technical committee, as agreed upon between the parties concerned.
This test method is intended for use by GDMS analysts in various laboratories for unifying the protocol and parameters for determining trace impurities in pure titanium. The objective is to improve laboratory to laboratory agreement of analysis data. This test method is also directed to the users of GDMS analyses as an aid to understanding the determination method, and the significance and reliability of reported GDMS data.
For most metallic species the detection limit for routine analysis is on the order of 0.01 weight ppm. With special precautions detection limits to sub-ppb levels are possible.
This test method may be used as a referee method for producers and users of electronic-grade titanium materials.
SCOPE
1.1 This test method covers the determination of concentrations of trace metallic impurities in high purity titanium.
1.2 This test method pertains to analysis by magnetic-sector glow discharge mass spectrometer (GDMS).
1.3 The titanium matrix must be 99.9 weight percent (3N-grade) pure, or purer, with respect to metallic impurities. There must be no major alloy constituent, for example, aluminum or iron, greater than 1000 weight ppm in concentration.
1.4 this test method does not include all the information needed to complete GDMS analyses. Sophisticated computer-controlled laboratory equipment skillfully used by an experienced operator is required to achieve the required sensitivity. This test method does cover the particular factors (for example, specimen preparation, setting of relative sensitivity factors, determination of sensitivity limits, etc.) known by the responsible technical committee to effect the reliability of high purity titanium analyses.
1.5 This standard does not purport to address all of the safety concerns, if any, associated with its use. It is the responsibility of the user of this standard to establish appropriate safety and health practices and determine the applicability of regulatory limitations prior to use.
General Information
Relations
Standards Content (Sample)
NOTICE: This standard has either been superseded and replaced by a new version or withdrawn.
Contact ASTM International (www.astm.org) for the latest information
Designation:F 1710–97 (Reapproved 2002)
Standard Test Method for
Trace Metallic Impurities in Electronic Grade Titanium by
1
High Mass-Resolution Glow Discharge Mass Spectrometer
This standard is issued under the fixed designation F 1710; the number immediately following the designation indicates the year of
original adoption or, in the case of revision, the year of last revision.Anumber in parentheses indicates the year of last reapproval.A
superscript epsilon (e) indicates an editorial change since the last revision or reapproval.
5
1. Scope Determine the Precision of a Test Method
E1257 Guide for Evaluating Grinding Materials Used for
1.1 This test method covers the determination of concentra-
2
Surface Preparation in Spectrochemical Analysis
tions of trace metallic impurities in high purity titanium.
1.2 Thistestmethodpertainstoanalysisbymagnetic-sector
3. Terminology
glow discharge mass spectrometer (GDMS).
3.1 Terminology in this test method is consistent with
1.3 The titanium matrix must be 99.9 weight % (3N-grade)
Terminology E135. Required terminology specific to this test
pure, or purer, with respect to metallic impurities. There must
method, not covered inTerminology E135, is indicated in 3.2.
be no major alloy constituent, for example, aluminum or iron,
3.2 Definitions:
greater than 1000 weight ppm in concentration.
3.2.1 campaign—a series of analyses of similar specimens
1.4 This test method does not include all the information
performed in the same manner in one working session, using
needed to complete GDMS analyses. Sophisticated computer-
one GDMS setup.
controlled laboratory equipment skillfully used by an experi-
3.2.1.1 Discussion—As a practical matter, cleaning of the
enced operator is required to achieve the required sensitivity.
ionsourcespecimencellisoftentheboundaryeventseparating
Thistestmethoddoescovertheparticularfactors(forexample,
one analysis campaign from the next.
specimen preparation, setting of relative sensitivity factors,
3.2.2 reference sample—material accepted as suitable for
determination of sensitivity limits, etc.) known by the respon-
use as a calibration/sensitivity reference standard by all parties
sible technical committee to effect the reliability of high purity
concerned with the analyses.
titanium analyses.
3.2.3 specimen—a suitably sized piece cut from a reference
1.5 This standard does not purport to address all of the
or test sample, prepared for installation in the GDMS ion
safety concerns, if any, associated with its use. It is the
source, and analyzed.
responsibility of the user of this standard to establish appro-
3.2.4 test sample—material titanium to be analyzed for
priate safety and health practices and determine the applica-
trace metallic impurities by this GDMS method.
bility of regulatory limitations prior to use.
3.2.4.1 Discussion—Generally the test sample is extracted
2. Referenced Documents from a larger batch (lot, casting) of product and is intended to
be representative of the batch.
2.1 ASTM Standards:
E135 Terminology Relating to Analytical Chemistry for
4. Summary of the Test Method
2
Metals, Ores, and Related Materials
4.1 A specimen is mounted as the cathode in a plasma
E173 Practice for Conducting Interlaboratory Studies of
3 discharge cell. Atoms subsequently sputtered from the speci-
Methods for Chemical Analysis of Metals
men surface are ionized, and then focused as an ion beam
E180 Practice for Determining the Precision of ASTM
4
through a double-focusing magnetic-sector mass separation
Methods forAnalysis andTesting of Industrial Chemicals
apparatus. The mass spectrum, that is, the ion current, is
E691 Practice for Conducting an Interlaboratory Study to
collected as magnetic field or acceleration voltage, or both, is
scanned.
1
This test method is under the jurisdiction of ASTM Committee F01 on 4.2 The ion current of an isotope at mass M is the total
i
Electronics and is the direct responsibility of Subcommittee F01.17 on Sputter
measured current, less contributions from all other interfering
Metallization.
sources. Portions of the measured current may originate from
Current edition approved Dec. 10, 2002. Published May 2003. Originally
the ion detector alone (detector noise). Portions may be due to
approved in 1996. Last previous edition approved in 1997 as F1710–97.
2
Annual Book of ASTM Standards, Vol 03.05.
3
Discontinued. See 1996 Annual Book of ASTM Standards, Vol 03.05.
4 5
Annual Book of ASTM Standards, Vol 15.05. Annual Book of ASTM Standards, Vol 14.02.
Copyright © ASTM International, 100 Barr Harbor Drive, PO Box C700, West Conshohocken, PA 19428-2959, United States.
1
---------------------- Page: 1 ----------------------
F 1710–97 (2002)
incompletelymassresolvedionsofanisotopeormoleculewith 7. Reagents and Materials
mass close to, but not identical with, M.
...


Questions, Comments and Discussion
Ask us and Technical Secretary will try to provide an answer. You can facilitate discussion about the standard in here.