ASTM E766-14
(Practice)Standard Practice for Calibrating the Magnification of a Scanning Electron Microscope
Standard Practice for Calibrating the Magnification of a Scanning Electron Microscope
SIGNIFICANCE AND USE
4.1 Proper use of this practice can yield calibrated magnifications with precision of 5 % or better within a magnification range of from 10 to 50 000X.
4.2 The use of calibration specimens traceable to international/national standards, such as NIST-SRM 484, with this practice will yield magnifications accurate to better than 5 % over the calibrated range of operating conditions.
4.3 The accuracy of the calibrated magnifications, or dimensional measurements, will be poorer than the accuracy of the calibration specimen used with this practice.
4.4 For accuracy approaching that of the calibration specimen this practice must be applied with the identical operating conditions (accelerating voltage, working distance and magnification) used to image the specimens of interest.
4.5 It is incumbent upon each facility using this practice to define the standard range of magnification and operating conditions as well as the desired accuracy for which this practice will be applied. The standard operating conditions must include those parameters which the operator can control including: accelerating voltage, working distance, magnification, and imaging mode.
SCOPE
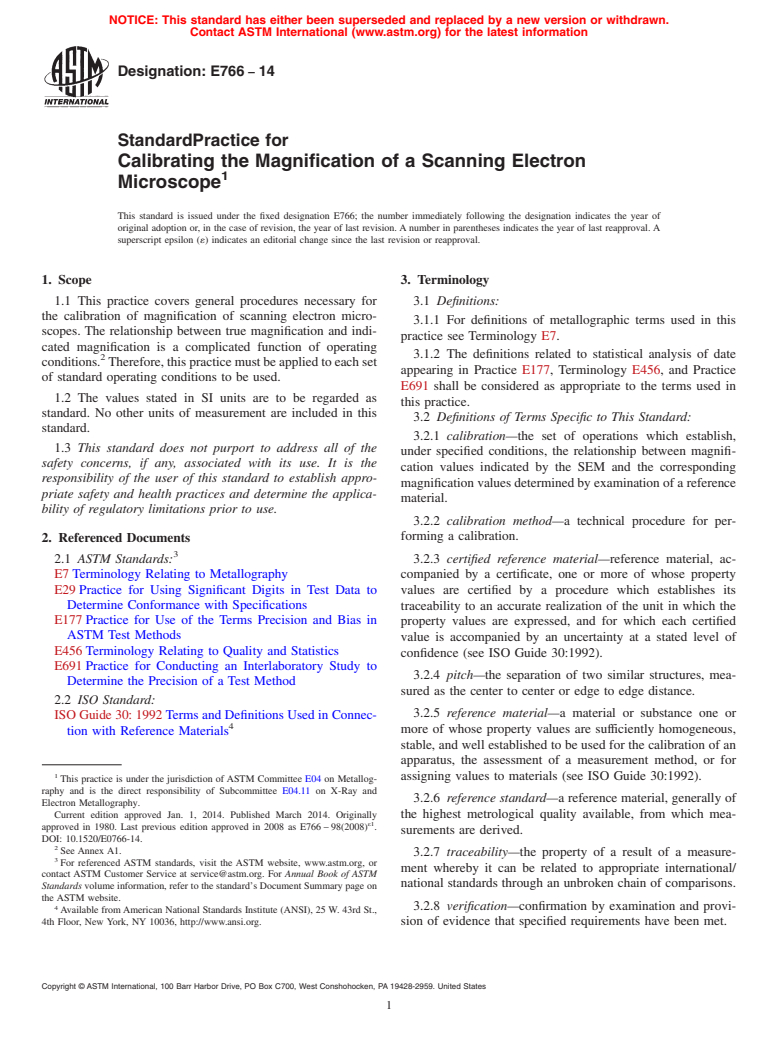
1.1 This practice covers general procedures necessary for the calibration of magnification of scanning electron microscopes. The relationship between true magnification and indicated magnification is a complicated function of operating conditions.2 Therefore, this practice must be applied to each set of standard operating conditions to be used.
1.2 The values stated in SI units are to be regarded as standard. No other units of measurement are included in this standard.
1.3 This standard does not purport to address all of the safety concerns, if any, associated with its use. It is the responsibility of the user of this standard to establish appropriate safety and health practices and determine the applicability of regulatory limitations prior to use.
General Information
Relations
Buy Standard
Standards Content (Sample)
NOTICE: This standard has either been superseded and replaced by a new version or withdrawn.
Contact ASTM International (www.astm.org) for the latest information
Designation:E766 −14
StandardPractice for
Calibrating the Magnification of a Scanning Electron
1
Microscope
This standard is issued under the fixed designation E766; the number immediately following the designation indicates the year of
original adoption or, in the case of revision, the year of last revision.Anumber in parentheses indicates the year of last reapproval.A
superscript epsilon (´) indicates an editorial change since the last revision or reapproval.
1. Scope 3. Terminology
1.1 This practice covers general procedures necessary for
3.1 Definitions:
the calibration of magnification of scanning electron micro-
3.1.1 For definitions of metallographic terms used in this
scopes. The relationship between true magnification and indi-
practice see Terminology E7.
cated magnification is a complicated function of operating
3.1.2 The definitions related to statistical analysis of date
2
conditions. Therefore,thispracticemustbeappliedtoeachset
appearing in Practice E177, Terminology E456, and Practice
of standard operating conditions to be used.
E691 shall be considered as appropriate to the terms used in
1.2 The values stated in SI units are to be regarded as
this practice.
standard. No other units of measurement are included in this
3.2 Definitions of Terms Specific to This Standard:
standard.
3.2.1 calibration—the set of operations which establish,
1.3 This standard does not purport to address all of the
under specified conditions, the relationship between magnifi-
safety concerns, if any, associated with its use. It is the
cation values indicated by the SEM and the corresponding
responsibility of the user of this standard to establish appro-
magnificationvaluesdeterminedbyexaminationofareference
priate safety and health practices and determine the applica-
material.
bility of regulatory limitations prior to use.
3.2.2 calibration method—a technical procedure for per-
forming a calibration.
2. Referenced Documents
3
2.1 ASTM Standards: 3.2.3 certified reference material—reference material, ac-
E7Terminology Relating to Metallography companied by a certificate, one or more of whose property
E29Practice for Using Significant Digits in Test Data to
values are certified by a procedure which establishes its
Determine Conformance with Specifications traceability to an accurate realization of the unit in which the
E177Practice for Use of the Terms Precision and Bias in
property values are expressed, and for which each certified
ASTM Test Methods
value is accompanied by an uncertainty at a stated level of
E456Terminology Relating to Quality and Statistics
confidence (see ISO Guide 30:1992).
E691Practice for Conducting an Interlaboratory Study to
3.2.4 pitch—the separation of two similar structures, mea-
Determine the Precision of a Test Method
sured as the center to center or edge to edge distance.
2.2 ISO Standard:
3.2.5 reference material—a material or substance one or
ISOGuide30:1992TermsandDefinitionsUsedinConnec-
4
more of whose property values are sufficiently homogeneous,
tion with Reference Materials
stable, and well established to be used for the calibration of an
apparatus, the assessment of a measurement method, or for
1
assigning values to materials (see ISO Guide 30:1992).
This practice is under the jurisdiction of ASTM Committee E04 on Metallog-
raphy and is the direct responsibility of Subcommittee E04.11 on X-Ray and
3.2.6 reference standard—a reference material, generally of
Electron Metallography.
Current edition approved Jan. 1, 2014. Published March 2014. Originally
the highest metrological quality available, from which mea-
ε1
approved in 1980. Last previous edition approved in 2008 as E766–98(2008) .
surements are derived.
DOI: 10.1520/E0766-14.
2
See Annex A1.
3.2.7 traceability—the property of a result of a measure-
3
For referenced ASTM standards, visit the ASTM website, www.astm.org, or
ment whereby it can be related to appropriate international/
contact ASTM Customer Service at service@astm.org. For Annual Book of ASTM
national standards through an unbroken chain of comparisons.
Standards volume information, refer to the standard’s Document Summary page on
the ASTM website.
4 3.2.8 verification—confirmation by examination and provi-
Available fromAmerican National Standards Institute (ANSI), 25 W. 43rd St.,
4th Floor, New York, NY 10036, http://www.ansi.org. sion of evidence that specified requirements have been met.
Copyright © ASTM International, 100 Barr Harbor Drive, PO Box C700, West Conshohocken, PA 19428-2959. United States
1
---------------------- Page: 1 ----------------------
E766−14
4. Significance and Use sary always follow the manufacturer’s instructions. Improper
handling, especially during cleaning, may invalidate the cali-
4.1 Proper use of this practice can yield calibrated magni-
bration specimen’s certificate of accuracy or tracea
...
This document is not an ASTM standard and is intended only to provide the user of an ASTM standard an indication of what changes have been made to the previous version. Because
it may not be technically possible to adequately depict all changes accurately, ASTM recommends that users consult prior editions as appropriate. In all cases only the current version
of the standard as published by ASTM is to be considered the official document.
´1
Designation: E766 − 98 (Reapproved 2008) E766 − 14
Standard Practice for
Calibrating the Magnification of a Scanning Electron
1
Microscope
This standard is issued under the fixed designation E766; the number immediately following the designation indicates the year of
original adoption or, in the case of revision, the year of last revision. A number in parentheses indicates the year of last reapproval. A
superscript epsilon (´) indicates an editorial change since the last revision or reapproval.
1
ε NOTE—3.1.2 and 6.9.2 were editorially corrected in June 2008.
1. Scope
1.1 This practice covers general procedures necessary for the calibration of magnification of scanning electron microscopes. The
2
relationship between true magnification and indicated magnification is a complicated function of operating conditions. Therefore,
this practice must be applied to each set of standard operating conditions to be used.
1.2 The values stated in SI units are to be regarded as standard. No other units of measurement are included in this standard.
1.3 This standard does not purport to address all of the safety concerns, if any, associated with its use. It is the responsibility
of the user of this standard to establish appropriate safety and health practices and determine the applicability of regulatory
limitations prior to use.
2. Referenced Documents
3
2.1 ASTM Standards:
E7 Terminology Relating to Metallography
E29 Practice for Using Significant Digits in Test Data to Determine Conformance with Specifications
E177 Practice for Use of the Terms Precision and Bias in ASTM Test Methods
E456 Terminology Relating to Quality and Statistics
E691 Practice for Conducting an Interlaboratory Study to Determine the Precision of a Test Method
2.2 ISO Standard:
4
ISO Guide 30: 1992 Terms and Definitions Used in Connection with Reference Materials
3. Terminology
3.1 Definitions:
3.1.1 For definitions of metallographic terms used in this practice see Terminology E7.
3.1.2 The definitions related to statistical analysis of date appearing in Practice E177, Terminology E456, and Practice E691
shall be considered as appropriate to the terms used in this practice.
3.2 Definitions of Terms Specific to This Standard:
3.2.1 calibration—the set of operations which establish, under specified conditions, the relationship between magnification
values indicated by the SEM and the corresponding magnification values determined by examination of a reference material.
3.2.2 calibration method—a technical procedure for performing a calibration.
3.2.3 certified reference material—reference material, accompanied by a certificate, one or more of whose property values are
certified by a procedure which establishes its traceability to an accurate realization of the unit in which the property values are
expressed, and for which each certified value is accompanied by an uncertainty at a stated level of confidence (see ISO Guide
30:1992).
1
This practice is under the jurisdiction of ASTM Committee E04 on Metallography and is the direct responsibility of Subcommittee E04.11 on X-Ray and Electron
Metallography.
Current edition approved June 15, 2008Jan. 1, 2014. Published June 2008March 2014. Originally approved in 1980. Last previous edition approved in 2003 2008 as
ε1
E7E766 – 9866 – 98(2003).(2008) . DOI: 10.1520/E0766-98R08E01.10.1520/E0766-14.
2
See Annex A1.
3
For referenced ASTM standards, visit the ASTM website, www.astm.org, or contact ASTM Customer Service at service@astm.org. For Annual Book of ASTM Standards
volume information, refer to the standard’s Document Summary page on the ASTM website.
4
Available from American National Standards Institute (ANSI), 25 W. 43rd St., 4th Floor, New York, NY 10036, http://www.ansi.org.
Copyright © ASTM International, 100 Barr Harbor Drive, PO Box C700, West Conshohocken, PA 19428-2959. United States
1
---------------------- Page: 1 ----------------------
E766 − 14
3.2.4 pitch—the separation of two similar structures, measured as the center to center or edge to edge distance.
3.2.5 reference material—a material or substance one or more of whose property values are sufficiently homogeneous, stable,
and well established to be used for the calibration of an apparatus, the assessment of a measurement method, or for assigning values
to materials (see ISO Guide 30:1992).
3.2.6 reference standard—a reference material, generally of the highest metrological quality available, from which measure-
ments are derived.
3.2.7 traceability—the property of a result of a measurement whereby it can be related to a
...


Questions, Comments and Discussion
Ask us and Technical Secretary will try to provide an answer. You can facilitate discussion about the standard in here.