ASTM E2919-22
(Test Method)Standard Test Method for Evaluating the Performance of Systems that Measure Static, Six Degrees of Freedom (6DOF), Pose
Standard Test Method for Evaluating the Performance of Systems that Measure Static, Six Degrees of Freedom (6DOF), Pose
SIGNIFICANCE AND USE
5.1 Pose measurement systems are used in a wide range of fields including manufacturing, material handling, construction, medicine, and aerospace. The use of pose measurement systems could, for example, replace the need to fix the poses of objects of interest by mechanical means.
5.2 Potential users have difficulty comparing pose measurement systems because of the lack of standard performance specifications and test methods, and must rely on the specifications of a vendor regarding the system’s performance, capabilities, and suitability for a particular application. This standard makes it possible for a user to assess and compare the performance of candidate pose measurement systems, and allows the user to determine if the measured performance results are within the vendor’s claimed specifications with regard to the user’s application. This standard also facilitates the improvement of pose measurement systems by providing a common set of metrics to evaluate system performance.
5.3 The intent of this test method is to allow a user to determine the performance of a vendor’s system under conditions specific to the user’s application, and to determine whether the system still performs in accordance with the vendor’s specifications under those conditions. The intention of this test method is not to validate a vendor’s claims; although, under specific situations, this test method may be adapted for this purpose.
SCOPE
1.1 Purpose—In this test method, metrics and procedures for collecting and analyzing data to determine the performance of a pose measurement system in computing the pose (position and orientation) of a rigid object are provided.
1.2 This test method applies to the situation in which both the object and the pose measurement system are static with respect to each other when measurements are performed. Vendors may use this test method to establish the performance limits for their six degrees of freedom (6DOF) pose measurement systems. The vendor may use the procedures described in 9.2 to generate the test statistics, then apply an appropriate margin or scaling factor as desired to generate the performance specifications. This test method also provides a uniform way to report the relative or absolute pose measurement capability of the system, or both, making it possible to compare the performance of different systems.
1.3 Test Location—The methodology defined in this test method shall be performed in a facility in which the environmental conditions are within the pose measurement system’s rated conditions and meet the user’s requirements.
1.4 Units—The values stated in SI units are to be regarded as the standard. No other units of measurement are included in this standard.
1.5 This standard does not purport to address all of the safety concerns, if any, associated with its use. It is the responsibility of the user of this standard to establish appropriate safety, health, and environmental practices and determine the applicability of regulatory limitations prior to use.
1.6 This international standard was developed in accordance with internationally recognized principles on standardization established in the Decision on Principles for the Development of International Standards, Guides and Recommendations issued by the World Trade Organization Technical Barriers to Trade (TBT) Committee.
General Information
Buy Standard
Standards Content (Sample)
This international standard was developed in accordance with internationally recognized principles on standardization established in the Decision on Principles for the
Development of International Standards, Guides and Recommendations issued by the World Trade Organization Technical Barriers to Trade (TBT) Committee.
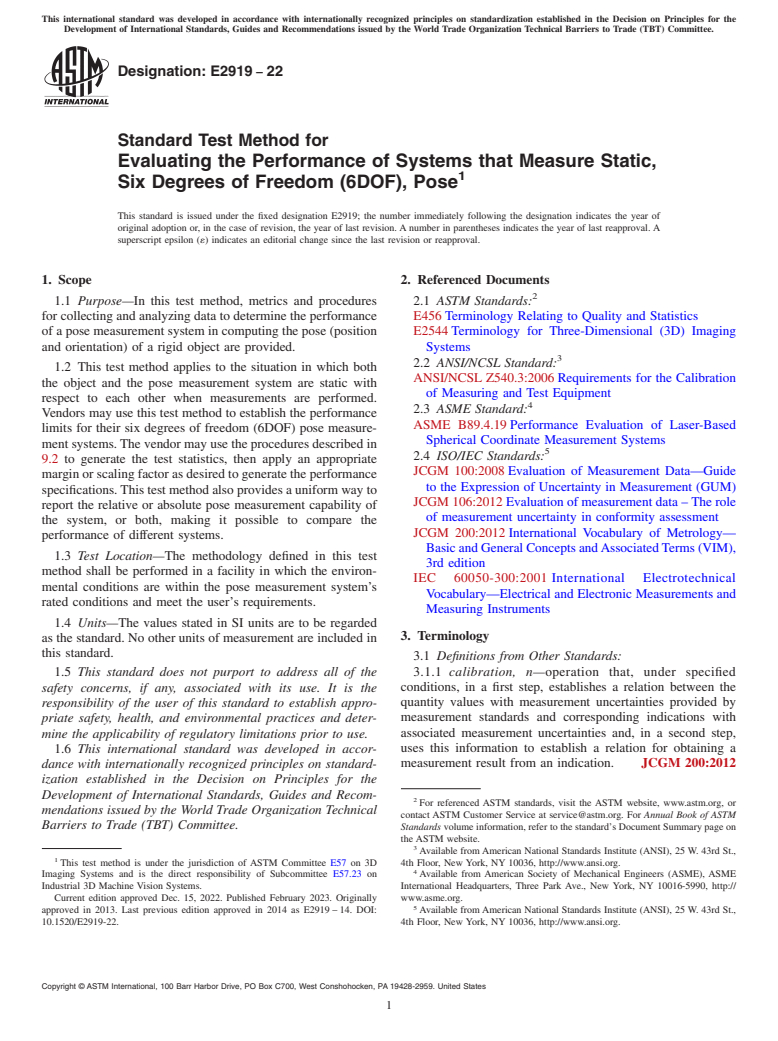
Designation: E2919 − 22
Standard Test Method for
Evaluating the Performance of Systems that Measure Static,
1
Six Degrees of Freedom (6DOF), Pose
This standard is issued under the fixed designation E2919; the number immediately following the designation indicates the year of
original adoption or, in the case of revision, the year of last revision. A number in parentheses indicates the year of last reapproval. A
superscript epsilon (´) indicates an editorial change since the last revision or reapproval.
1. Scope 2. Referenced Documents
2
1.1 Purpose—In this test method, metrics and procedures 2.1 ASTM Standards:
for collecting and analyzing data to determine the performance E456 Terminology Relating to Quality and Statistics
of a pose measurement system in computing the pose (position E2544 Terminology for Three-Dimensional (3D) Imaging
and orientation) of a rigid object are provided. Systems
3
2.2 ANSI/NCSL Standard:
1.2 This test method applies to the situation in which both
ANSI/NCSL Z540.3:2006 Requirements for the Calibration
the object and the pose measurement system are static with
of Measuring and Test Equipment
respect to each other when measurements are performed.
4
2.3 ASME Standard:
Vendors may use this test method to establish the performance
ASME B89.4.19 Performance Evaluation of Laser-Based
limits for their six degrees of freedom (6DOF) pose measure-
Spherical Coordinate Measurement Systems
ment systems. The vendor may use the procedures described in
5
2.4 ISO/IEC Standards:
9.2 to generate the test statistics, then apply an appropriate
JCGM 100:2008 Evaluation of Measurement Data—Guide
margin or scaling factor as desired to generate the performance
to the Expression of Uncertainty in Measurement (GUM)
specifications. This test method also provides a uniform way to
JCGM 106:2012 Evaluation of measurement data – The role
report the relative or absolute pose measurement capability of
of measurement uncertainty in conformity assessment
the system, or both, making it possible to compare the
JCGM 200:2012 International Vocabulary of Metrology—
performance of different systems.
Basic and General Concepts and Associated Terms (VIM),
1.3 Test Location—The methodology defined in this test
3rd edition
method shall be performed in a facility in which the environ-
IEC 60050-300:2001 International Electrotechnical
mental conditions are within the pose measurement system’s
Vocabulary—Electrical and Electronic Measurements and
rated conditions and meet the user’s requirements.
Measuring Instruments
1.4 Units—The values stated in SI units are to be regarded
3. Terminology
as the standard. No other units of measurement are included in
this standard.
3.1 Definitions from Other Standards:
1.5 This standard does not purport to address all of the 3.1.1 calibration, n—operation that, under specified
conditions, in a first step, establishes a relation between the
safety concerns, if any, associated with its use. It is the
responsibility of the user of this standard to establish appro- quantity values with measurement uncertainties provided by
measurement standards and corresponding indications with
priate safety, health, and environmental practices and deter-
mine the applicability of regulatory limitations prior to use. associated measurement uncertainties and, in a second step,
uses this information to establish a relation for obtaining a
1.6 This international standard was developed in accor-
dance with internationally recognized principles on standard- measurement result from an indication. JCGM 200:2012
ization established in the Decision on Principles for the
Development of International Standards, Guides and Recom-
2
For referenced ASTM standards, visit the ASTM website, www.astm.org, or
mendations issued by the World Trade Organization Technical
contact ASTM Customer Service at service@astm.org. For Annual Book of ASTM
Barriers to Trade (TBT) Committee. Standards volume information, refer to the standard’s Document Summary page on
the ASTM website.
3
Available from American National Standards Institute (ANSI), 25 W. 43rd St.,
1
This test method is under the jurisdiction of ASTM Committee E57 on 3D 4th Floor, New York, NY 10036, http://www.ansi.org.
4
Imaging Systems and is the direct responsibility of Subcommittee E57.23 on Available from American Society of Mechanical Engineers (ASME), ASME
Industrial 3D Machine Vision Systems. International Headquarters, Three Park Ave., New York, NY 10016-5990, http://
Current edition approved Dec. 15, 2022. Published February 2023. Originally www.asme.org.
5
approved in 2013. Last previous edition approved in 2014 as E2919 – 14. DOI: Available from American Nati
...
This document is not an ASTM standard and is intended only to provide the user of an ASTM standard an indication of what changes have been made to the previous version. Because
it may not be technically possible to adequately depict all changes accurately, ASTM recommends that users consult prior editions as appropriate. In all cases only the current version
of the standard as published by ASTM is to be considered the official document.
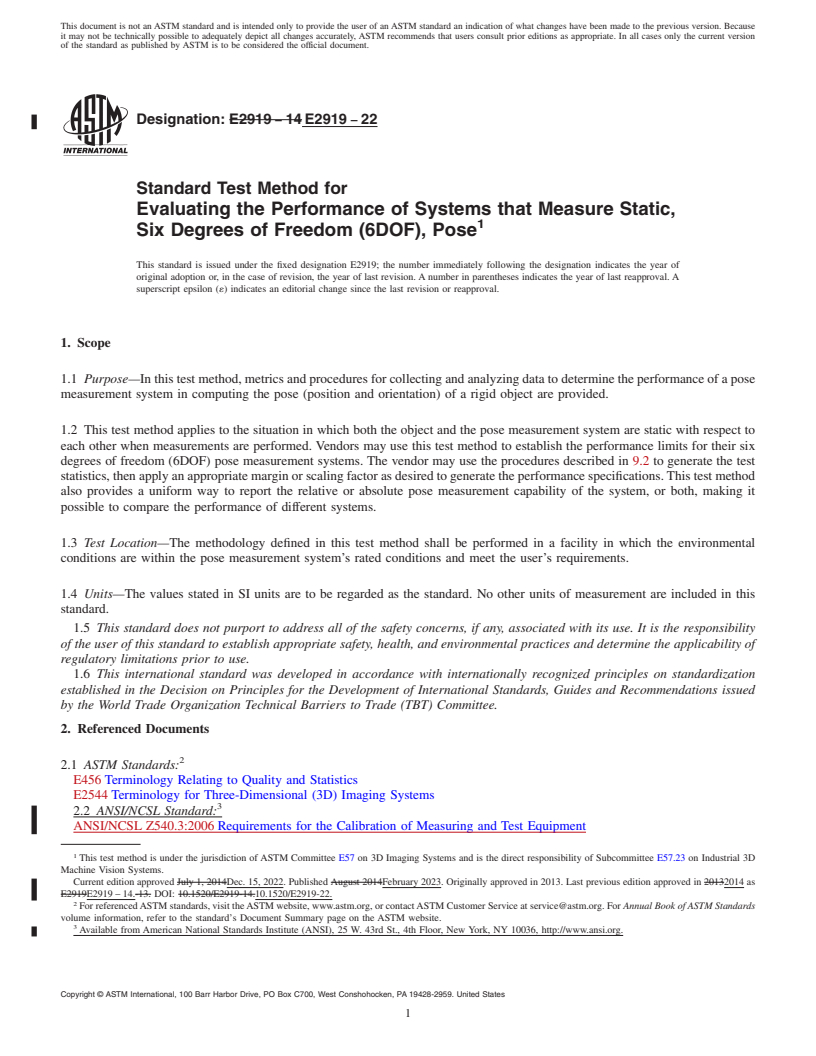
Designation: E2919 − 14 E2919 − 22
Standard Test Method for
Evaluating the Performance of Systems that Measure Static,
1
Six Degrees of Freedom (6DOF), Pose
This standard is issued under the fixed designation E2919; the number immediately following the designation indicates the year of
original adoption or, in the case of revision, the year of last revision. A number in parentheses indicates the year of last reapproval. A
superscript epsilon (´) indicates an editorial change since the last revision or reapproval.
1. Scope
1.1 Purpose—In this test method, metrics and procedures for collecting and analyzing data to determine the performance of a pose
measurement system in computing the pose (position and orientation) of a rigid object are provided.
1.2 This test method applies to the situation in which both the object and the pose measurement system are static with respect to
each other when measurements are performed. Vendors may use this test method to establish the performance limits for their six
degrees of freedom (6DOF) pose measurement systems. The vendor may use the procedures described in 9.2 to generate the test
statistics, then apply an appropriate margin or scaling factor as desired to generate the performance specifications. This test method
also provides a uniform way to report the relative or absolute pose measurement capability of the system, or both, making it
possible to compare the performance of different systems.
1.3 Test Location—The methodology defined in this test method shall be performed in a facility in which the environmental
conditions are within the pose measurement system’s rated conditions and meet the user’s requirements.
1.4 Units—The values stated in SI units are to be regarded as the standard. No other units of measurement are included in this
standard.
1.5 This standard does not purport to address all of the safety concerns, if any, associated with its use. It is the responsibility
of the user of this standard to establish appropriate safety, health, and environmental practices and determine the applicability of
regulatory limitations prior to use.
1.6 This international standard was developed in accordance with internationally recognized principles on standardization
established in the Decision on Principles for the Development of International Standards, Guides and Recommendations issued
by the World Trade Organization Technical Barriers to Trade (TBT) Committee.
2. Referenced Documents
2
2.1 ASTM Standards:
E456 Terminology Relating to Quality and Statistics
E2544 Terminology for Three-Dimensional (3D) Imaging Systems
3
2.2 ANSI/NCSL Standard:
ANSI/NCSL Z540.3:2006 Requirements for the Calibration of Measuring and Test Equipment
1
This test method is under the jurisdiction of ASTM Committee E57 on 3D Imaging Systems and is the direct responsibility of Subcommittee E57.23 on Industrial 3D
Machine Vision Systems.
Current edition approved July 1, 2014Dec. 15, 2022. Published August 2014February 2023. Originally approved in 2013. Last previous edition approved in 20132014 as
E2919E2919 – 14.-13. DOI: 10.1520/E2919-14.10.1520/E2919-22.
2
For referenced ASTM standards, visit the ASTM website, www.astm.org, or contact ASTM Customer Service at service@astm.org. For Annual Book of ASTM Standards
volume information, refer to the standard’s Document Summary page on the ASTM website.
3
Available from American National Standards Institute (ANSI), 25 W. 43rd St., 4th Floor, New York, NY 10036, http://www.ansi.org.
Copyright © ASTM International, 100 Barr Harbor Drive, PO Box C700, West Conshohocken, PA 19428-2959. United States
1
---------------------- Page: 1 ----------------------
E2919 − 22
4
2.3 ASME Standard:
ASME B89.4.19 Performance Evaluation of Laser-Based Spherical Coordinate Measurement Systems
5
2.4 ISO/IEC Standards:
JCGM 100:2008 Evaluation of Measurement Data—Guide to the Expression of Uncertainty in Measurement (GUM)
JCGM 106:2012 Evaluation of measurement data – The role of measurement uncertainty in conformity assessment
JCGM 200:2012 International Vocabulary of Metrology—Basic and General Concepts and Associated Terms (VIM), 3rd edition
JCGM 100:2008 Evaluation of Measurement Data—Guide to the Expression of Uncertainty in Measurement (GUM)
IEC 60050-300:2001 International Electrotechnical Vocabulary—Electrical and Electronic Measurements and Measuring
Instruments
3. Terminology
3.1 Definitions from Other Standards:
3.1.1 calibration, n—operation that, under specified conditions, in a first step, establishes a relation between the qua
...


Questions, Comments and Discussion
Ask us and Technical Secretary will try to provide an answer. You can facilitate discussion about the standard in here.