ASTM E1245-03
(Practice)Standard Practice for Determining the Inclusion or Second-Phase Constituent Content of Metals by Automatic Image Analysis
Standard Practice for Determining the Inclusion or Second-Phase Constituent Content of Metals by Automatic Image Analysis
SCOPE
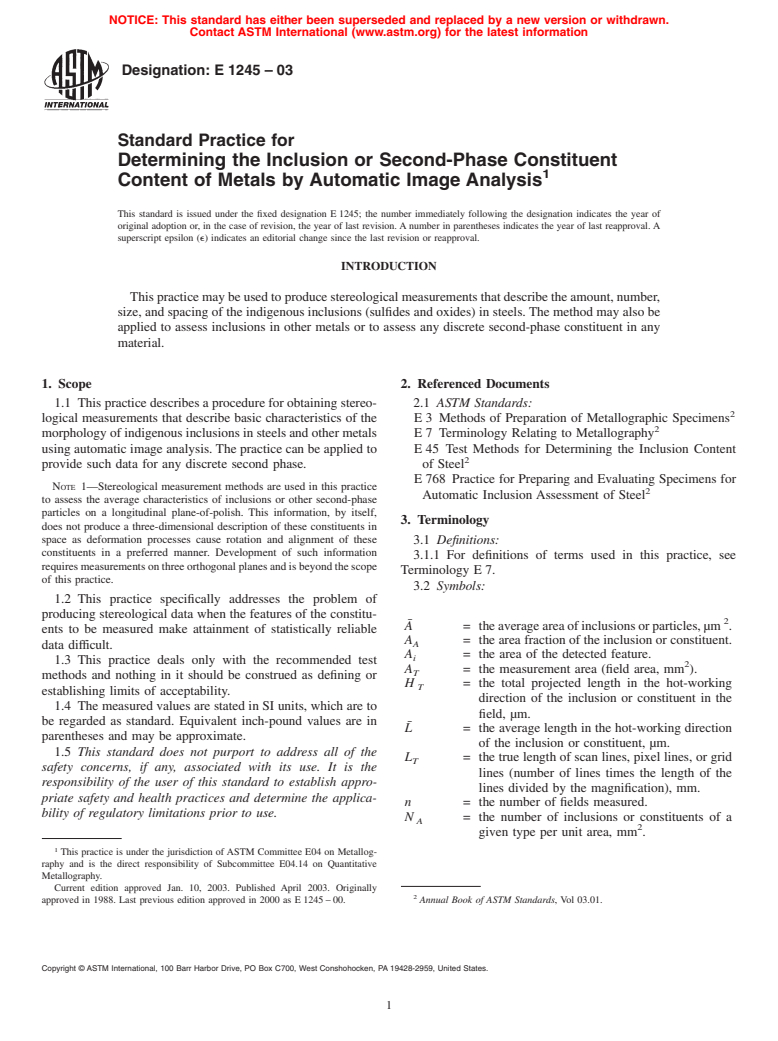
1.1 This practice describes a procedure for obtaining stereological measurements that describe basic characteristics of the morphology of indigenous inclusions in steels and other metals using automatic image analysis. The practice can be applied to provide such data for any discrete second phase.
Note 1—Stereological measurement methods are used in this practice to assess the average characteristics of inclusions or other second-phase particles on a longitudinal plane-of-polish. This information, by itself, does not produce a three-dimensional description of these constituents in space as deformation processes cause rotation and alignment of these constituents in a preferred manner. Development of such information requires measurements on three orthogonal planes and is beyond the scope of this practice.
1.2 This practice specifically addresses the problem of producing stereological data when the features of the constituents to be measured make attainment of statistically reliable data difficult.
1.3 This practice deals only with the recommended test methods and nothing in it should be construed as defining or establishing limits of acceptability.
1.4 The measured values are stated in SI units, which are to be regarded as standard. Equivalent inch-pound values are in parentheses and may be approximate.
1.5 This standard does not purport to address all of the safety concerns, if any, associated with its use. It is the responsibility of the user of this standard to establish appropriate safety and health practices and determine the applicability of regulatory limitations prior to use.
General Information
Relations
Standards Content (Sample)
NOTICE: This standard has either been superseded and replaced by a new version or withdrawn.
Contact ASTM International (www.astm.org) for the latest information
Designation: E 1245 – 03
Standard Practice for
Determining the Inclusion or Second-Phase Constituent
1
Content of Metals by Automatic Image Analysis
This standard is issued under the fixed designation E 1245; the number immediately following the designation indicates the year of
original adoption or, in the case of revision, the year of last revision. A number in parentheses indicates the year of last reapproval. A
superscript epsilon (e) indicates an editorial change since the last revision or reapproval.
INTRODUCTION
Thispracticemaybeusedtoproducestereologicalmeasurementsthatdescribetheamount,number,
size, and spacing of the indigenous inclusions (sulfides and oxides) in steels. The method may also be
applied to assess inclusions in other metals or to assess any discrete second-phase constituent in any
material.
1. Scope 2. Referenced Documents
1.1 This practice describes a procedure for obtaining stereo- 2.1 ASTM Standards:
2
logical measurements that describe basic characteristics of the E 3 Methods of Preparation of Metallographic Specimens
2
morphology of indigenous inclusions in steels and other metals E 7 Terminology Relating to Metallography
using automatic image analysis. The practice can be applied to E 45 Test Methods for Determining the Inclusion Content
2
provide such data for any discrete second phase. of Steel
E 768 Practice for Preparing and Evaluating Specimens for
NOTE 1—Stereological measurement methods are used in this practice
2
Automatic Inclusion Assessment of Steel
to assess the average characteristics of inclusions or other second-phase
particles on a longitudinal plane-of-polish. This information, by itself,
3. Terminology
does not produce a three-dimensional description of these constituents in
space as deformation processes cause rotation and alignment of these
3.1 Definitions:
constituents in a preferred manner. Development of such information
3.1.1 For definitions of terms used in this practice, see
requiresmeasurementsonthreeorthogonalplanesandisbeyondthescope
Terminology E 7.
of this practice.
3.2 Symbols:
1.2 This practice specifically addresses the problem of
producing stereological data when the features of the constitu-
2
¯
A = theaverageareaofinclusionsorparticles,µm .
ents to be measured make attainment of statistically reliable
A = the area fraction of the inclusion or constituent.
A
data difficult.
A = the area of the detected feature.
i
1.3 This practice deals only with the recommended test
2
A = the measurement area (field area, mm ).
T
methods and nothing in it should be construed as defining or
H = the total projected length in the hot-working
T
establishing limits of acceptability.
direction of the inclusion or constituent in the
1.4 The measured values are stated in SI units, which are to
field, µm.
be regarded as standard. Equivalent inch-pound values are in
¯
L = the average length in the hot-working direction
parentheses and may be approximate.
of the inclusion or constituent, µm.
1.5 This standard does not purport to address all of the
L = the true length of scan lines, pixel lines, or grid
T
safety concerns, if any, associated with its use. It is the
lines (number of lines times the length of the
responsibility of the user of this standard to establish appro-
lines divided by the magnification), mm.
priate safety and health practices and determine the applica-
n = the number of fields measured.
bility of regulatory limitations prior to use.
N = the number of inclusions or constituents of a
A
2
given type per unit area, mm .
1
This practice is under the jurisdiction of ASTM Committee E04 on Metallog-
raphy and is the direct responsibility of Subcommittee E04.14 on Quantitative
Metallography.
Current edition approved Jan. 10, 2003. Published April 2003. Originally
2
approved in 1988. Last previous edition approved in 2000 as E 1245 – 00. Annual Book of ASTM Standards, Vol 03.01.
Copyright © ASTM International, 100 Barr Harbor Drive, PO Box C700, West Conshohocken, PA 19428-2959, United States.
1
---------------------- Page: 1 ----------------------
E1245–03
5.3 Because the characteristics of the indigenous inclusion
N = the number of inclusions or constituent par-
i
population vary within a given lot of material due to the
ticles or the number of feature interceptions, in
influence of compositional fluctuations, solidification condi-
the field.
tions and processing, the lot must be sampled statistically to
N = the number of interceptions of inclusions or
L
assess its inclusion content. The largest lot sampled is the heat
constituent particles per unit length (mm) of
lotbutsmallerlots,forexample,theproductofaningot,within
scan lines, pixel lines, or grid lines.
the heat may be sampled as a separate lot. The sampling of a
PP = the number of detected picture points.
i
PP = the total number of picture points in
...


Questions, Comments and Discussion
Ask us and Technical Secretary will try to provide an answer. You can facilitate discussion about the standard in here.