ISO/TS 22809:2007
(Main)Non-destructive testing — Discontinuities in specimens for use in qualification examinations
Non-destructive testing — Discontinuities in specimens for use in qualification examinations
ISO/TS 22809:2007 has been established to consider and define types of discontinuities to be exhibited in test specimens for use in non-destructive testing examinations.
Essais non destructifs — Discontinuités dans les échantillons d'essai utilisés pour les examens de qualification
General Information
- Status
- Published
- Publication Date
- 05-Nov-2007
- Technical Committee
- ISO/TC 135/SC 7 - Personnel qualification
- Drafting Committee
- ISO/TC 135/SC 7 - Personnel qualification
- Current Stage
- 9093 - International Standard confirmed
- Start Date
- 12-Sep-2024
- Completion Date
- 12-Feb-2026
Overview
ISO/TS 22809:2007 - Non-destructive testing - Discontinuities in specimens for use in qualification examinations - defines the types, sizes and presentation of discontinuities in test specimens used for NDT qualification and certification. As an ISO Technical Specification, it guides examination centres in preparing realistic, sector-specific specimens for practical NDT examinations and in documenting discontinuities for candidate assessment.
Key topics and requirements
- Scope and purpose: Specifies discontinuity types to be exhibited in specimens for qualification examinations; excludes methods such as acoustic emission, infrared thermography, strain and leak testing where discontinuity type need not be defined.
- Specimen sectors: Details specimen configurations and representative discontinuity types for:
- Castings (c)
- Welded test specimens (w)
- Wrought products (wp)
- Forgings (f)
- Tubes and pipes (t)
- Minimum specimen numbers: Examination centres must hold a calculated minimum number of specimens based on the number of specimens per practical exam and the maximum simultaneous candidates.
- Minimum discontinuity sizes (method-specific):
- Radiographic testing (RT): planar ≥ 5 mm; pores ≥ 2 mm; clusters ≥ 5 mm; inclusions ≥ 3 mm. (RT specimens may omit physical discontinuities for interpretation exams.)
- Ultrasonic testing (UT): planar length ≥ 5 mm; through‑wall extent ≥ 2 mm or 20% of wall thickness (whichever is less); calibration reference = 3 mm side‑drill; volumetric ≥ 5 mm.
- Magnetic particle / Liquid penetrant (MT / PT): linear ≥ 3 mm; rounded or clusters ≥ 5 mm.
- Eddy current (ET): linear ≥ 2 mm.
- Visual testing (VT): surface discontinuities ≥ 1 mm (direct and remote aided VT).
- Surface conditions: Test areas must be free from dirt, oil, loose corrosion products, roughness or coatings that interfere with inspection.
- Number of discontinuities: Recommended minimum reportable discontinuities presented to a candidate: four for product sectors, six for industry sectors.
- Radiographic interpretation: Radiographs used in practical exams must be of suitable quality, contain at least one mandatory reportable discontinuity, and include datum/reference points.
- Specimen master report: All discontinuities relevant to evaluation must be recorded on a specimen master report in line with ISO 9712 requirements.
Applications and who uses this standard
- NDT examination and certification bodies preparing practical qualification tests.
- NDT trainers and centres designing realistic specimens for candidate assessment.
- Quality, inspection and welding personnel in industries such as oil & gas, power generation, aerospace, manufacturing and foundry work, where certified NDT personnel are required.
- Employers and regulatory authorities setting competency demonstration criteria for inspection staff.
Related standards
- ISO 9712:2005 - Qualification and certification of NDT personnel (referenced for terms and specimen master report format)
- ISO 4063 - Welding process nomenclature
- ISO 6520-1 - Classification of geometric imperfections (fusion welding)
Practical takeaway: ISO/TS 22809:2007 helps ensure that NDT qualification specimens are realistic, method-appropriate and consistently documented, improving the reliability of personnel certification and on‑site inspection competence.
Get Certified
Connect with accredited certification bodies for this standard

BSI Group
BSI (British Standards Institution) is the business standards company that helps organizations make excellence a habit.

Bureau Veritas
Bureau Veritas is a world leader in laboratory testing, inspection and certification services.

DNV
DNV is an independent assurance and risk management provider.
Sponsored listings
Frequently Asked Questions
ISO/TS 22809:2007 is a technical specification published by the International Organization for Standardization (ISO). Its full title is "Non-destructive testing — Discontinuities in specimens for use in qualification examinations". This standard covers: ISO/TS 22809:2007 has been established to consider and define types of discontinuities to be exhibited in test specimens for use in non-destructive testing examinations.
ISO/TS 22809:2007 has been established to consider and define types of discontinuities to be exhibited in test specimens for use in non-destructive testing examinations.
ISO/TS 22809:2007 is classified under the following ICS (International Classification for Standards) categories: 03.100.30 - Management of human resources; 19.100 - Non-destructive testing. The ICS classification helps identify the subject area and facilitates finding related standards.
ISO/TS 22809:2007 is available in PDF format for immediate download after purchase. The document can be added to your cart and obtained through the secure checkout process. Digital delivery ensures instant access to the complete standard document.
Standards Content (Sample)
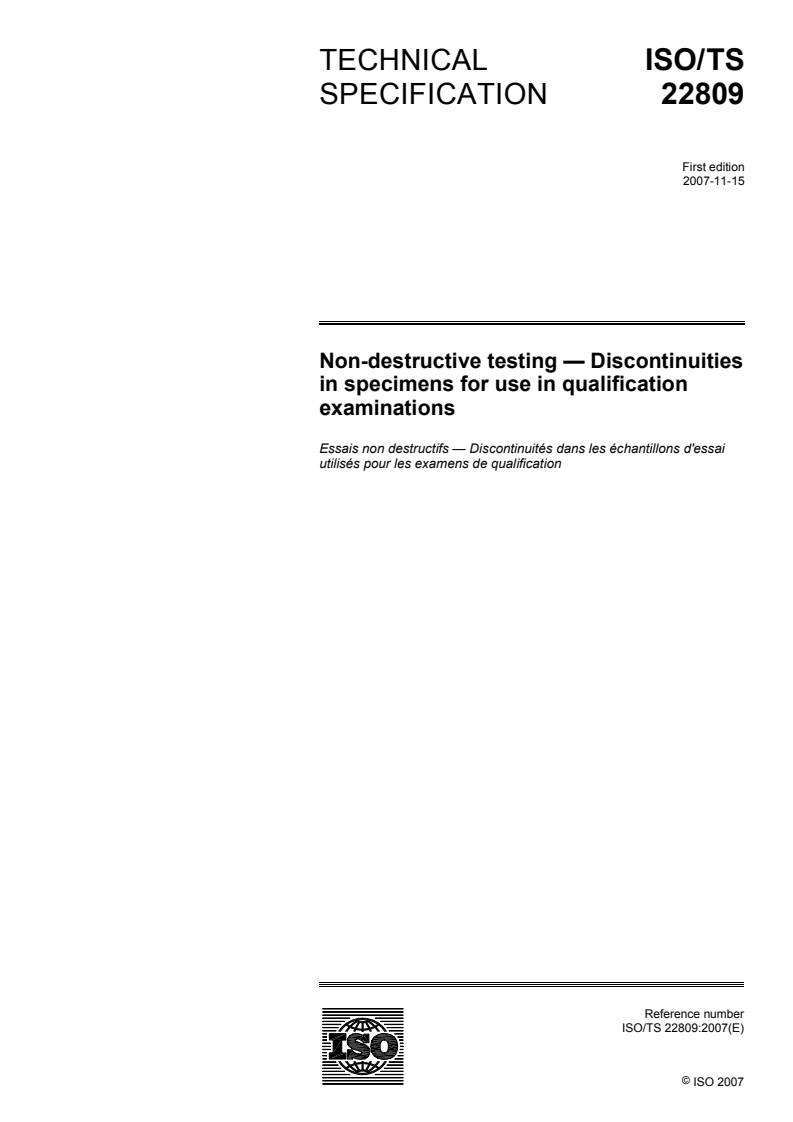
TECHNICAL ISO/TS
SPECIFICATION 22809
First edition
2007-11-15
Non-destructive testing — Discontinuities
in specimens for use in qualification
examinations
Essais non destructifs — Discontinuités dans les échantillons d'essai
utilisés pour les examens de qualification
Reference number
©
ISO 2007
PDF disclaimer
This PDF file may contain embedded typefaces. In accordance with Adobe's licensing policy, this file may be printed or viewed but
shall not be edited unless the typefaces which are embedded are licensed to and installed on the computer performing the editing. In
downloading this file, parties accept therein the responsibility of not infringing Adobe's licensing policy. The ISO Central Secretariat
accepts no liability in this area.
Adobe is a trademark of Adobe Systems Incorporated.
Details of the software products used to create this PDF file can be found in the General Info relative to the file; the PDF-creation
parameters were optimized for printing. Every care has been taken to ensure that the file is suitable for use by ISO member bodies. In
the unlikely event that a problem relating to it is found, please inform the Central Secretariat at the address given below.
© ISO 2007
All rights reserved. Unless otherwise specified, no part of this publication may be reproduced or utilized in any form or by any means,
electronic or mechanical, including photocopying and microfilm, without permission in writing from either ISO at the address below or
ISO's member body in the country of the requester.
ISO copyright office
Case postale 56 • CH-1211 Geneva 20
Tel. + 41 22 749 01 11
Fax + 41 22 749 09 47
E-mail copyright@iso.org
Web www.iso.org
Published in Switzerland
ii © ISO 2007 – All rights reserved
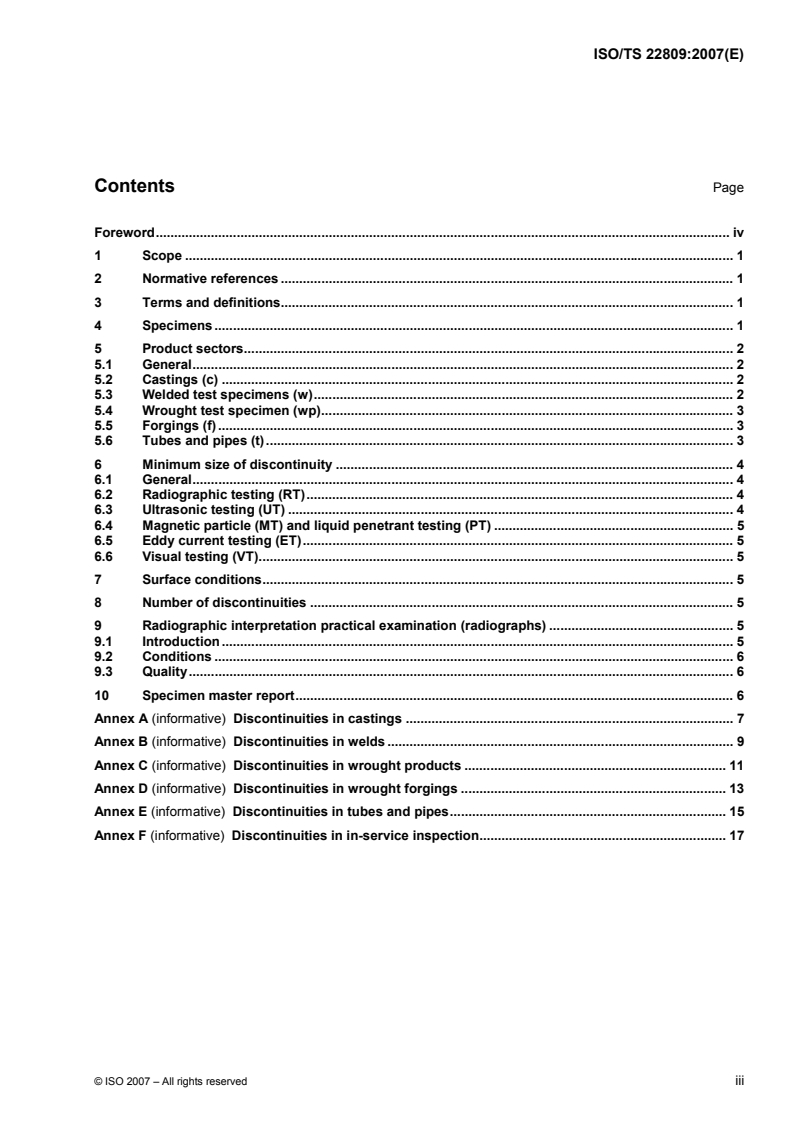
Contents Page
Foreword. iv
1 Scope . 1
2 Normative references . 1
3 Terms and definitions. 1
4 Specimens . 1
5 Product sectors. 2
5.1 General. 2
5.2 Castings (c) . 2
5.3 Welded test specimens (w). 2
5.4 Wrought test specimen (wp). 3
5.5 Forgings (f) . 3
5.6 Tubes and pipes (t). 3
6 Minimum size of discontinuity . 4
6.1 General. 4
6.2 Radiographic testing (RT). 4
6.3 Ultrasonic testing (UT) . 4
6.4 Magnetic particle (MT) and liquid penetrant testing (PT) . 5
6.5 Eddy current testing (ET). 5
6.6 Visual testing (VT). 5
7 Surface conditions. 5
8 Number of discontinuities . 5
9 Radiographic interpretation practical examination (radiographs) . 5
9.1 Introduction . 5
9.2 Conditions . 6
9.3 Quality. 6
10 Specimen master report. 6
Annex A (informative) Discontinuities in castings . 7
Annex B (informative) Discontinuities in welds . 9
Annex C (informative) Discontinuities in wrought products . 11
Annex D (informative) Discontinuities in wrought forgings . 13
Annex E (informative) Discontinuities in tubes and pipes. 15
Annex F (informative) Discontinuities in in-service inspection. 17
Foreword
ISO (the International Organization for Standardization) is a worldwide federation of national standards bodies
(ISO member bodies). The work of preparing International Standards is normally carried out through ISO
technical committees. Each member body interested in a subject for which a technical committee has been
established has the right to be represented on that committee. International organizations, governmental and
non-governmental, in liaison with ISO, also take part in the work. ISO collaborates closely with the
International Electrotechnical Commission (IEC) on all matters of electrotechnical standardization.
International Standards are drafted in accordance with the rules given in the ISO/IEC Directives, Part 2.
The main task of technical committees is to prepare International Standards. Draft International Standards
adopted by the technical committees are circulated to the member bodies for voting. Publication as an
International Standard requires approval by at least 75 % of the member bodies casting a vote.
In other circumstances, particularly when there is an urgent market requirement for such documents, a
technical committee may decide to publish other types of document:
⎯ an ISO Publicly Available Specification (ISO/PAS) represents an agreement between technical experts in
an ISO working group and is accepted for publication if it is approved by more than 50 % of the members
of the parent committee casting a vote;
⎯ an ISO Technical Specification (ISO/TS) represents an agreement between the members of a technical
committee and is accepted for publication if it is approved by 2/3 of the members of the committee casting
a vote.
An ISO/PAS or ISO/TS is reviewed after three years in order to decide whether it will be confirmed for a
further three years, revised to become an International Standard, or withdrawn. If the ISO/PAS or ISO/TS is
confirmed, it is reviewed again after a further three years, at which time it must either be transformed into an
International Standard or be withdrawn.
Attention is drawn to the possibility that some of the elements of this document may be the subject of patent
rights. ISO shall not be held responsible for identifying any or all such patent rights.
ISO/TS 22809 was prepared by Technical Committee ISO/TC 135, Non-destructive testing, Subcommittee
SC 7, Personnel qualification.
iv © ISO 2007 – All rights reserved
TECHNICAL SPECIFICATION ISO/TS 22809:2007(E)
Non-destructive testing — Discontinuities in specimens for use
in qualification examinations
1 Scope
This Technical Specification has been established to consider and define types of discontinuities to be
exhibited in test specimens for use in non-destructive testing examinations.
Acoustic emission testing, infrared thermography testing, strain testing and leak testing need not define
discontinuity type, due to their specific approach (e.g. replaced in AT by artificial sources).
2 Normative references
The following referenced documents are indispensable for the application of this document. For dated
references, only the edition cited applies. For undated references, the latest edition of the referenced
document (including any amendments) applies.
ISO 9712:2005, Non-destructive testing — Qualification and certification of personnel
ISO 4063, Welding and allied processes — Nomenclature of processes and reference numbers
ISO 6520-1, Welding and allied processes — Classification of geometric imperfections in metallic materials
Part 1: Fusion welding
3 Terms and definitions
For the purposes of this document, the terms and definitions given in ISO 9712 as well as the following apply.
3.1
test area
area of a specimen, either the whole or just a portion, which is to be tested by a candidate during the
practical examination
NOTE A single test specimen can contain a number of test areas with no overlap.
4 Specimens
The minimum number of specimens, n , to be held at any examination centre is calculated using the
min
following formula:
minimum number of specimens: n = n × n
min sp cmax
where
n is the number of specimens in practical examination;
sp
n is the maximum number of candidates allowed to simultaneously attempt the practical exam.
cmax
5 Product sectors
5.1 General
Specimens shall be sector-specific, simulating field geometries and containing discontinuities representative
of those likely to occur during manufacturing or in service (inherent, processing and in-service discontinuities).
Discontinuities may be natural, artificial or implanted. For RT, the specimens need not contain discontinuities,
since these will be exhibited in the radiographs for Level 2 interpretation.
5.2 Castings (c)
5.2.1 Configuration
The range of specimens held by the examination centre can include:
⎯ cylindrical section (large and small diameters);
⎯ flanges;
⎯ changes of section;
⎯ nozzles or junctions (T, L, Y and X).
5.2.2 Types of discontinuity
Discontinuities are described in Annex A. Castings may also contain weld repairs with associated
discontinuities.
5.3 Welded test specimens (w)
5.3.1 Configuration
The range of specimens held by the examination centre can include a variation of weld preparations (e.g.
full/partial penetration, single/double “V”, etc.) and processes (e.g., MIG, SMAW, TIG, etc.) in:
⎯ plate butt welds;
⎯ tubes and pipes;
⎯ joints (e.g., T, K, Y, X, etc.);
⎯ nozzle and node welds;
⎯ weld build-ups.
5.3.2 Types of discontinuity
These are described in Annex B.
2 © ISO 2007 – All rights reserved
5.4 Wrought test specimen (wp)
5.4.1 Configuration
The range of specimens held by the examination centre can include:
⎯ plates and strips;
⎯ tubes and pipes;
⎯ long products (bars, etc.).
5.4.2 Types of discontinuity
These are described in Annex C.
5.5 Forgings (f)
5.5.1 Configuration
The range of specimens held by the examination centre can include:
⎯ complex forgings;
⎯ cylindrical section (large and small diameters);
⎯ flanges;
⎯ changes of section;
⎯ nozzles or nodes (T, L, Y and X).
5.5.2 Types of discontinuity
These are described in Annex D.
5.6 Tubes and pipes (t)
5.6.1 Configuration
The range of specimens (seamless and welded) held by the examination centre can include:
...


Questions, Comments and Discussion
Ask us and Technical Secretary will try to provide an answer. You can facilitate discussion about the standard in here.
Loading comments...