ASTM D8271-21
(Test Method)Standard Test Method for the Direct Measurement of Surface Profile of Prepared Concrete
Standard Test Method for the Direct Measurement of Surface Profile of Prepared Concrete
SIGNIFICANCE AND USE
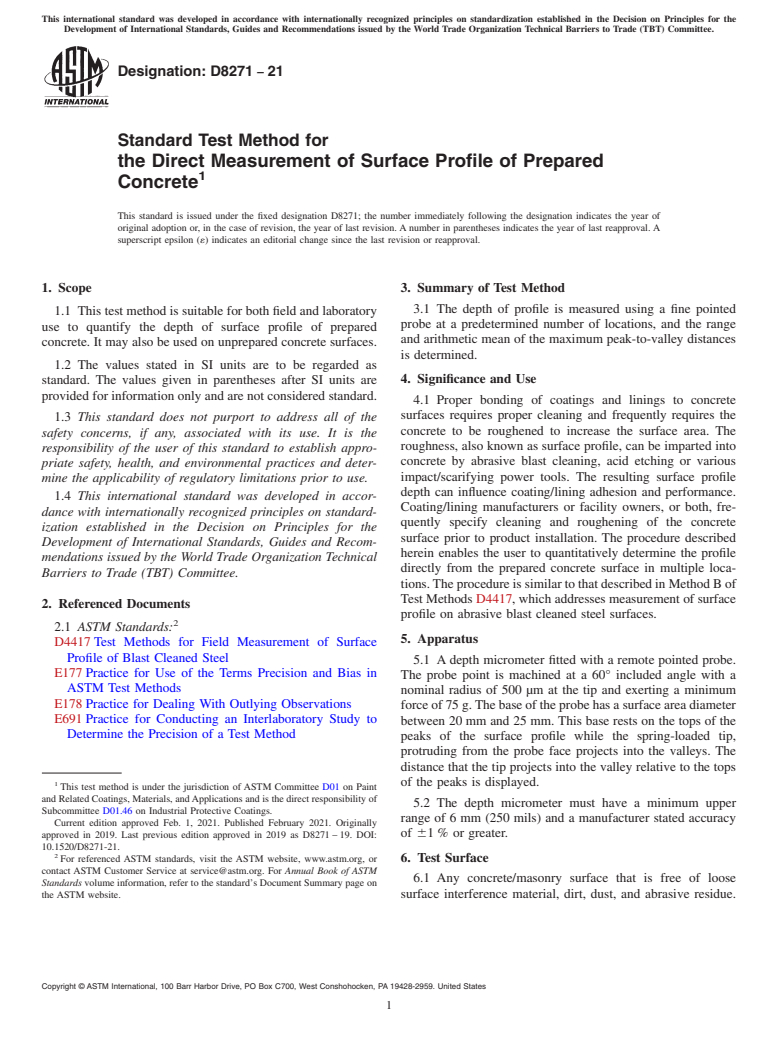
4.1 Proper bonding of coatings and linings to concrete surfaces requires proper cleaning and frequently requires the concrete to be roughened to increase the surface area. The roughness, also known as surface profile, can be imparted into concrete by abrasive blast cleaning, acid etching or various impact/scarifying power tools. The resulting surface profile depth can influence coating/lining adhesion and performance. Coating/lining manufacturers or facility owners, or both, frequently specify cleaning and roughening of the concrete surface prior to product installation. The procedure described herein enables the user to quantitatively determine the profile directly from the prepared concrete surface in multiple locations. The procedure is similar to that described in Method B of Test Methods D4417, which addresses measurement of surface profile on abrasive blast cleaned steel surfaces.
SCOPE
1.1 This test method is suitable for both field and laboratory use to quantify the depth of surface profile of prepared concrete. It may also be used on unprepared concrete surfaces.
1.2 The values stated in SI units are to be regarded as standard. The values given in parentheses after SI units are provided for information only and are not considered standard.
1.3 This standard does not purport to address all of the safety concerns, if any, associated with its use. It is the responsibility of the user of this standard to establish appropriate safety, health, and environmental practices and determine the applicability of regulatory limitations prior to use.
1.4 This international standard was developed in accordance with internationally recognized principles on standardization established in the Decision on Principles for the Development of International Standards, Guides and Recommendations issued by the World Trade Organization Technical Barriers to Trade (TBT) Committee.
General Information
Buy Standard
Standards Content (Sample)
This international standard was developed in accordance with internationally recognized principles on standardization established in the Decision on Principles for the
Development of International Standards, Guides and Recommendations issued by the World Trade Organization Technical Barriers to Trade (TBT) Committee.
Designation: D8271 −21
Standard Test Method for
the Direct Measurement of Surface Profile of Prepared
1
Concrete
This standard is issued under the fixed designation D8271; the number immediately following the designation indicates the year of
original adoption or, in the case of revision, the year of last revision. A number in parentheses indicates the year of last reapproval. A
superscript epsilon (´) indicates an editorial change since the last revision or reapproval.
1. Scope 3. Summary of Test Method
3.1 The depth of profile is measured using a fine pointed
1.1 This test method is suitable for both field and laboratory
probe at a predetermined number of locations, and the range
use to quantify the depth of surface profile of prepared
and arithmetic mean of the maximum peak-to-valley distances
concrete. It may also be used on unprepared concrete surfaces.
is determined.
1.2 The values stated in SI units are to be regarded as
standard. The values given in parentheses after SI units are 4. Significance and Use
provided for information only and are not considered standard.
4.1 Proper bonding of coatings and linings to concrete
surfaces requires proper cleaning and frequently requires the
1.3 This standard does not purport to address all of the
concrete to be roughened to increase the surface area. The
safety concerns, if any, associated with its use. It is the
roughness, also known as surface profile, can be imparted into
responsibility of the user of this standard to establish appro-
concrete by abrasive blast cleaning, acid etching or various
priate safety, health, and environmental practices and deter-
impact/scarifying power tools. The resulting surface profile
mine the applicability of regulatory limitations prior to use.
depth can influence coating/lining adhesion and performance.
1.4 This international standard was developed in accor-
Coating/lining manufacturers or facility owners, or both, fre-
dance with internationally recognized principles on standard-
quently specify cleaning and roughening of the concrete
ization established in the Decision on Principles for the
surface prior to product installation. The procedure described
Development of International Standards, Guides and Recom-
herein enables the user to quantitatively determine the profile
mendations issued by the World Trade Organization Technical
directly from the prepared concrete surface in multiple loca-
Barriers to Trade (TBT) Committee.
tions.TheprocedureissimilartothatdescribedinMethodBof
Test Methods D4417, which addresses measurement of surface
2. Referenced Documents
profile on abrasive blast cleaned steel surfaces.
2
2.1 ASTM Standards:
5. Apparatus
D4417 Test Methods for Field Measurement of Surface
Profile of Blast Cleaned Steel
5.1 A depth micrometer fitted with a remote pointed probe.
E177 Practice for Use of the Terms Precision and Bias in
The probe point is machined at a 60° included angle with a
ASTM Test Methods
nominal radius of 500 µm at the tip and exerting a minimum
E178 Practice for Dealing With Outlying Observations
force of 75 g.The base of the probe has a surface area diameter
E691 Practice for Conducting an Interlaboratory Study to
between 20 mm and 25 mm. This base rests on the tops of the
Determine the Precision of a Test Method
peaks of the surface profile while the spring-loaded tip,
protruding from the probe face projects into the valleys. The
distance that the tip projects into the valley relative to the tops
1 of the peaks is displayed.
This test method is under the jurisdiction of ASTM Committee D01 on Paint
and Related Coatings, Materials, andApplications and is the direct responsibility of
5.2 The depth micrometer must have a minimum upper
Subcommittee D01.46 on Industrial Protective Coatings.
range of 6 mm (250 mils) and a manufacturer stated accuracy
Current edition approved Feb. 1, 2021. Published February 2021. Originally
of 61 % or greater.
approved in 2019. Last previous edition approved in 2019 as D8271 – 19. DOI:
10.1520/D8271-21.
2
For referenced ASTM standards, visit the ASTM website, www.astm.org, or 6. Test Surface
contact ASTM Customer Service at service@astm.org. For Annual Book of ASTM
6.1 Any concrete/masonry surface that is free of loose
Standards volume information, refer to the standard’s Document Summary page on
the ASTM website. surface interference material, dirt, dust, and abrasive residue.
Copyright © ASTM International, 100 Barr Harbor Drive, PO Box C700, West Conshohocken, PA 19428-2959. United States
1
---------------------- Page: 1 ----------------------
D8271 − 21
4
The instrument probe must sit flush on the concrete surface; 9. Precision and Bias
care should be taken wh
...
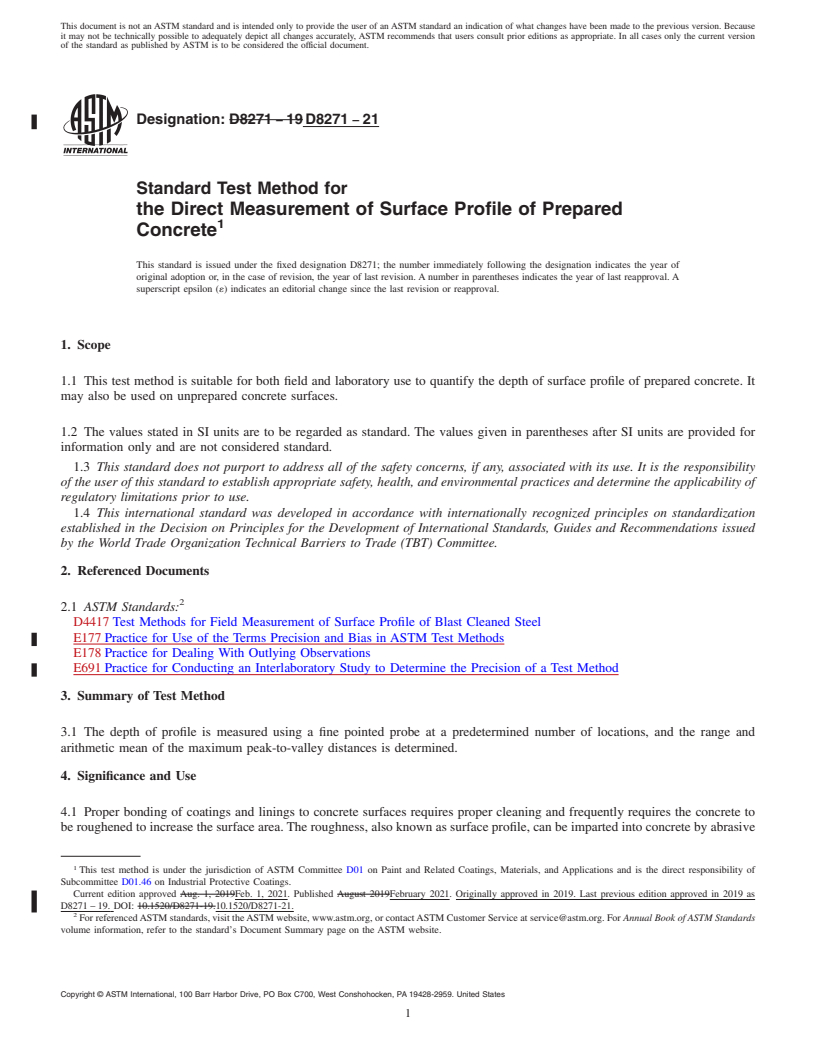
This document is not an ASTM standard and is intended only to provide the user of an ASTM standard an indication of what changes have been made to the previous version. Because
it may not be technically possible to adequately depict all changes accurately, ASTM recommends that users consult prior editions as appropriate. In all cases only the current version
of the standard as published by ASTM is to be considered the official document.
Designation: D8271 − 19 D8271 − 21
Standard Test Method for
the Direct Measurement of Surface Profile of Prepared
1
Concrete
This standard is issued under the fixed designation D8271; the number immediately following the designation indicates the year of
original adoption or, in the case of revision, the year of last revision. A number in parentheses indicates the year of last reapproval. A
superscript epsilon (´) indicates an editorial change since the last revision or reapproval.
1. Scope
1.1 This test method is suitable for both field and laboratory use to quantify the depth of surface profile of prepared concrete. It
may also be used on unprepared concrete surfaces.
1.2 The values stated in SI units are to be regarded as standard. The values given in parentheses after SI units are provided for
information only and are not considered standard.
1.3 This standard does not purport to address all of the safety concerns, if any, associated with its use. It is the responsibility
of the user of this standard to establish appropriate safety, health, and environmental practices and determine the applicability of
regulatory limitations prior to use.
1.4 This international standard was developed in accordance with internationally recognized principles on standardization
established in the Decision on Principles for the Development of International Standards, Guides and Recommendations issued
by the World Trade Organization Technical Barriers to Trade (TBT) Committee.
2. Referenced Documents
2
2.1 ASTM Standards:
D4417 Test Methods for Field Measurement of Surface Profile of Blast Cleaned Steel
E177 Practice for Use of the Terms Precision and Bias in ASTM Test Methods
E178 Practice for Dealing With Outlying Observations
E691 Practice for Conducting an Interlaboratory Study to Determine the Precision of a Test Method
3. Summary of Test Method
3.1 The depth of profile is measured using a fine pointed probe at a predetermined number of locations, and the range and
arithmetic mean of the maximum peak-to-valley distances is determined.
4. Significance and Use
4.1 Proper bonding of coatings and linings to concrete surfaces requires proper cleaning and frequently requires the concrete to
be roughened to increase the surface area. The roughness, also known as surface profile, can be imparted into concrete by abrasive
1
This test method is under the jurisdiction of ASTM Committee D01 on Paint and Related Coatings, Materials, and Applications and is the direct responsibility of
Subcommittee D01.46 on Industrial Protective Coatings.
Current edition approved Aug. 1, 2019Feb. 1, 2021. Published August 2019February 2021. Originally approved in 2019. Last previous edition approved in 2019 as
D8271 – 19. DOI: 10.1520/D8271-19.10.1520/D8271-21.
2
For referenced ASTM standards, visit the ASTM website, www.astm.org, or contact ASTM Customer Service at service@astm.org. For Annual Book of ASTM Standards
volume information, refer to the standard’s Document Summary page on the ASTM website.
Copyright © ASTM International, 100 Barr Harbor Drive, PO Box C700, West Conshohocken, PA 19428-2959. United States
1
---------------------- Page: 1 ----------------------
D8271 − 21
blast cleaning, acid etching or various impact/scarifying power tools. The resulting surface profile depth can influence
coating/lining adhesion and performance. Coating/lining manufacturers and/or facility owners or facility owners, or both,
frequently specify cleaning and roughening of the concrete surface prior to product installation. The procedure described herein
enables the user to quantitatively determine the profile directly from the prepared concrete surface in multiple locations. The
procedure is similar to that described in Method B of ASTM Test Methods D4417, which addresses measurement of surface profile
on abrasive blast cleaned steel surfaces.
5. Apparatus
5.1 A depth micrometer fitted with a remote pointed probe. The probe point is machined at a 60° included angle with a nominal
radius of 500 μm at the tip and exerting a minimum force of 75 g. The base of the probe has a surface area diameter between
2020 mm and 25 mm. This base rests on the tops of the peaks of the surface profile while the spring-loaded tip, protruding from
the probe face projects into the valleys. The distance that the tip projects into the valley relative to the tops of the peaks is displayed.
5.2 The depth micrometer must have a minimum upper range of 6 mm (250 mils) and a manufacturer stated accuracy of 61 %
or greater.
6. Test Surface
6.1 Any concrete/masonry
...


Questions, Comments and Discussion
Ask us and Technical Secretary will try to provide an answer. You can facilitate discussion about the standard in here.