ASTM F2004-05(2010)
(Test Method)Standard Test Method for Transformation Temperature of Nickel-Titanium Alloys by Thermal Analysis
Standard Test Method for Transformation Temperature of Nickel-Titanium Alloys by Thermal Analysis
SIGNIFICANCE AND USE
Differential scanning calorimetry provides a rapid method for determining the transformation temperature(s) of nickel-titanium shape memory alloys.
This test method uses small, stress-free, annealed samples to determine whether a sample of nickel-titanium alloy containing nominally 54.5 to 56.5 % nickel by weight is austenitic or martensitic at a particular temperature. Since chemical analysis of these alloys does not have sufficient precision to determine the transformation temperature by measuring the nickel to titanium ratio of the alloy, direct measurement of the transformation temperature of an annealed sample of known thermal history is recommended.
This test method is useful for quality control, specification acceptance, and research.
Transformation temperatures derived from differential scanning calorimetry (DSC) may not agree with those obtained by other test methods due to the effects of strain and load on the transformation.
SCOPE
1.1 This test method defines procedures for determining the transformation temperatures of nickel-titanium shape memory alloys.
1.2 The values stated in SI units are to be regarded as standard. No other units of measurement are included in this standard.
1.3 This standard does not purport to address all of the safety concerns, if any, associated with its use. It is the responsibility of the user of this standard to establish appropriate safety and health practices and to determine the applicability of regulatory limitations prior to use.
General Information
Relations
Standards Content (Sample)
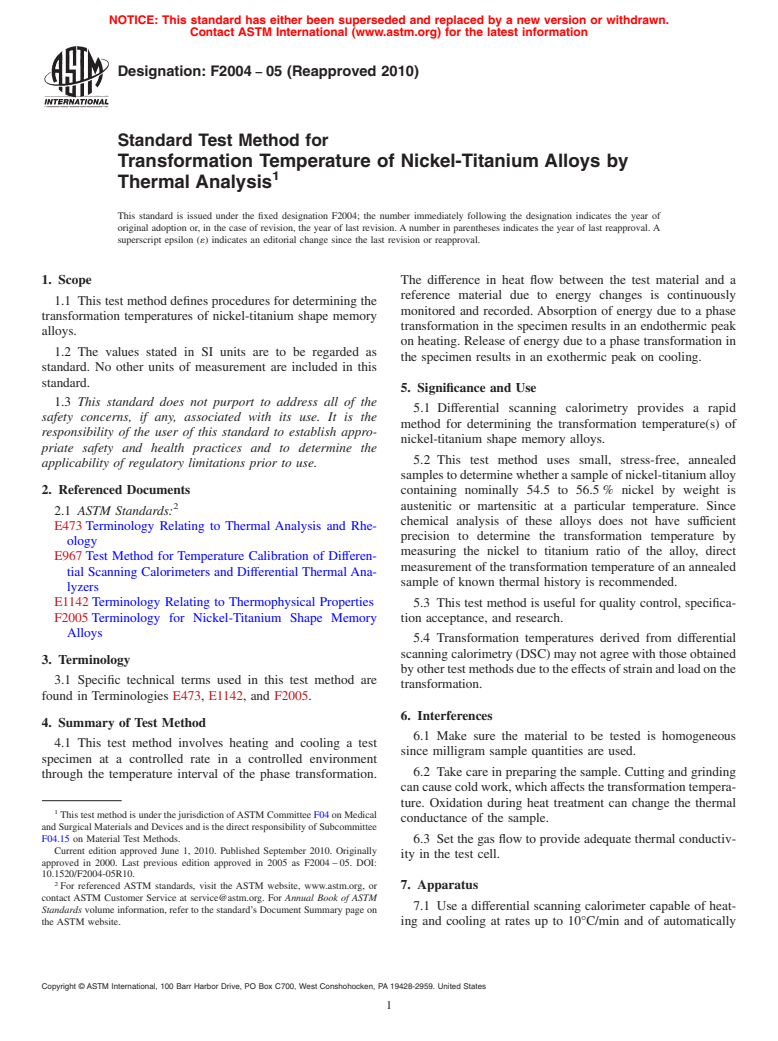
NOTICE: This standard has either been superseded and replaced by a new version or withdrawn.
Contact ASTM International (www.astm.org) for the latest information
Designation: F2004 − 05 (Reapproved 2010)
Standard Test Method for
Transformation Temperature of Nickel-Titanium Alloys by
Thermal Analysis
This standard is issued under the fixed designation F2004; the number immediately following the designation indicates the year of
original adoption or, in the case of revision, the year of last revision. A number in parentheses indicates the year of last reapproval. A
superscript epsilon (´) indicates an editorial change since the last revision or reapproval.
1. Scope The difference in heat flow between the test material and a
reference material due to energy changes is continuously
1.1 This test method defines procedures for determining the
monitored and recorded. Absorption of energy due to a phase
transformation temperatures of nickel-titanium shape memory
transformation in the specimen results in an endothermic peak
alloys.
on heating. Release of energy due to a phase transformation in
1.2 The values stated in SI units are to be regarded as
the specimen results in an exothermic peak on cooling.
standard. No other units of measurement are included in this
standard.
5. Significance and Use
1.3 This standard does not purport to address all of the
5.1 Differential scanning calorimetry provides a rapid
safety concerns, if any, associated with its use. It is the
method for determining the transformation temperature(s) of
responsibility of the user of this standard to establish appro-
nickel-titanium shape memory alloys.
priate safety and health practices and to determine the
5.2 This test method uses small, stress-free, annealed
applicability of regulatory limitations prior to use.
samplestodeterminewhetherasampleofnickel-titaniumalloy
2. Referenced Documents
containing nominally 54.5 to 56.5 % nickel by weight is
2 austenitic or martensitic at a particular temperature. Since
2.1 ASTM Standards:
chemical analysis of these alloys does not have sufficient
E473 Terminology Relating to Thermal Analysis and Rhe-
precision to determine the transformation temperature by
ology
measuring the nickel to titanium ratio of the alloy, direct
E967 Test Method for Temperature Calibration of Differen-
measurement of the transformation temperature of an annealed
tial Scanning Calorimeters and Differential Thermal Ana-
sample of known thermal history is recommended.
lyzers
E1142 Terminology Relating to Thermophysical Properties 5.3 This test method is useful for quality control, specifica-
F2005 Terminology for Nickel-Titanium Shape Memory tion acceptance, and research.
Alloys
5.4 Transformation temperatures derived from differential
scanning calorimetry (DSC) may not agree with those obtained
3. Terminology
byothertestmethodsduetotheeffectsofstrainandloadonthe
3.1 Specific technical terms used in this test method are
transformation.
found in Terminologies E473, E1142, and F2005.
6. Interferences
4. Summary of Test Method
6.1 Make sure the material to be tested is homogeneous
4.1 This test method involves heating and cooling a test
since milligram sample quantities are used.
specimen at a controlled rate in a controlled environment
6.2 Take care in preparing the sample. Cutting and grinding
through the temperature interval of the phase transformation.
can cause cold work, which affects the transformation tempera-
ture. Oxidation during heat treatment can change the thermal
This test method is under the jurisdiction ofASTM Committee F04 on Medical
conductance of the sample.
and Surgical Materials and Devices and is the direct responsibility of Subcommittee
F04.15 on Material Test Methods.
6.3 Set the gas flow to provide adequate thermal conductiv-
Current edition approved June 1, 2010. Published September 2010. Originally
ity in the test cell.
approved in 2000. Last previous edition approved in 2005 as F2004 – 05. DOI:
10.1520/F2004-05R10.
For referenced ASTM standards, visit the ASTM website, www.astm.org, or 7. Apparatus
contact ASTM Customer Service at service@astm.org. For Annual Book of ASTM
7.1 Use a differential scanning calorimeter capable of heat-
Standards volume information, refer to the standard’s Document Summary page on
the ASTM website. ing and cooling at rates up to 10°C/min and of automatically
Copyright © ASTM International, 100 Barr Harbor Drive, PO Box C700, West Conshohocken, PA 19428-2959. United States
F2004 − 05 (2010)
recording the differential energy input between the specimen 10.3.2 Use a dry air, helium, or nitrogen cover gas. The dry
and the reference to the required sensitivity and precision. gas shall have a dew point below the lowest temperature of the
cooling cycle.
7.2 Use sample capsules or pans composed of aluminum or
other inert material of high thermal conductivity. 10.4 Run the cooling and heating program.
10.4.1 Use the heating and cooling rates of 10 6 0.5°C/min.
7.3 Use helium gas purge supply. See 10.3.1.
10.4.2 Heat the sample from room temperature to a tem-
7.4 Use an analytical balance with a capacity of 100 mg
perature of at least A + 30°C; hold at temperature for a time
f
capable of weighing to the nearest 0.1 mg.
sufficient to equilibrate the sample with the furnace.
10.4.3 Cool the sample to a temperature of below M –
f
8. Sampling
30°C; hold for a time sufficient to equilibrate the sample with
the furnace. Then, heat the sample to a temperature of at least
8.1 Use a sample size of 25 to 45 mg. Cut the sample to
maximize surface contact with the (DSC) sample pan. A + 30°C.
f
10.5 Data Acquisition—Record the resulting curve from the
8.2 Anneal the sample at 800 to 850°C for 15 to 60 min in
heating and cooling program from A + 30°C to M – 30°C.
vacuum or inert atmosphere, or in air with adequate protection
f f
from oxidation. Rapidly cool the sample to prevent precipita-
11. Graphical Data Reduction
tion of phases which may change transformation temperature
of the alloy.
11.1 Draw the baselines for the cooling and heating portions
of the curve as shown in Fig. 1.
8.3 Clean the sample of all foreign materials such as cutting
fluid. If the sample is oxidized in heat treatment, grind, polish,
11.2 Draw the tangents to the cooling and heating spikes
or etch the sample to remove the oxide.Take care to avoid cold
through the inflection points as shown in Fig. 1. If a computer
working the sample as this will change its thermal response.
program is used to construct the tangents, care must be taken in
Slight oxidation is permissible but remove all heavy oxide locating the tangent points.
scale.
11.3 Obtain M,M,A , andA as the graphical intersection
s f s f
of the baseline with the extension of the line of maximum
9. Calibration
inclination of the appropriate peak of the curve as shown in
9.1 Calibrate the temperature axis of the instrument using Fig. 1.A is the peak minimum of the endothermic curve, and
p
thesameheatingrate,purgegas,andflowrateasthoseusedfor
M is the peak maximum of the exothermic curve. ReadA and
p p
analyzing the specimen in accordance with Practice E967. M directly from the graph as shown in Fig. 1.
p
12. Report
10. Procedure
12.1 Report the following information with the test results:
10.1 Place the sample on the sample pan and place the pan
12.1.1 Complete identification and description of the mate-
on the test pedestal.
rial tested including the specification and lot number.
10.2 Place an empty pan on the reference pedestal.
12.1.2 Description of the instrument used for the test.
10.3 Turn on the purge gas at a flow rate of 10 to 50
12.1.3 Statement of mass, dimensions, and geometry.
mL/min.
12.1.4 Material for the specimen pan and temperature pro-
10.3.1 Use helium as the purge gas for the sample chamber.
gram.
12.1.5 Description of the temperature calibration procedure.
12.1.6 Identification of the specimen environment by gas,
flow rate, purity and composition.
12.1.7 Results of the transformation measurements using
the nomenclature in ac
...


Questions, Comments and Discussion
Ask us and Technical Secretary will try to provide an answer. You can facilitate discussion about the standard in here.