ASTM E2567-12a
(Test Method)Standard Test Method for Determining Nodularity And Nodule Count In Ductile Iron Using Image Analysis
Standard Test Method for Determining Nodularity And Nodule Count In Ductile Iron Using Image Analysis
SIGNIFICANCE AND USE
5.1 Qualitative measurement of “nodularity” and “nodule count” using visual estimations has been practiced for many years. These methods suffer from poor reproducibility and repeatability. The introduction of computer-aided image analysis enables metallographers to measure and count individual particles of interest in a microstructure with a high degree of precision. This greatly reduces measurement variations compared to visual estimation methods (see, for example, Test Method A247).
5.2 This method defines a procedure for measuring the number of nodules and the quality of nodularity of spherulitic graphite in a cast iron microstructure. The specimen’s location in a casting or cast test specimen, and the orientation of the plane-of-polish, are governed by product standards. When a product standard is not defined, choose the test location randomly or at specific systematically chosen depths as needed. The plane-of-polish may be parallel or perpendicular to the solidification direction, or chosen at random, depending upon the needs of the study.
5.3 This test method may be used to determine variations within a given test specimen, within a given location in a casting, between different locations in a casting, or for the same location in different castings over time. Results from this test method may be used to qualify material for shipment in accordance with guidelines agreed upon between purchaser and manufacturer or can be used to monitor process quality or product variations.
5.4 Measurements are performed using a computer-controlled automatic image analysis system.
5.5 A minimum number of specimens and a minimum surface area to be evaluated may be defined by producer-purchaser agreement, provided at least 500 particles meeting the minimum size requirements are measured. (See 5.6 for exceptions covering the minimum numbers of particles.)
5.6 The only exception to the 500-particle minimum assessment requirement is for large castings with a smallest...
SCOPE
1.1 This test method is used to determine the percent nodularity and the nodule count per unit area (that is, number of nodules per mm2) using a light microscopical image of graphite in nodular cast iron. Images generated by other devices, such as a scanning electron microscope, are not specifically addressed, but can be utilized if the system is calibrated in both x and y directions.
1.2 Measurement of secondary or temper carbon in other types of cast iron, for example, malleable cast iron or in graphitic tool steels, is not specifically included in this standard because of the different graphite shapes and sizes inherent to such grades
1.3 This standard deals only with the recommended test method and nothing in it should be construed as defining or establishing limits of acceptability or fitness for purpose of the material tested.
1.4 The values stated in SI units are to be regarded as standard. No other units of measurement are included in this standard.
1.5 This standard does not purport to address all of the safety concerns, if any, associated with its use. It is the responsibility of the user of this standard to establish appropriate safety and health practices and determine the applicability of regulatory limitations prior to use.
General Information
Relations
Buy Standard
Standards Content (Sample)
NOTICE: This standard has either been superseded and replaced by a new version or withdrawn.
Contact ASTM International (www.astm.org) for the latest information
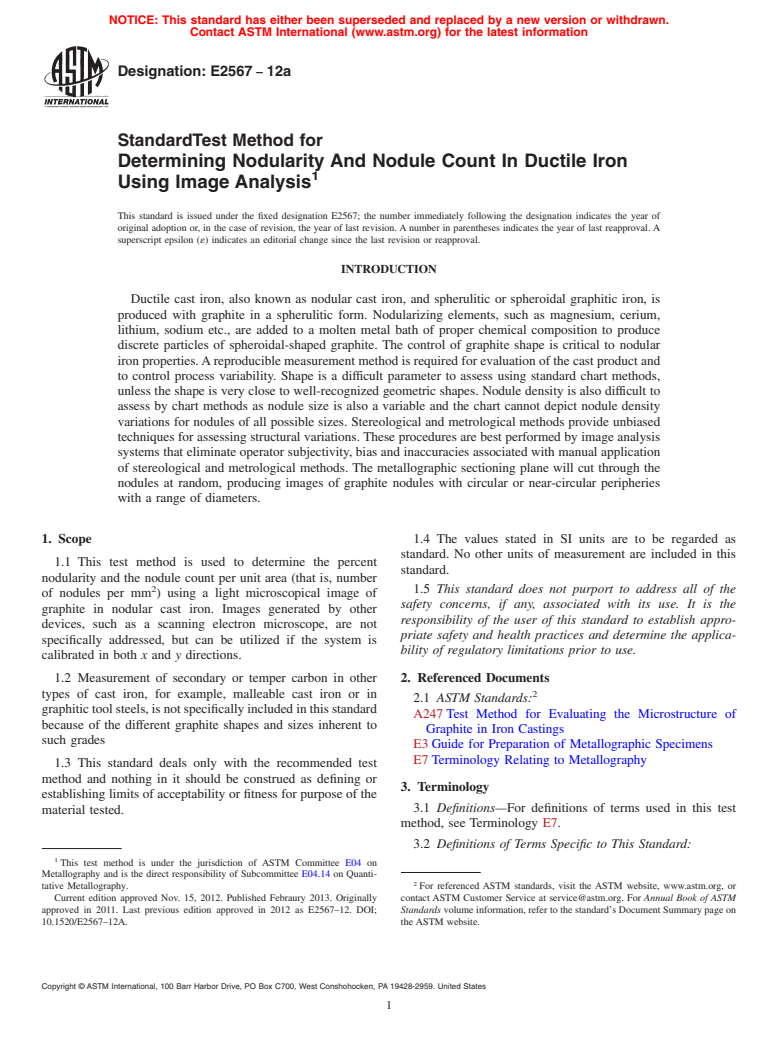
Designation: E2567 − 12a
StandardTest Method for
Determining Nodularity And Nodule Count In Ductile Iron
1
Using Image Analysis
This standard is issued under the fixed designation E2567; the number immediately following the designation indicates the year of
original adoption or, in the case of revision, the year of last revision.Anumber in parentheses indicates the year of last reapproval.A
superscript epsilon (´) indicates an editorial change since the last revision or reapproval.
INTRODUCTION
Ductile cast iron, also known as nodular cast iron, and spherulitic or spheroidal graphitic iron, is
produced with graphite in a spherulitic form. Nodularizing elements, such as magnesium, cerium,
lithium, sodium etc., are added to a molten metal bath of proper chemical composition to produce
discrete particles of spheroidal-shaped graphite. The control of graphite shape is critical to nodular
ironproperties.Areproduciblemeasurementmethodisrequiredforevaluationofthecastproductand
to control process variability. Shape is a difficult parameter to assess using standard chart methods,
unless the shape is very close to well-recognized geometric shapes. Nodule density is also difficult to
assess by chart methods as nodule size is also a variable and the chart cannot depict nodule density
variations for nodules of all possible sizes. Stereological and metrological methods provide unbiased
techniques for assessing structural variations.These procedures are best performed by image analysis
systems that eliminate operator subjectivity, bias and inaccuracies associated with manual application
of stereological and metrological methods. The metallographic sectioning plane will cut through the
nodules at random, producing images of graphite nodules with circular or near-circular peripheries
with a range of diameters.
1. Scope 1.4 The values stated in SI units are to be regarded as
standard. No other units of measurement are included in this
1.1 This test method is used to determine the percent
standard.
nodularity and the nodule count per unit area (that is, number
2
1.5 This standard does not purport to address all of the
of nodules per mm ) using a light microscopical image of
safety concerns, if any, associated with its use. It is the
graphite in nodular cast iron. Images generated by other
responsibility of the user of this standard to establish appro-
devices, such as a scanning electron microscope, are not
priate safety and health practices and determine the applica-
specifically addressed, but can be utilized if the system is
bility of regulatory limitations prior to use.
calibrated in both x and y directions.
2. Referenced Documents
1.2 Measurement of secondary or temper carbon in other
types of cast iron, for example, malleable cast iron or in 2
2.1 ASTM Standards:
graphitictoolsteels,isnotspecificallyincludedinthisstandard
A247Test Method for Evaluating the Microstructure of
because of the different graphite shapes and sizes inherent to
Graphite in Iron Castings
such grades
E3Guide for Preparation of Metallographic Specimens
E7Terminology Relating to Metallography
1.3 This standard deals only with the recommended test
method and nothing in it should be construed as defining or
3. Terminology
establishing limits of acceptability or fitness for purpose of the
3.1 Definitions—For definitions of terms used in this test
material tested.
method, see Terminology E7.
3.2 Definitions of Terms Specific to This Standard:
1
This test method is under the jurisdiction of ASTM Committee E04 on
Metallography and is the direct responsibility of Subcommittee E04.14 on Quanti-
2
tative Metallography. For referenced ASTM standards, visit the ASTM website, www.astm.org, or
Current edition approved Nov. 15, 2012. Published Febraury 2013. Originally contact ASTM Customer Service at service@astm.org. For Annual Book of ASTM
approved in 2011. Last previous edition approved in 2012 as E2567–12. DOI; Standards volume information, refer to the standard’s Document Summary page on
10.1520/E2567–12A. the ASTM website.
Copyright © ASTM International, 100 Barr Harbor Drive, PO Box C700, West Conshohocken, PA 19428-2959. United States
1
---------------------- Page: 1 ----------------------
E2567 − 12a
3.2.1 MFD—Maximum Feret Diameter plane-of-polish, are governed by product standards. When a
product standard is not defined, choose the test location
3.2.2 minimum size requirement—the size threshold below
randomly or at specific systematically chosen depths as
which graphite particles are eliminated from the analysis.
needed. The plane-of-polish may be parallel or perpendicular
3.2.3 nodule—a discrete graphite particle that exceeds both
to the solidification direction, or chosen at random, depending
the required minimum size and shape factor as defined by this
upon the needs of the study.
method.
5.3 This
...
This document is not an ASTM standard and is intended only to provide the user of an ASTM standard an indication of what changes have been made to the previous version. Because
it may not be technically possible to adequately depict all changes accurately, ASTM recommends that users consult prior editions as appropriate. In all cases only the current version
of the standard as published by ASTM is to be considered the official document.
Designation: E2567 − 12 E2567 − 12a
Standard Test Method for
Determining Nodularity And Nodule Count In Ductile Iron
1
Using Image Analysis
This standard is issued under the fixed designation E2567; the number immediately following the designation indicates the year of
original adoption or, in the case of revision, the year of last revision. A number in parentheses indicates the year of last reapproval. A
superscript epsilon (´) indicates an editorial change since the last revision or reapproval.
INTRODUCTION
Ductile cast iron, also known as nodular cast iron, and spherulitic or spheroidal graphitic iron, is
produced with graphite in a spherulitic form. Nodularizing elements, such as magnesium, cerium,
lithium, sodium etc., are added to a molten metal bath of proper chemical composition to produce
discrete particles of spheroidal-shaped graphite. The control of graphite shape is critical to nodular
iron properties. A reproducible measurement method is required for evaluation of the cast product and
to control process variability. Shape is a difficult parameter to assess using standard chart methods,
unless the shape is very close to well-recognized geometric shapes. Nodule density is also difficult to
assess by chart methods as nodule size is also a variable and the chart cannot depict nodule density
variations for nodules of all possible sizes. Stereological and metrological methods provide unbiased
techniques for assessing structural variations. These procedures are best performed by image analysis
systems that eliminate operator subjectivity, bias and inaccuracies associated with manual application
of stereological and metrological methods. The metallographic sectioning plane will cut through the
nodules at random, producing images of graphite nodules with circular or near-circular peripheries
with a range of diameters.
1. Scope
1.1 This test method is used to determine the percent nodularity and the nodule count per unit area (that is, number of nodules
2
per mm ) using a light microscopical image of graphite in nodular cast iron. Images generated by other devices, such as a scanning
electron microscope, are not specifically addressed, but can be utilized if the system is calibrated in both x and y directions.
1.2 Measurement of secondary or temper carbon in other types of cast iron, for example, malleable cast iron or in graphitic tool
steels, is not specifically included in this standard because of the different graphite shapes and sizes inherent to such grades
1.3 This standard deals only with the recommended test method and nothing in it should be construed as defining or establishing
limits of acceptability or fitness for purpose of the material tested.
1.4 The values stated in SI units are to be regarded as standard. No other units of measurement are included in this standard.
1.5 This standard does not purport to address all of the safety concerns, if any, associated with its use. It is the responsibility
of the user of this standard to establish appropriate safety and health practices and determine the applicability of regulatory
limitations prior to use.
2. Referenced Documents
2
2.1 ASTM Standards:
A247 Test Method for Evaluating the Microstructure of Graphite in Iron Castings
E3 Guide for Preparation of Metallographic Specimens
E7 Terminology Relating to Metallography
1
This test method is under the jurisdiction of ASTM Committee E04 on Metallography and is the direct responsibility of Subcommittee E04.14 on Quantitative
Metallography.
Current edition approved June 1, 2012Nov. 15, 2012. Published November 2012Febraury 2013. Originally approved in 2011. Last previous edition approved in 20112012
as E2567–11.–12. DOI; 10.1520/E2567–12.10.1520/E2567–12A.
2
For referenced ASTM standards, visit the ASTM website, www.astm.org, or contact ASTM Customer Service at service@astm.org. For Annual Book of ASTM Standards
volume information, refer to the standard’s Document Summary page on the ASTM website.
Copyright © ASTM International, 100 Barr Harbor Drive, PO Box C700, West Conshohocken, PA 19428-2959. United States
1
---------------------- Page: 1 ----------------------
E2567 − 12a
3. Terminology
3.1 Definitions—For definitions of terms used in this test method, see Terminology E7.
3.2 Definitions of Terms Specific to This Standard:
3.2.1 MFD—Maximum Feret Diameter
3.2.2 minimum size requirement—the size threshold below which graphite particles are eliminated from the analysis.
3.2.3 nodule—a discrete graphite particle that exceeds both the required minimum size and shape
...


Questions, Comments and Discussion
Ask us and Technical Secretary will try to provide an answer. You can facilitate discussion about the standard in here.