ASTM E1426-14
(Test Method)Standard Test Method for Determining the X-Ray Elastic Constants for Use in the Measurement of Residual Stress Using X-Ray Diffraction Techniques
Standard Test Method for Determining the X-Ray Elastic Constants for Use in the Measurement of Residual Stress Using X-Ray Diffraction Techniques
SIGNIFICANCE AND USE
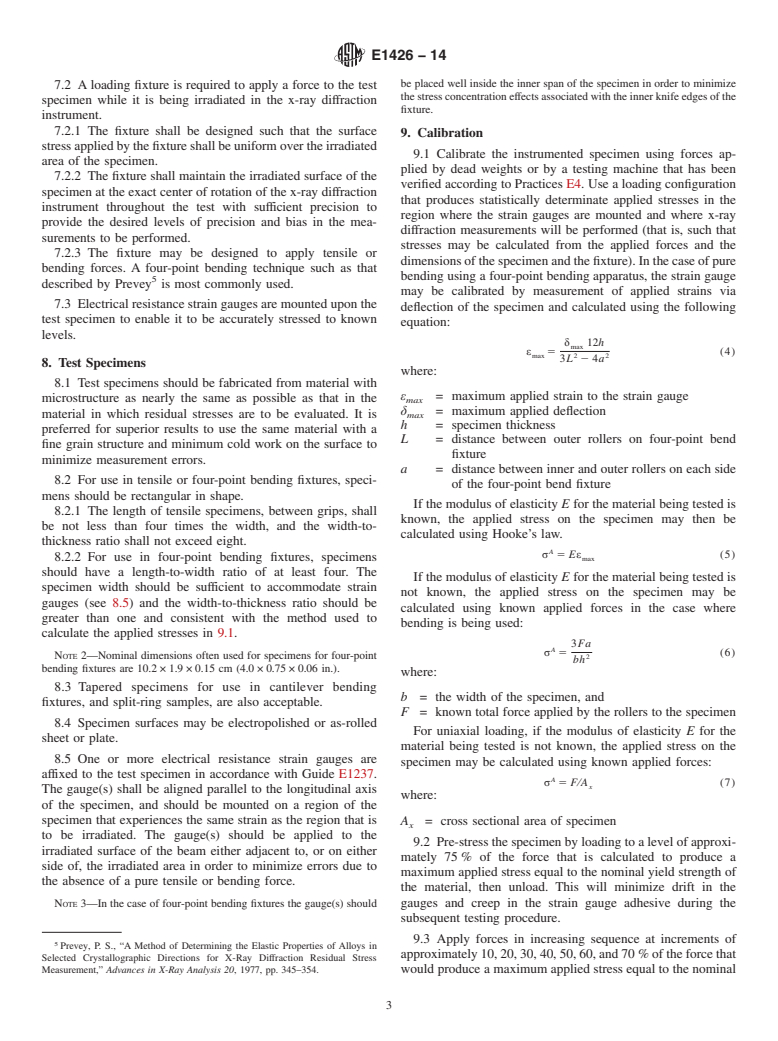
6.1 This test method provides standard procedures for experimentally determining the XEC for use in the measurement of residual and applied stresses using x-ray diffraction techniques. It also provides a standard means of reporting the precision of the XEC.
6.2 This test method is applicable to any crystalline material that exhibits a linear relationship between stress and strain in the elastic range, that is, only applicable to elastic loading.
6.3 This test method should be used whenever residual stresses are to be evaluated by x-ray diffraction techniques and the XEC of the material are unknown.
SCOPE
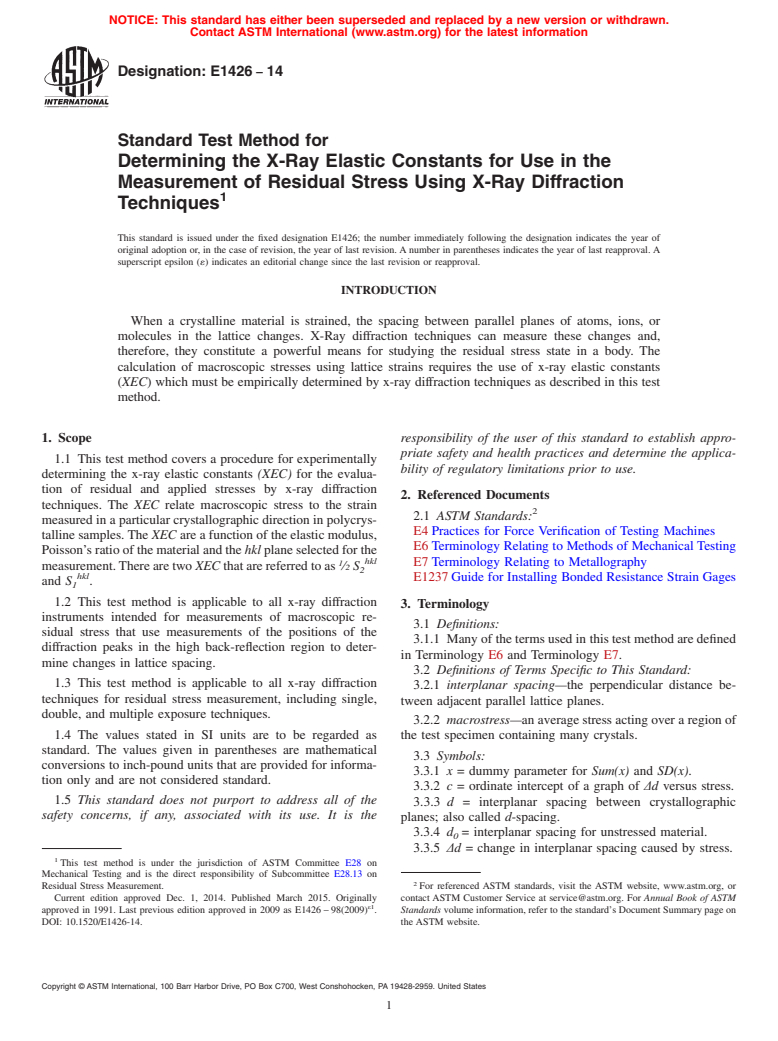
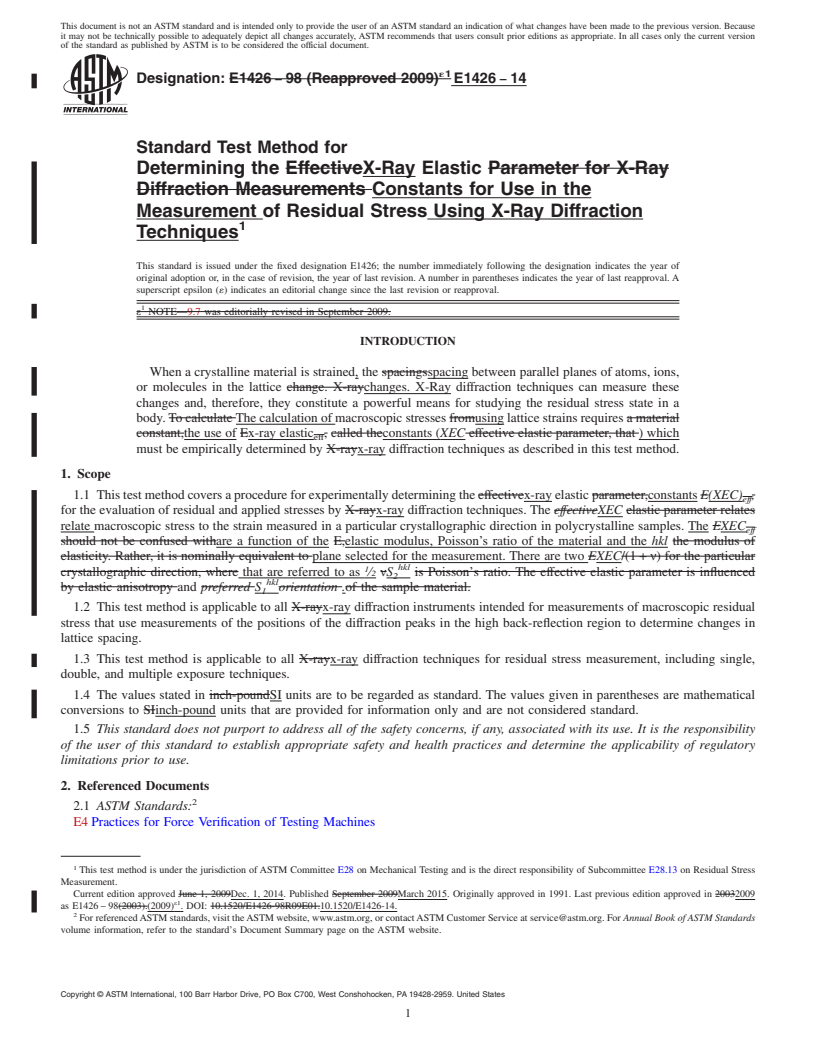
1.1 This test method covers a procedure for experimentally determining the x-ray elastic constants (XEC) for the evaluation of residual and applied stresses by x-ray diffraction techniques. The XEC relate macroscopic stress to the strain measured in a particular crystallographic direction in polycrystalline samples. The XEC are a function of the elastic modulus, Poisson’s ratio of the material and the hkl plane selected for the measurement. There are two XEC that are referred to as 1/2 S2hkl and S1 hkl.
1.2 This test method is applicable to all x-ray diffraction instruments intended for measurements of macroscopic residual stress that use measurements of the positions of the diffraction peaks in the high back-reflection region to determine changes in lattice spacing.
1.3 This test method is applicable to all x-ray diffraction techniques for residual stress measurement, including single, double, and multiple exposure techniques.
1.4 The values stated in SI units are to be regarded as standard. The values given in parentheses are mathematical conversions to inch-pound units that are provided for information only and are not considered standard.
1.5 This standard does not purport to address all of the safety concerns, if any, associated with its use. It is the responsibility of the user of this standard to establish appropriate safety and health practices and determine the applicability of regulatory limitations prior to use.
General Information
Relations
Buy Standard
Standards Content (Sample)
NOTICE: This standard has either been superseded and replaced by a new version or withdrawn.
Contact ASTM International (www.astm.org) for the latest information
Designation: E1426 − 14
Standard Test Method for
Determining the X-Ray Elastic Constants for Use in the
Measurement of Residual Stress Using X-Ray Diffraction
1
Techniques
This standard is issued under the fixed designation E1426; the number immediately following the designation indicates the year of
original adoption or, in the case of revision, the year of last revision.Anumber in parentheses indicates the year of last reapproval.A
superscript epsilon (´) indicates an editorial change since the last revision or reapproval.
INTRODUCTION
When a crystalline material is strained, the spacing between parallel planes of atoms, ions, or
molecules in the lattice changes. X-Ray diffraction techniques can measure these changes and,
therefore, they constitute a powerful means for studying the residual stress state in a body. The
calculation of macroscopic stresses using lattice strains requires the use of x-ray elastic constants
(XEC) which must be empirically determined by x-ray diffraction techniques as described in this test
method.
1. Scope responsibility of the user of this standard to establish appro-
priate safety and health practices and determine the applica-
1.1 This test method covers a procedure for experimentally
bility of regulatory limitations prior to use.
determining the x-ray elastic constants (XEC) for the evalua-
tion of residual and applied stresses by x-ray diffraction
2. Referenced Documents
techniques. The XEC relate macroscopic stress to the strain
2
2.1 ASTM Standards:
measuredinaparticularcrystallographicdirectioninpolycrys-
E4Practices for Force Verification of Testing Machines
tallinesamples.The XECareafunctionoftheelasticmodulus,
E6Terminology Relating to Methods of Mechanical Testing
Poisson’sratioofthematerialandthe hklplaneselectedforthe
hkl
E7Terminology Relating to Metallography
1
measurement.Therearetwo XECthatarereferredtoas ⁄2 S
2
hkl
E1237Guide for Installing Bonded Resistance Strain Gages
and S .
1
1.2 This test method is applicable to all x-ray diffraction
3. Terminology
instruments intended for measurements of macroscopic re-
3.1 Definitions:
sidual stress that use measurements of the positions of the
3.1.1 Manyofthetermsusedinthistestmethodaredefined
diffraction peaks in the high back-reflection region to deter-
in Terminology E6 and Terminology E7.
mine changes in lattice spacing.
3.2 Definitions of Terms Specific to This Standard:
1.3 This test method is applicable to all x-ray diffraction
3.2.1 interplanar spacing—the perpendicular distance be-
techniques for residual stress measurement, including single,
tween adjacent parallel lattice planes.
double, and multiple exposure techniques.
3.2.2 macrostress—anaveragestressactingoveraregionof
1.4 The values stated in SI units are to be regarded as
the test specimen containing many crystals.
standard. The values given in parentheses are mathematical
3.3 Symbols:
conversions to inch-pound units that are provided for informa-
3.3.1 x = dummy parameter for Sum(x) and SD(x).
tion only and are not considered standard.
3.3.2 c = ordinate intercept of a graph of ∆d versus stress.
1.5 This standard does not purport to address all of the
3.3.3 d = interplanar spacing between crystallographic
safety concerns, if any, associated with its use. It is the
planes; also called d-spacing.
3.3.4 d = interplanar spacing for unstressed material.
0
3.3.5 ∆d = change in interplanar spacing caused by stress.
1
This test method is under the jurisdiction of ASTM Committee E28 on
Mechanical Testing and is the direct responsibility of Subcommittee E28.13 on
2
Residual Stress Measurement. For referenced ASTM standards, visit the ASTM website, www.astm.org, or
Current edition approved Dec. 1, 2014. Published March 2015. Originally contact ASTM Customer Service at service@astm.org. For Annual Book of ASTM
ε1
approved in 1991. Last previous edition approved in 2009 as E1426–98(2009) . Standards volume information, refer to the standard’s Document Summary page on
DOI: 10.1520/E1426-14. the ASTM website.
Copyright © ASTM International, 100 Barr Harbor Drive, PO Box C700, West Conshohocken, PA 19428-2959. United States
1
---------------------- Page: 1 ----------------------
E1426 − 14
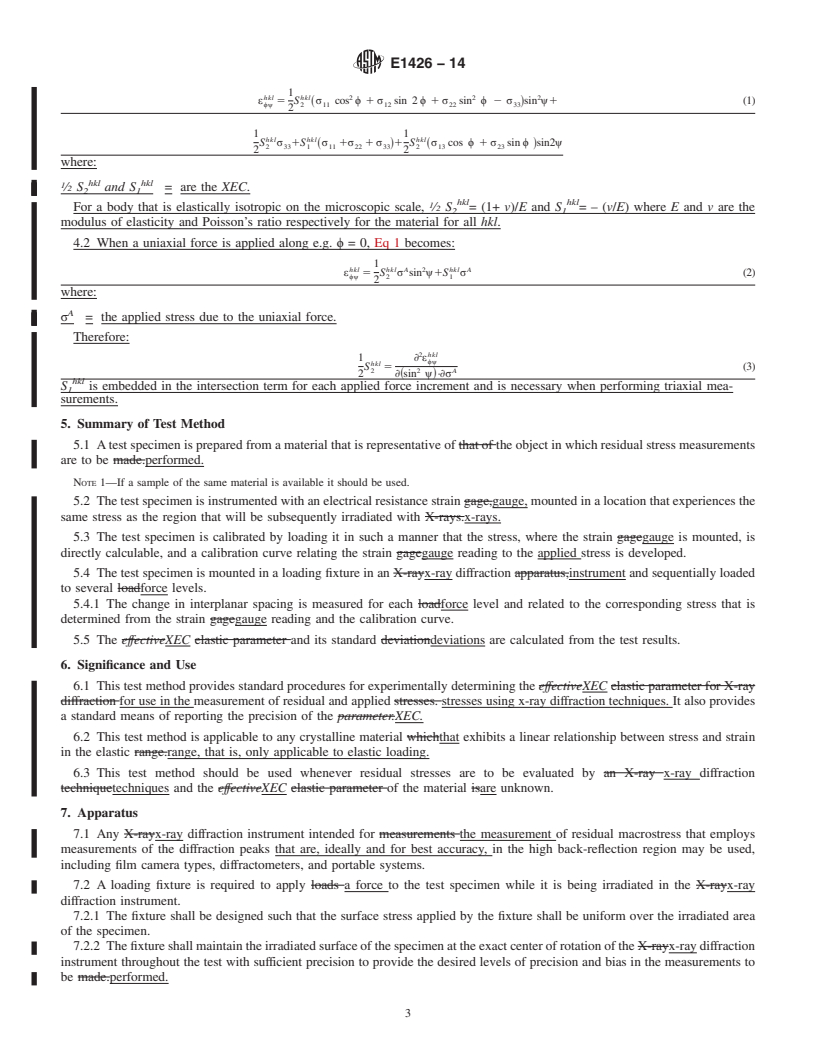
3.3.6 E = modulus of elasticity. 4.2 When a uniaxial force is applied along e.g. ϕ=0, Eq 1
3.3.7 ν = Poisson’s ratio. becomes:
3.3.8 XEC = x-ray elastic constants for residual stress
1
hkl hkl A 2 hkl A
ε 5 S σ sin ψ1S σ (2)
measurements using x-ray diffraction.
ϕψ 2 1
2
3.3.9 hkl = Miller indices.
where:
hkl
1
3.3.10 ⁄2 S = (1+v)/E for an elastically isotropic body.
2
A
hkl
σ = the applied stress due to the uniaxial force.
3.3.11 S =–v/E for an elastically isotropic body.
1
3.3.12 i = measurement index, 1 ≤ i ≤ n.
Therefore:
3.3.13 m = slope of a plot of ∆d versus stress.
2 hkl
1 ] ε
ϕψ
hkl
3.3.14 n=numberofmeasurementsus
...
This document is not an ASTM standard and is intended only to provide the user of an ASTM standard an indication of what changes have been made to the previous version. Because
it may not be technically possible to adequately depict all changes accurately, ASTM recommends that users consult prior editions as appropriate. In all cases only the current version
of the standard as published by ASTM is to be considered the official document.
´1
Designation: E1426 − 98 (Reapproved 2009) E1426 − 14
Standard Test Method for
Determining the EffectiveX-Ray Elastic Parameter for X-Ray
Diffraction Measurements Constants for Use in the
Measurement of Residual Stress Using X-Ray Diffraction
1
Techniques
This standard is issued under the fixed designation E1426; the number immediately following the designation indicates the year of
original adoption or, in the case of revision, the year of last revision. A number in parentheses indicates the year of last reapproval. A
superscript epsilon (´) indicates an editorial change since the last revision or reapproval.
1
ε NOTE—9.7 was editorially revised in September 2009.
INTRODUCTION
When a crystalline material is strained, the spacingsspacing between parallel planes of atoms, ions,
or molecules in the lattice change. X-raychanges. X-Ray diffraction techniques can measure these
changes and, therefore, they constitute a powerful means for studying the residual stress state in a
body. To calculate The calculation of macroscopic stresses fromusing lattice strains requires a material
constant,the use of Ex-ray elastic , called theconstants (XEC effective elastic parameter, that ) which
eff
must be empirically determined by X-rayx-ray diffraction techniques as described in this test method.
1. Scope
1.1 This test method covers a procedure for experimentally determining the effectivex-ray elastic parameter,constants E(XEC) ,
eff
for the evaluation of residual and applied stresses by X-rayx-ray diffraction techniques. The effectiveXEC elastic parameter relates
relate macroscopic stress to the strain measured in a particular crystallographic direction in polycrystalline samples. The EXEC
eff
should not be confused withare a function of the E,elastic modulus, Poisson’s ratio of the material and the hkl the modulus of
elasticity. Rather, it is nominally equivalent to plane selected for the measurement. There are two EXEC/(1 + ν) for the particular
hkl
1
crystallographic direction, where that are referred to as ⁄2 νS is Poisson’s ratio. The effective elastic parameter is influenced
2
hkl
by elastic anisotropy and preferred S orientation .of the sample material.
1
1.2 This test method is applicable to all X-rayx-ray diffraction instruments intended for measurements of macroscopic residual
stress that use measurements of the positions of the diffraction peaks in the high back-reflection region to determine changes in
lattice spacing.
1.3 This test method is applicable to all X-rayx-ray diffraction techniques for residual stress measurement, including single,
double, and multiple exposure techniques.
1.4 The values stated in inch-poundSI units are to be regarded as standard. The values given in parentheses are mathematical
conversions to SIinch-pound units that are provided for information only and are not considered standard.
1.5 This standard does not purport to address all of the safety concerns, if any, associated with its use. It is the responsibility
of the user of this standard to establish appropriate safety and health practices and determine the applicability of regulatory
limitations prior to use.
2. Referenced Documents
2
2.1 ASTM Standards:
E4 Practices for Force Verification of Testing Machines
1
This test method is under the jurisdiction of ASTM Committee E28 on Mechanical Testing and is the direct responsibility of Subcommittee E28.13 on Residual Stress
Measurement.
Current edition approved June 1, 2009Dec. 1, 2014. Published September 2009March 2015. Originally approved in 1991. Last previous edition approved in 20032009
ε1
as E1426 – 98(2003).(2009) . DOI: 10.1520/E1426-98R09E01.10.1520/E1426-14.
2
For referenced ASTM standards, visit the ASTM website, www.astm.org, or contact ASTM Customer Service at service@astm.org. For Annual Book of ASTM Standards
volume information, refer to the standard’s Document Summary page on the ASTM website.
Copyright © ASTM International, 100 Barr Harbor Drive, PO Box C700, West Conshohocken, PA 19428-2959. United States
1
---------------------- Page: 1 ----------------------
E1426 − 14
E6 Terminology Relating to Methods of Mechanical Testing
E7 Terminology Relating to Metallography
E1237 Guide for Installing Bonded Resistance Strain Gages
3. Terminology
3.1 Definitions:
3.1.1 Many of the terms used in this test method are defined in Terminology E6 and Terminology E7.
3.2 Definitions of Terms Specific to This Standard:
3.2.1 interplanar spacing—the perpendicular distance between adjacent parallel lattice planes.
3.2.2 macrostress—an average stress
...


Questions, Comments and Discussion
Ask us and Technical Secretary will try to provide an answer. You can facilitate discussion about the standard in here.