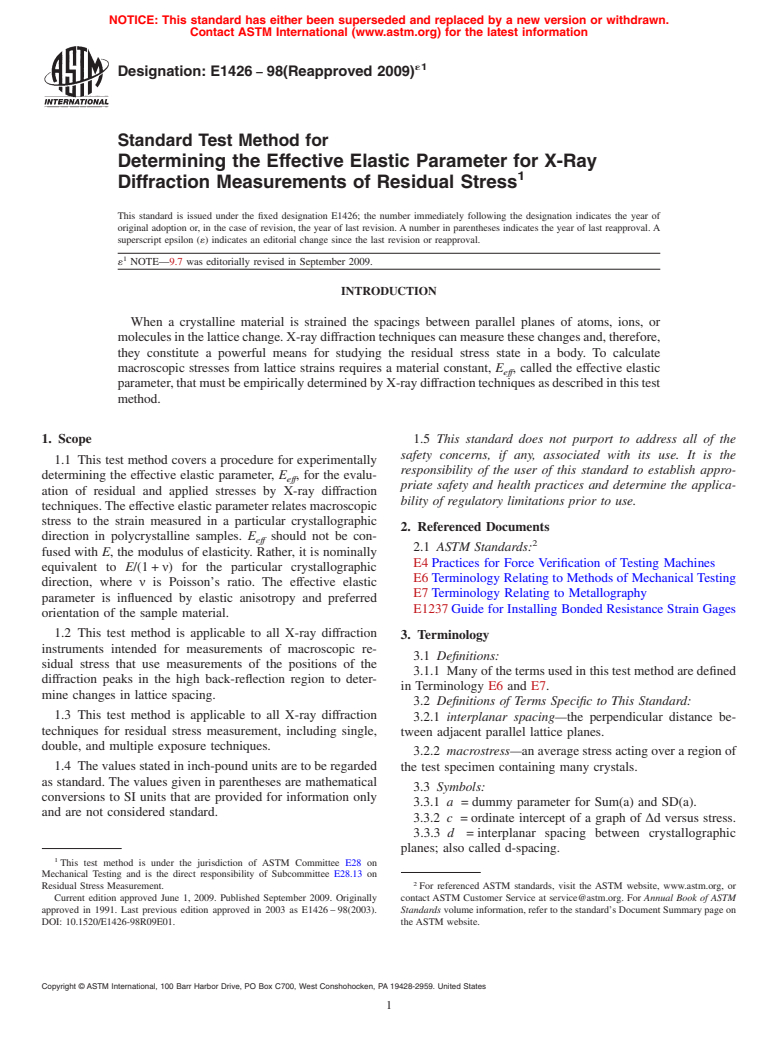
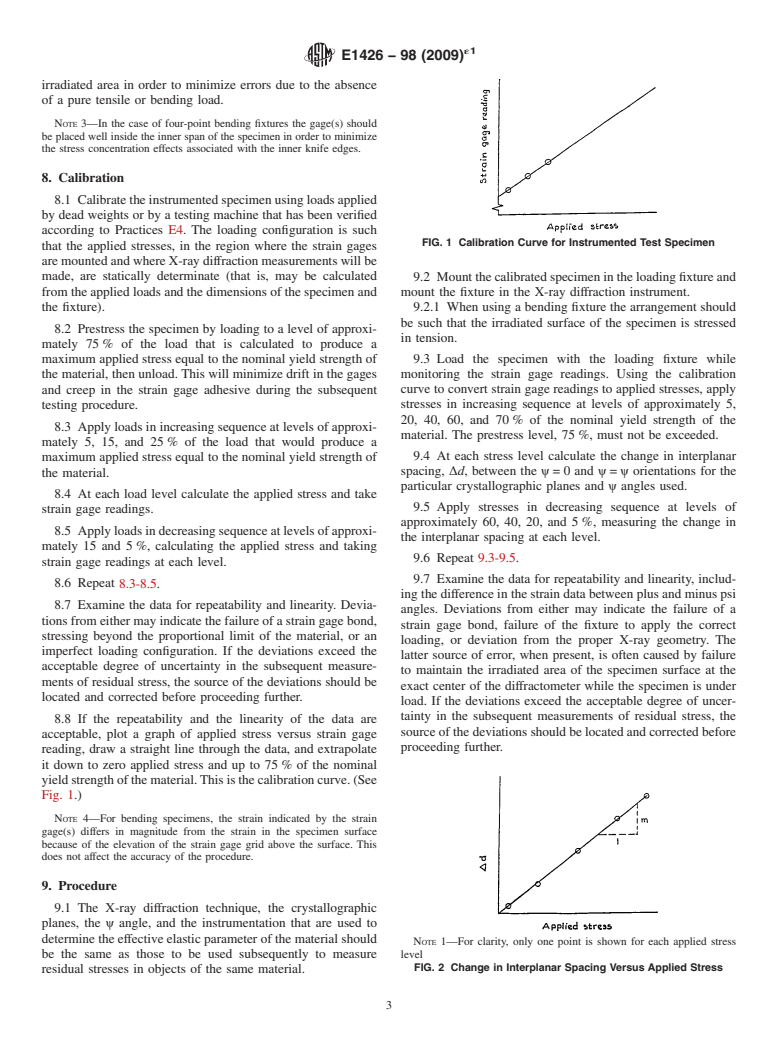
ASTM E1426-98(2009)e1
(Test Method)Standard Test Method for Determining the Effective Elastic Parameter for X-Ray Diffraction Measurements of Residual Stress
Standard Test Method for Determining the Effective Elastic Parameter for X-Ray Diffraction Measurements of Residual Stress
SIGNIFICANCE AND USE
This test method provides standard procedures for experimentally determining the effective elastic parameter for X-ray diffraction measurement of residual and applied stresses. It also provides a standard means of reporting the precision of the parameter.
This test method is applicable to any crystalline material which exhibits a linear relationship between stress and strain in the elastic range.
This test method should be used whenever residual stresses are to be evaluated by an X-ray diffraction technique and the effective elastic parameter of the material is unknown.
SCOPE
1.1 This test method covers a procedure for experimentally determining the effective elastic parameter, Eeff, for the evaluation of residual and applied stresses by X-ray diffraction techniques. The effective elastic parameter relates macroscopic stress to the strain measured in a particular crystallographic direction in polycrystalline samples. Eeff should not be confused with E, the modulus of elasticity. Rather, it is nominally equivalent to E/(1 + ν) for the particular crystallographic direction, where ν is Poisson's ratio. The effective elastic parameter is influenced by elastic anisotropy and preferred orientation of the sample material.
1.2 This test method is applicable to all X-ray diffraction instruments intended for measurements of macroscopic residual stress that use measurements of the positions of the diffraction peaks in the high back-reflection region to determine changes in lattice spacing.
1.3 This test method is applicable to all X-ray diffraction techniques for residual stress measurement, including single, double, and multiple exposure techniques.
1.4 The values stated in inch-pound units are to be regarded as standard. The values given in parentheses are mathematical conversions to SI units that are provided for information only and are not considered standard.
1.5 This standard does not purport to address all of the safety concerns, if any, associated with its use. It is the responsibility of the user of this standard to establish appropriate safety and health practices and determine the applicability of regulatory limitations prior to use.
General Information
Relations
Standards Content (Sample)
NOTICE: This standard has either been superseded and replaced by a new version or withdrawn.
Contact ASTM International (www.astm.org) for the latest information
´1
Designation: E1426 − 98(Reapproved 2009)
Standard Test Method for
Determining the Effective Elastic Parameter for X-Ray
Diffraction Measurements of Residual Stress
This standard is issued under the fixed designation E1426; the number immediately following the designation indicates the year of
original adoption or, in the case of revision, the year of last revision.Anumber in parentheses indicates the year of last reapproval.A
superscript epsilon (´) indicates an editorial change since the last revision or reapproval.
´ NOTE—9.7 was editorially revised in September 2009.
INTRODUCTION
When a crystalline material is strained the spacings between parallel planes of atoms, ions, or
moleculesinthelatticechange.X-raydiffractiontechniquescanmeasurethesechangesand,therefore,
they constitute a powerful means for studying the residual stress state in a body. To calculate
macroscopic stresses from lattice strains requires a material constant, E , called the effective elastic
eff
parameter,thatmustbeempiricallydeterminedbyX-raydiffractiontechniquesasdescribedinthistest
method.
1. Scope 1.5 This standard does not purport to address all of the
safety concerns, if any, associated with its use. It is the
1.1 This test method covers a procedure for experimentally
responsibility of the user of this standard to establish appro-
determining the effective elastic parameter, E , for the evalu-
eff
priate safety and health practices and determine the applica-
ation of residual and applied stresses by X-ray diffraction
bility of regulatory limitations prior to use.
techniques.Theeffectiveelasticparameterrelatesmacroscopic
stress to the strain measured in a particular crystallographic
2. Referenced Documents
direction in polycrystalline samples. E should not be con-
eff
2.1 ASTM Standards:
fused with E, the modulus of elasticity. Rather, it is nominally
E4Practices for Force Verification of Testing Machines
equivalent to E/(1+ν) for the particular crystallographic
E6Terminology Relating to Methods of MechanicalTesting
direction, where ν is Poisson’s ratio. The effective elastic
E7Terminology Relating to Metallography
parameter is influenced by elastic anisotropy and preferred
E1237Guide for Installing Bonded Resistance Strain Gages
orientation of the sample material.
1.2 This test method is applicable to all X-ray diffraction
3. Terminology
instruments intended for measurements of macroscopic re-
3.1 Definitions:
sidual stress that use measurements of the positions of the
3.1.1 Manyofthetermsusedinthistestmethodaredefined
diffraction peaks in the high back-reflection region to deter-
in Terminology E6 and E7.
mine changes in lattice spacing.
3.2 Definitions of Terms Specific to This Standard:
1.3 This test method is applicable to all X-ray diffraction
3.2.1 interplanar spacing—the perpendicular distance be-
techniques for residual stress measurement, including single,
tween adjacent parallel lattice planes.
double, and multiple exposure techniques.
3.2.2 macrostress—anaveragestressactingoveraregionof
1.4 Thevaluesstatedininch-poundunitsaretoberegarded the test specimen containing many crystals.
as standard. The values given in parentheses are mathematical
3.3 Symbols:
conversions to SI units that are provided for information only
3.3.1 a =dummy parameter for Sum(a) and SD(a).
and are not considered standard.
3.3.2 c =ordinate intercept of a graph of ∆d versus stress.
3.3.3 d =interplanar spacing between crystallographic
planes; also called d-spacing.
This test method is under the jurisdiction of ASTM Committee E28 on
Mechanical Testing and is the direct responsibility of Subcommittee E28.13 on
Residual Stress Measurement. For referenced ASTM standards, visit the ASTM website, www.astm.org, or
Current edition approved June 1, 2009. Published September 2009. Originally contact ASTM Customer Service at service@astm.org. For Annual Book of ASTM
approved in 1991. Last previous edition approved in 2003 as E1426–98(2003). Standards volume information, refer to the standard’s Document Summary page on
DOI: 10.1520/E1426-98R09E01. the ASTM website.
Copyright © ASTM International, 100 Barr Harbor Drive, PO Box C700, West Conshohocken, PA 19428-2959. United States
´1
E1426 − 98 (2009)
3.3.4 d =interplanar spacing for unstressed material. 6. Apparatus
3.3.5 ∆d =change in interplanar spacing caused by stress.
6.1 Any X-ray diffraction instrument intended for measure-
3.3.6 E =modulus of elasticity.
ments of residual macrostress that employs measurements of
3.3.7 E =effective elastic parameter for X-ray measure- the diffraction peaks in the high back-reflection region may be
eff
ments. used, including film camera types, diffractometers, and por-
table systems.
3.3.8 i =measurement index, 1 ≤ i ≤ n.
3.3.9 m =slope of a graph of ∆d versus stress.
6.2 A loading fixture is required to apply loads to the test
3.3.10 n =number of measurements used to determine
specimen while it is being irradiated in the X-ray diffraction
slope m. instrument.
6.2.1 The fixture shall be designed such that the surface
3.3.11 SD(a) =standarddeviationofasetofquantities“a”.
stressappliedbythefixtureshallbeuniformovertheirradiated
3.3.12 Sum(a) =sum of a set of quantities “a”.
area of the specimen.
3.3.13 T =X minus mean of all X values.
i i i
6.2.2 The fixture shall maintain the irradiated surface of the
3.3.14 X = i-th value of applied stress.
i
specimenattheexactcenterofrotationoftheX-raydiffraction
3.3.15 Y =measurement of ∆d corresponding to X.
i i
instrument throughout the test with sufficient precision to
3.3.16 ν =Poisson’s ratio.
provide the desired levels of precision and bias in the mea-
3.3.17 ψ =angle between the specimen surface normal and
surements to be made.
the normal to the diffracting crystallographic planes.
6.2.3 The fixture may be designed to apply tensile or
bending loads. A four-point bending technique such as that
4. Summary of Test Method
described by Prevey is most commonly used.
4.1 A test specimen is prepared from a material that is
6.3 Electrical resistance strain gages are mounted upon the
representative of that of the object in which residual stress
test specimen to enable it to be accurately stressed to known
measurements are to be made.
levels.
NOTE1—Ifasampleofthesamematerialisavailableitshouldbeused.
7. Test Specimens
4.2 The test specimen is instrumented with an electrical
7.1 Test specimens should be fabricated from material with
resistance strain gage, mounted in a location that experiences
microstructure as nearly the same as possible as that in the
the same stress as the region that will be subsequently
material in which residual stresses are to be evaluated.
irradiated with X-rays.
7.2 For use in tensile or four-point bending fixtures, speci-
4.3 The test specimen is calibrated by loading it in such a
mens should be rectangular in shape.
manner that the stress, where the strain gage is mounted, is
7.2.1 The length of tensile specimens, between grips, shall
directly calculable, and a calibration curve relating the strain
be not less than four times the width, and the width-to-
gage reading to the stress is developed.
thickness ratio shall not exceed eight.
7.2.2 For use in four-point bending fixtures, specimens
4.4 The test specimen is mounted in a loading fixture in an
should have a length-to-width ratio of at least four. The
X-ray diffraction apparatus, and sequentially loaded to several
specimen width should be sufficient to accommodate strain
load levels.
gages (see 7.5) and the width-to-thickness ratio should be
4.4.1 The change in interplanar spacing is measured for
greater than one and consistent with the method used to
each load level and related to the corresponding stress that is
calculate the applied stresses in 8.1.
determined from the strain gage reading and the calibration
curve. NOTE 2—Nominal dimensions often used for specimens for four-point
bending fixtures are 4.0×0.75×0.06 in. (10.2×1.9×0.15 cm).
4.5 The effective elastic parameter and its standard devia-
7.3 Tapered specimens for use in cantilever bending
tion are calculated from the test results.
fixtures, and split-ring samples, are also acceptable.
7.4 Specimen surfaces may be electropolished or as-rolled
5. Significance and Use
sheet or plate.
5.1 This test method provides standard procedures for
7.5 One or more electrical resistance strain gages is affixed
experimentally determining the effective elastic parameter for
to the test specimen in accordance with Guide E1237. The
X-raydiffractionmeasurementofresidualandappliedstresses.
gage(s)shouldbealignedparalleltothelongitudinalaxisofthe
It also provides a standard means of reporting the precision of
specimen, and should be mounted on a region of the specimen
the parameter.
that experiences the same strain as the region that is to be
5.2 Thistestmethodisapplicabletoanycrystallinematerial
irradiated. The gage(s) should be applied to the irradiated
whichexhibitsalinearrelationshipbetweenstressandstrainin
surface of the beam either adjacent to, or on either side of, the
the elastic range.
5.3 This test method should be used whenever residual
Prevey, P. S., “A Method of Determining the Elastic Properties of Alloys in
stresses are to be evaluated by an X-ray diffraction technique
Selected Crystallographic Directions for X-Ray Diffraction Residual Stress
and the effective elastic parameter of the material is unknown. Measurement,” Advances in X-Ray Analysis 20 , 1977, pp. 345–354.
´1
E1426 − 98 (2009)
irradiated area in order to minimize errors due to the absence
of a pure tensile or bending load.
NOTE 3—In the case of four-point bending fixtures the gage(s) should
be placed well inside the inner span of the specimen in order to minimize
the stress concentration effects associated with the inner knife edges.
8. Calibration
8.1 Calibratetheinstrumentedspecimenusingload
...


Questions, Comments and Discussion
Ask us and Technical Secretary will try to provide an answer. You can facilitate discussion about the standard in here.