ASTM D4541-09
(Test Method)Standard Test Method for Pull-Off Strength of Coatings Using Portable Adhesion Testers
Standard Test Method for Pull-Off Strength of Coatings Using Portable Adhesion Testers
SIGNIFICANCE AND USE
The pull-off strength of a coating is an important performance property that has been used in specifications. This test method serves as a means for uniformly preparing and testing coated surfaces, and evaluating and reporting the results. This test method is applicable to any portable apparatus meeting the basic requirements for determining the pull-off strength of a coating.
Variations in results obtained using different devices or different substrates with the same coating are possible (see Section 11). Therefore, it is recommended that the type of apparatus and the substrate be mutually agreed upon between the interested parties.
The purchaser or specifier shall designate a specific test method, that is, B, C, D, E, or F when calling out this standard.
SCOPE
1.1 This test method covers a procedure for evaluating the pull-off strength (commonly referred to as adhesion) of a coating system from metal substrates. Pull-off strength of coatings from concrete is described in Test Method D 7234. The test determines either the greatest perpendicular force (in tension) that a surface area can bear before a plug of material is detached, or whether the surface remains intact at a prescribed force (pass/fail). Failure will occur along the weakest plane within the system comprised of the test fixture, adhesive, coating system, and substrate, and will be exposed by the fracture surface. This test method maximizes tensile stress as compared to the shear stress applied by other methods, such as scratch or knife adhesion, and results may not be comparable.
Note 1—The procedure in this standard was developed for metal substrates, but may be appropriate for other rigid substrates such as plastic and wood. Factors such as loading rate and flexibility of the substrate must be addressed by the user/specifier.
1.2 Pull-off strength measurements depend upon both material and instrumental parameters. Results obtained by each test method may give different results. Results should only be assessed for each test method and not be compared with other instruments. There are five instrument types, identified as Test Methods B-F. It is imperative to identify the test method used when reporting results.
Note 2—Method A, which appeared in previous versions of this standard, has been eliminated as its main use is for testing on concrete substrates (see Test Method D 7234).
1.3 This test method uses a class of apparatus known as portable pull-off adhesion testers. They are capable of applying a concentric load and counter load to a single surface so that coatings can be tested even though only one side is accessible. Measurements are limited by the strength of adhesion bonds between the loading fixture and the specimen surface or the cohesive strengths of the adhesive, coating layers, and substrate.
1.4 This test can be destructive and spot repairs may be necessary.
1.5 The values stated in MPa (inch-pound) units are to be regarded as the standard. The values given in parentheses are for information only.
1.6 This standard does not purport to address all of the safety concerns, if any, associated with its use. It is the responsibility of the user of this standard to establish appropriate safety and health practices and determine the applicability of regulatory limitations prior to use.
General Information
Relations
Buy Standard
Standards Content (Sample)
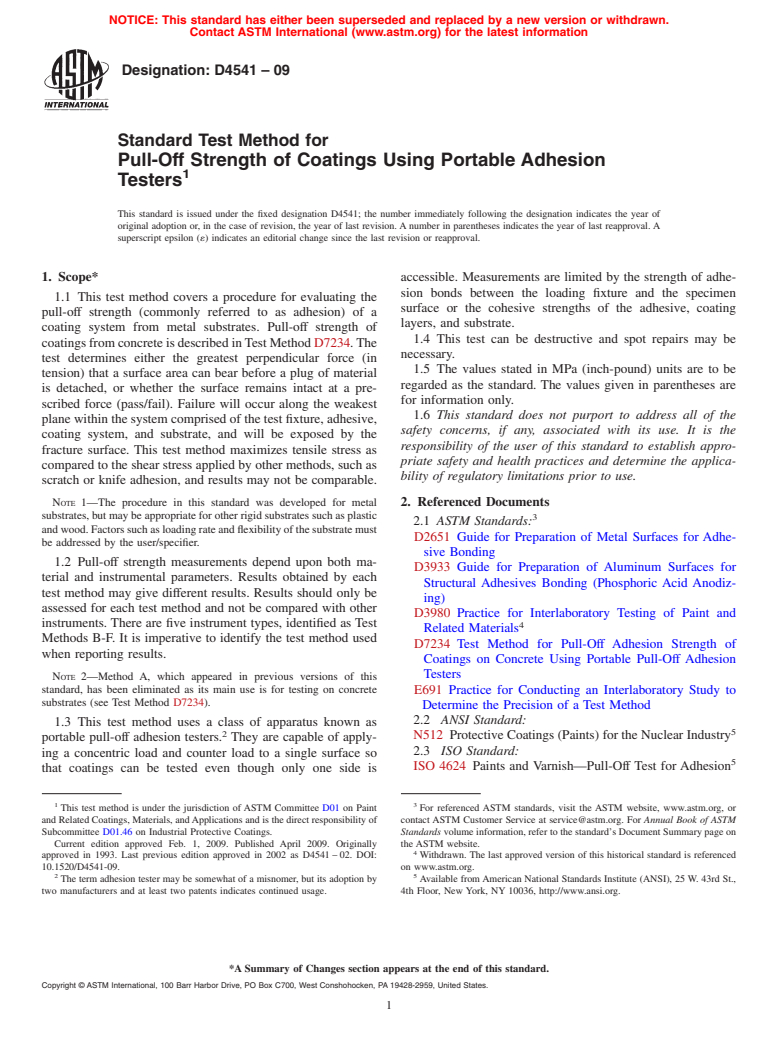
NOTICE: This standard has either been superseded and replaced by a new version or withdrawn.
Contact ASTM International (www.astm.org) for the latest information
Designation:D4541–09
Standard Test Method for
Pull-Off Strength of Coatings Using Portable Adhesion
1
Testers
This standard is issued under the fixed designation D4541; the number immediately following the designation indicates the year of
original adoption or, in the case of revision, the year of last revision. A number in parentheses indicates the year of last reapproval. A
superscript epsilon (´) indicates an editorial change since the last revision or reapproval.
1. Scope* accessible. Measurements are limited by the strength of adhe-
sion bonds between the loading fixture and the specimen
1.1 This test method covers a procedure for evaluating the
surface or the cohesive strengths of the adhesive, coating
pull-off strength (commonly referred to as adhesion) of a
layers, and substrate.
coating system from metal substrates. Pull-off strength of
1.4 This test can be destructive and spot repairs may be
coatingsfromconcreteisdescribedinTestMethodD7234.The
necessary.
test determines either the greatest perpendicular force (in
1.5 The values stated in MPa (inch-pound) units are to be
tension) that a surface area can bear before a plug of material
regarded as the standard. The values given in parentheses are
is detached, or whether the surface remains intact at a pre-
for information only.
scribed force (pass/fail). Failure will occur along the weakest
1.6 This standard does not purport to address all of the
plane within the system comprised of the test fixture, adhesive,
safety concerns, if any, associated with its use. It is the
coating system, and substrate, and will be exposed by the
responsibility of the user of this standard to establish appro-
fracture surface. This test method maximizes tensile stress as
priate safety and health practices and determine the applica-
compared to the shear stress applied by other methods, such as
bility of regulatory limitations prior to use.
scratch or knife adhesion, and results may not be comparable.
NOTE 1—The procedure in this standard was developed for metal 2. Referenced Documents
substrates,butmaybeappropriateforotherrigidsubstratessuchasplastic 3
2.1 ASTM Standards:
andwood.Factorssuchasloadingrateandflexibilityofthesubstratemust
D2651 Guide for Preparation of Metal Surfaces for Adhe-
be addressed by the user/specifier.
sive Bonding
1.2 Pull-off strength measurements depend upon both ma-
D3933 Guide for Preparation of Aluminum Surfaces for
terial and instrumental parameters. Results obtained by each
Structural Adhesives Bonding (Phosphoric Acid Anodiz-
test method may give different results. Results should only be
ing)
assessed for each test method and not be compared with other
D3980 Practice for Interlaboratory Testing of Paint and
instruments. There are five instrument types, identified as Test
4
Related Materials
Methods B-F. It is imperative to identify the test method used
D7234 Test Method for Pull-Off Adhesion Strength of
when reporting results.
Coatings on Concrete Using Portable Pull-Off Adhesion
Testers
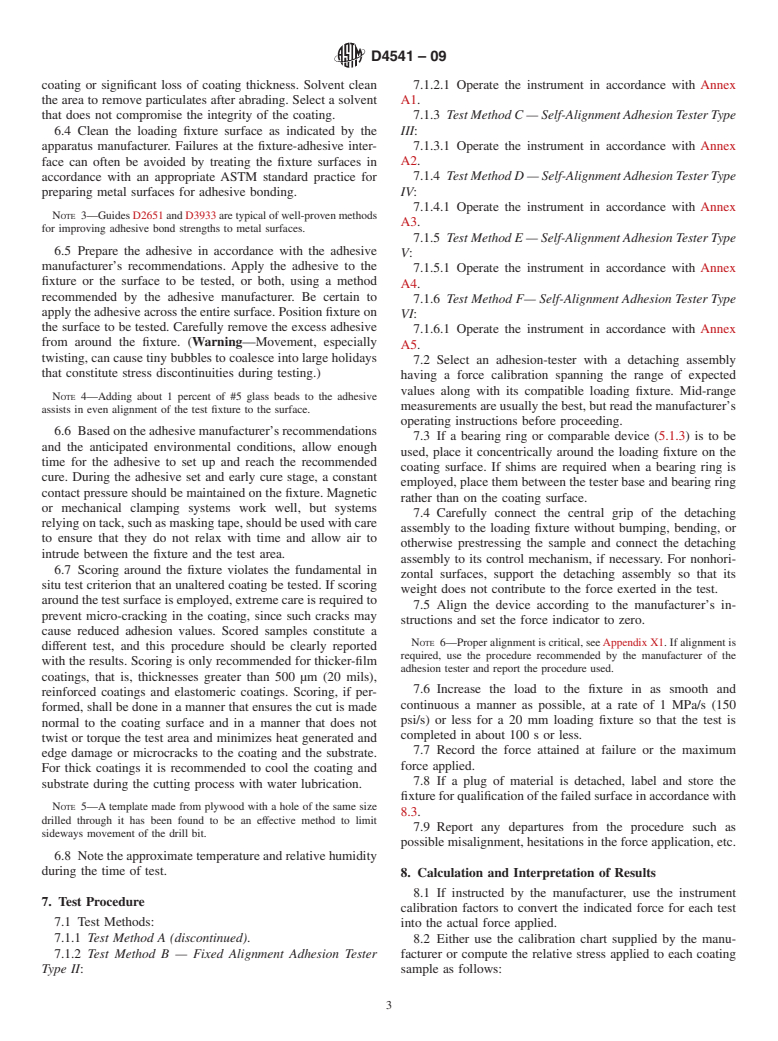
NOTE 2—Method A, which appeared in previous versions of this
standard, has been eliminated as its main use is for testing on concrete E691 Practice for Conducting an Interlaboratory Study to
substrates (see Test Method D7234).
Determine the Precision of a Test Method
2.2 ANSI Standard:
1.3 This test method uses a class of apparatus known as
5
2
N512 Protective Coatings (Paints) for the Nuclear Industry
portable pull-off adhesion testers. They are capable of apply-
2.3 ISO Standard:
ing a concentric load and counter load to a single surface so
5
ISO 4624 Paints and Varnish—Pull-Off Test for Adhesion
that coatings can be tested even though only one side is
1 3
This test method is under the jurisdiction of ASTM Committee D01 on Paint For referenced ASTM standards, visit the ASTM website, www.astm.org, or
and Related Coatings, Materials, andApplications and is the direct responsibility of contact ASTM Customer Service at service@astm.org. For Annual Book of ASTM
Subcommittee D01.46 on Industrial Protective Coatings. Standards volume information, refer to the standard’s Document Summary page on
Current edition approved Feb. 1, 2009. Published April 2009. Originally the ASTM website.
4
approved in 1993. Last previous edition approved in 2002 as D4541 – 02. DOI: Withdrawn. The last approved version of this historical standard is referenced
10.1520/D4541-09. on www.astm.org.
2 5
The term adhesion tester may be somewhat of a misnomer, but its adoption by Available fromAmerican National Standards Institute (ANSI), 25 W. 43rd St.,
two manufacturers and at least two patents indicates continued usage. 4th Floor, New York, NY 10036, http://www.ansi.org.
*A Summary of Changes section appears at the end of this standard.
Copyright © ASTM International, 100 Barr Harbor Drive, PO Box C700, West Conshohocken, PA 19428-29
...
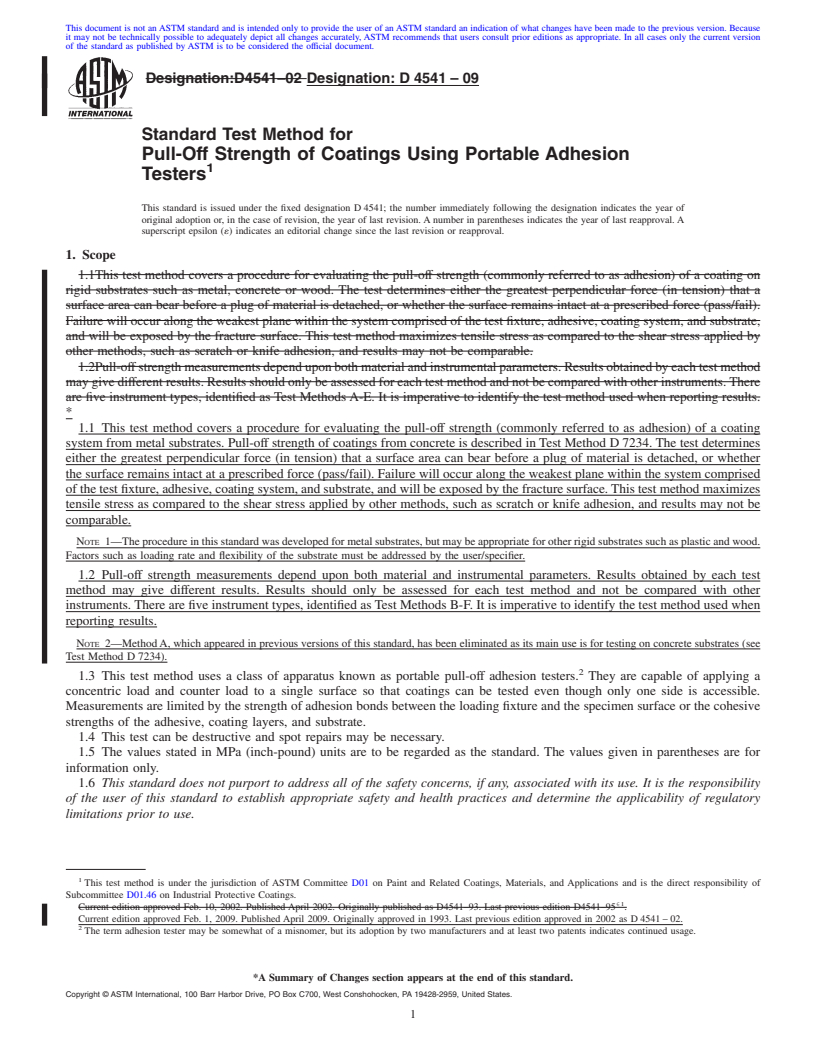
This document is not anASTM standard and is intended only to provide the user of anASTM standard an indication of what changes have been made to the previous version. Because
it may not be technically possible to adequately depict all changes accurately, ASTM recommends that users consult prior editions as appropriate. In all cases only the current version
of the standard as published by ASTM is to be considered the official document.
Designation:D4541–02 Designation:D4541–09
Standard Test Method for
Pull-Off Strength of Coatings Using Portable Adhesion
1
Testers
This standard is issued under the fixed designation D 4541; the number immediately following the designation indicates the year of
original adoption or, in the case of revision, the year of last revision. A number in parentheses indicates the year of last reapproval. A
superscript epsilon (´) indicates an editorial change since the last revision or reapproval.
1. Scope
1.1This test method covers a procedure for evaluating the pull-off strength (commonly referred to as adhesion) of a coating on
rigid substrates such as metal, concrete or wood. The test determines either the greatest perpendicular force (in tension) that a
surface area can bear before a plug of material is detached, or whether the surface remains intact at a prescribed force (pass/fail).
Failure will occur along the weakest plane within the system comprised of the test fixture, adhesive, coating system, and substrate,
and will be exposed by the fracture surface. This test method maximizes tensile stress as compared to the shear stress applied by
other methods, such as scratch or knife adhesion, and results may not be comparable.
1.2Pull-offstrengthmeasurementsdependuponbothmaterialandinstrumentalparameters.Resultsobtainedbyeachtestmethod
maygivedifferentresults.Resultsshouldonlybeassessedforeachtestmethodandnotbecomparedwithotherinstruments.There
are five instrument types, identified as Test MethodsA-E. It is imperative to identify the test method used when reporting results.
*
1.1 This test method covers a procedure for evaluating the pull-off strength (commonly referred to as adhesion) of a coating
system from metal substrates. Pull-off strength of coatings from concrete is described in Test Method D 7234. The test determines
either the greatest perpendicular force (in tension) that a surface area can bear before a plug of material is detached, or whether
the surface remains intact at a prescribed force (pass/fail). Failure will occur along the weakest plane within the system comprised
ofthetestfixture,adhesive,coatingsystem,andsubstrate,andwillbeexposedbythefracturesurface.Thistestmethodmaximizes
tensile stress as compared to the shear stress applied by other methods, such as scratch or knife adhesion, and results may not be
comparable.
NOTE 1—Theprocedureinthisstandardwasdevelopedformetalsubstrates,butmaybeappropriateforotherrigidsubstratessuchasplasticandwood.
Factors such as loading rate and flexibility of the substrate must be addressed by the user/specifier.
1.2 Pull-off strength measurements depend upon both material and instrumental parameters. Results obtained by each test
method may give different results. Results should only be assessed for each test method and not be compared with other
instruments.There are five instrument types, identified asTest Methods B-F. It is imperative to identify the test method used when
reporting results.
NOTE 2—MethodA, which appeared in previous versions of this standard, has been eliminated as its main use is for testing on concrete substrates (see
Test Method D 7234).
2
1.3 This test method uses a class of apparatus known as portable pull-off adhesion testers. They are capable of applying a
concentric load and counter load to a single surface so that coatings can be tested even though only one side is accessible.
Measurements are limited by the strength of adhesion bonds between the loading fixture and the specimen surface or the cohesive
strengths of the adhesive, coating layers, and substrate.
1.4 This test can be destructive and spot repairs may be necessary.
1.5 The values stated in MPa (inch-pound) units are to be regarded as the standard. The values given in parentheses are for
information only.
1.6 This standard does not purport to address all of the safety concerns, if any, associated with its use. It is the responsibility
of the user of this standard to establish appropriate safety and health practices and determine the applicability of regulatory
limitations prior to use.
1
This test method is under the jurisdiction of ASTM Committee D01 on Paint and Related Coatings, Materials, and Applications and is the direct responsibility of
Subcommittee D01.46 on Industrial Protective Coatings.
{1
Current edition approved Feb. 10, 2002. Published April 2002. Originally published as D4541–93. Last previous edition D4541–95 .
Current edition approved Feb. 1, 2009. Published April 2009. Originally approved in 1993. Last previous edition approved in
...


Questions, Comments and Discussion
Ask us and Technical Secretary will try to provide an answer. You can facilitate discussion about the standard in here.