ASTM E1268-19
(Practice)Standard Practice for Assessing the Degree of Banding or Orientation of Microstructures
Standard Practice for Assessing the Degree of Banding or Orientation of Microstructures
SIGNIFICANCE AND USE
5.1 This practice is used to assess the nature and extent of banding or orientation of microstructures of metals and other materials where deformation and processing produce a banded or oriented condition.
5.2 Banded or oriented microstructures can arise in single phase, two phase or multiphase metals and materials. The appearance of the orientation or banding is influenced by processing factors such as the solidification rate, the extent of segregation, the degree of hot or cold working, the nature of the deformation process used, the heat treatments, and so forth.
5.3 Microstructural banding or orientation influence the uniformity of mechanical properties determined in various test directions with respect to the deformation direction.
5.4 The stereological methods can be applied to measure the nature and extent of microstructural banding or orientation for any metal or material. The microindentation hardness test procedure should only be used to determine the difference in hardness in banded heat-treated metals, chiefly steels.
5.5 Isolated segregation may also be present in an otherwise reasonably homogeneous microstructure. Stereological methods are not suitable for measuring individual features, instead use standard measurement procedures to define the feature size. The microindentation hardness method may be used for such structures.
5.6 Results from these test methods may be used to qualify material for shipment in accordance with guidelines agreed upon between purchaser and manufacturer, for comparison of different manufacturing processes or process variations, or to provide data for structure-property-behavior studies.
SCOPE
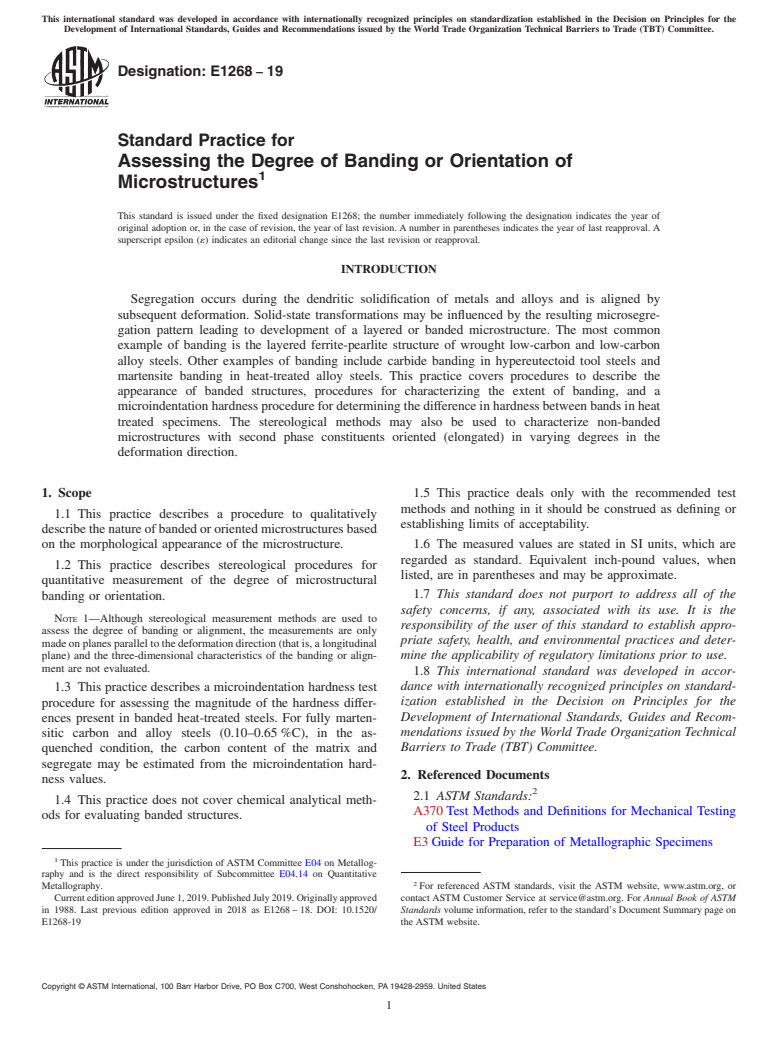
1.1 This practice describes a procedure to qualitatively describe the nature of banded or oriented microstructures based on the morphological appearance of the microstructure.
1.2 This practice describes stereological procedures for quantitative measurement of the degree of microstructural banding or orientation.
Note 1: Although stereological measurement methods are used to assess the degree of banding or alignment, the measurements are only made on planes parallel to the deformation direction (that is, a longitudinal plane) and the three-dimensional characteristics of the banding or alignment are not evaluated.
1.3 This practice describes a microindentation hardness test procedure for assessing the magnitude of the hardness differences present in banded heat-treated steels. For fully martensitic carbon and alloy steels (0.10–0.65 %C), in the as-quenched condition, the carbon content of the matrix and segregate may be estimated from the microindentation hardness values.
1.4 This practice does not cover chemical analytical methods for evaluating banded structures.
1.5 This practice deals only with the recommended test methods and nothing in it should be construed as defining or establishing limits of acceptability.
1.6 The measured values are stated in SI units, which are regarded as standard. Equivalent inch-pound values, when listed, are in parentheses and may be approximate.
1.7 This standard does not purport to address all of the safety concerns, if any, associated with its use. It is the responsibility of the user of this standard to establish appropriate safety, health, and environmental practices and determine the applicability of regulatory limitations prior to use.
1.8 This international standard was developed in accordance with internationally recognized principles on standardization established in the Decision on Principles for the Development of International Standards, Guides and Recommendations issued by the World Trade Organization Technical Barriers to Trade (TBT) Committee.
General Information
Relations
Buy Standard
Standards Content (Sample)
This international standard was developed in accordance with internationally recognized principles on standardization established in the Decision on Principles for the
Development of International Standards, Guides and Recommendations issued by the World Trade Organization Technical Barriers to Trade (TBT) Committee.
Designation: E1268 − 19
Standard Practice for
Assessing the Degree of Banding or Orientation of
1
Microstructures
This standard is issued under the fixed designation E1268; the number immediately following the designation indicates the year of
original adoption or, in the case of revision, the year of last revision.Anumber in parentheses indicates the year of last reapproval.A
superscript epsilon (´) indicates an editorial change since the last revision or reapproval.
INTRODUCTION
Segregation occurs during the dendritic solidification of metals and alloys and is aligned by
subsequent deformation. Solid-state transformations may be influenced by the resulting microsegre-
gation pattern leading to development of a layered or banded microstructure. The most common
example of banding is the layered ferrite-pearlite structure of wrought low-carbon and low-carbon
alloy steels. Other examples of banding include carbide banding in hypereutectoid tool steels and
martensite banding in heat-treated alloy steels. This practice covers procedures to describe the
appearance of banded structures, procedures for characterizing the extent of banding, and a
microindentationhardnessprocedurefordeterminingthedifferenceinhardnessbetweenbandsinheat
treated specimens. The stereological methods may also be used to characterize non-banded
microstructures with second phase constituents oriented (elongated) in varying degrees in the
deformation direction.
1. Scope 1.5 This practice deals only with the recommended test
methods and nothing in it should be construed as defining or
1.1 This practice describes a procedure to qualitatively
establishing limits of acceptability.
describethenatureofbandedororientedmicrostructuresbased
on the morphological appearance of the microstructure. 1.6 The measured values are stated in SI units, which are
regarded as standard. Equivalent inch-pound values, when
1.2 This practice describes stereological procedures for
listed, are in parentheses and may be approximate.
quantitative measurement of the degree of microstructural
1.7 This standard does not purport to address all of the
banding or orientation.
safety concerns, if any, associated with its use. It is the
NOTE 1—Although stereological measurement methods are used to
responsibility of the user of this standard to establish appro-
assess the degree of banding or alignment, the measurements are only
priate safety, health, and environmental practices and deter-
madeonplanesparalleltothedeformationdirection(thatis,alongitudinal
plane) and the three-dimensional characteristics of the banding or align- mine the applicability of regulatory limitations prior to use.
ment are not evaluated.
1.8 This international standard was developed in accor-
dance with internationally recognized principles on standard-
1.3 This practice describes a microindentation hardness test
ization established in the Decision on Principles for the
procedure for assessing the magnitude of the hardness differ-
Development of International Standards, Guides and Recom-
ences present in banded heat-treated steels. For fully marten-
mendations issued by the World Trade Organization Technical
sitic carbon and alloy steels (0.10–0.65%C), in the as-
Barriers to Trade (TBT) Committee.
quenched condition, the carbon content of the matrix and
segregate may be estimated from the microindentation hard-
2. Referenced Documents
ness values.
2
2.1 ASTM Standards:
1.4 This practice does not cover chemical analytical meth-
A370Test Methods and Definitions for Mechanical Testing
ods for evaluating banded structures.
of Steel Products
E3Guide for Preparation of Metallographic Specimens
1
This practice is under the jurisdiction of ASTM Committee E04 on Metallog-
raphy and is the direct responsibility of Subcommittee E04.14 on Quantitative
2
Metallography. For referenced ASTM standards, visit the ASTM website, www.astm.org, or
CurrenteditionapprovedJune1,2019.PublishedJuly2019.Originallyapproved contact ASTM Customer Service at service@astm.org. For Annual Book of ASTM
in 1988. Last previous edition approved in 2018 as E1268–18. DOI: 10.1520/ Standards volume information, refer to the standard’s Document Summary page on
E1268-19 the ASTM website.
Copyright © ASTM International, 100 Barr Harbor Drive, PO Box C700, West Conshohocken, PA 19428-2959. United States
1
---------------------- Page: 1 ----------------------
E1268 − 19
the whole field of view. Fig. 2 describes this classification using a
E7Terminology Relating to Metallography
qualitative description of the nature and extent of the banding or
E140Hardness Conversion Tables for Metals Relationship
orientation of microstructures.
Among B
...
This document is not an ASTM standard and is intended only to provide the user of an ASTM standard an indication of what changes have been made to the previous version. Because
it may not be technically possible to adequately depict all changes accurately, ASTM recommends that users consult prior editions as appropriate. In all cases only the current version
of the standard as published by ASTM is to be considered the official document.
Designation: E1268 − 18 E1268 − 19
Standard Practice for
Assessing the Degree of Banding or Orientation of
1
Microstructures
This standard is issued under the fixed designation E1268; the number immediately following the designation indicates the year of
original adoption or, in the case of revision, the year of last revision. A number in parentheses indicates the year of last reapproval. A
superscript epsilon (´) indicates an editorial change since the last revision or reapproval.
INTRODUCTION
Segregation occurs during the dendritic solidification of metals and alloys and is aligned by
subsequent deformation. Solid-state transformations may be influenced by the resulting microsegre-
gation pattern leading to development of a layered or banded microstructure. The most common
example of banding is the layered ferrite-pearlite structure of wrought low-carbon and low-carbon
alloy steels. Other examples of banding include carbide banding in hypereutectoid tool steels and
martensite banding in heat-treated alloy steels. This practice covers procedures to describe the
appearance of banded structures, procedures for characterizing the extent of banding, and a
microindentation hardness procedure for determining the difference in hardness between bands in heat
treated specimens. The stereological methods may also be used to characterize non-banded
microstructures with second phase constituents oriented (elongated) in varying degrees in the
deformation direction.
1. Scope
1.1 This practice describes a procedure to qualitatively describe the nature of banded or oriented microstructures based on the
morphological appearance of the microstructure.
1.2 This practice describes stereological procedures for quantitative measurement of the degree of microstructural banding or
orientation.
NOTE 1—Although stereological measurement methods are used to assess the degree of banding or alignment, the measurements are only made on
planes parallel to the deformation direction (that is, a longitudinal plane) and the three-dimensional characteristics of the banding or alignment are not
evaluated.
1.3 This practice describes a microindentation hardness test procedure for assessing the magnitude of the hardness differences
present in banded heat-treated steels. For fully martensitic carbon and alloy steels (0.10–0.65 %C), in the as-quenched condition,
the carbon content of the matrix and segregate may be estimated from the microindentation hardness values.
1.4 This standardpractice does not cover chemical analytical methods for evaluating banded structures.
1.5 This practice deals only with the recommended test methods and nothing in it should be construed as defining or establishing
limits of acceptability.
1.6 The measured values are stated in SI units, which are regarded as standard. Equivalent inch-pound values, when listed, are
in parentheses and may be approximate.
1.7 This standard does not purport to address all of the safety concerns, if any, associated with its use. It is the responsibility
of the user of this standard to establish appropriate safety, health, and environmental practices and determine the applicability of
regulatory limitations prior to use.
1.8 This international standard was developed in accordance with internationally recognized principles on standardization
established in the Decision on Principles for the Development of International Standards, Guides and Recommendations issued
by the World Trade Organization Technical Barriers to Trade (TBT) Committee.
1
This practice is under the jurisdiction of ASTM Committee E04 on Metallography and is the direct responsibility of Subcommittee E04.14 on Quantitative Metallography.
Current edition approved June 1, 2018June 1, 2019. Published March 2019July 2019. Originally approved in 1988. Last previous edition approved in 20162018 as
E1268 – 01E1268 – 18.(2016). DOI: 10.1520/E1268-1810.1520/E1268-19
Copyright © ASTM International, 100 Barr Harbor Drive, PO Box C700, West Conshohocken, PA 19428-2959. United States
1
---------------------- Page: 1 ----------------------
E1268 − 19
2. Referenced Documents
2
2.1 ASTM Standards:
A370 Test Methods and Definitions for Mechanical Testing of Steel Products
E3 Guide for Preparation of Metallographic Specimens
E7 Terminology Relating to Metallography
E140 Hardness Conversion Tables for Metals Relationship Among Brinell Hardness, Vickers Hardness, Rockwell Hardness,
Superficial Hardness, Knoop Hardness, Scleroscope Hardness, and Leeb Hardness
E384 Test Method for Microindentation Hardness of Mater
...


Questions, Comments and Discussion
Ask us and Technical Secretary will try to provide an answer. You can facilitate discussion about the standard in here.