ASTM D4417-11
(Test Method)Standard Test Methods for Field Measurement of Surface Profile of Blast Cleaned Steel
Standard Test Methods for Field Measurement of Surface Profile of Blast Cleaned Steel
SIGNIFICANCE AND USE
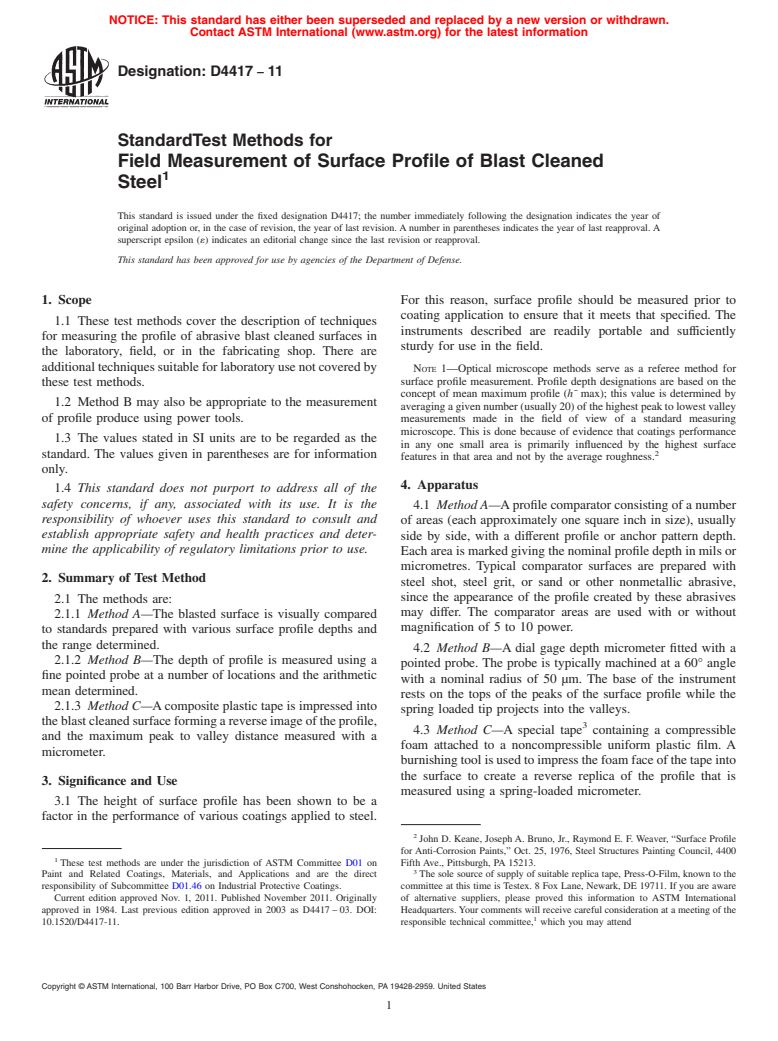
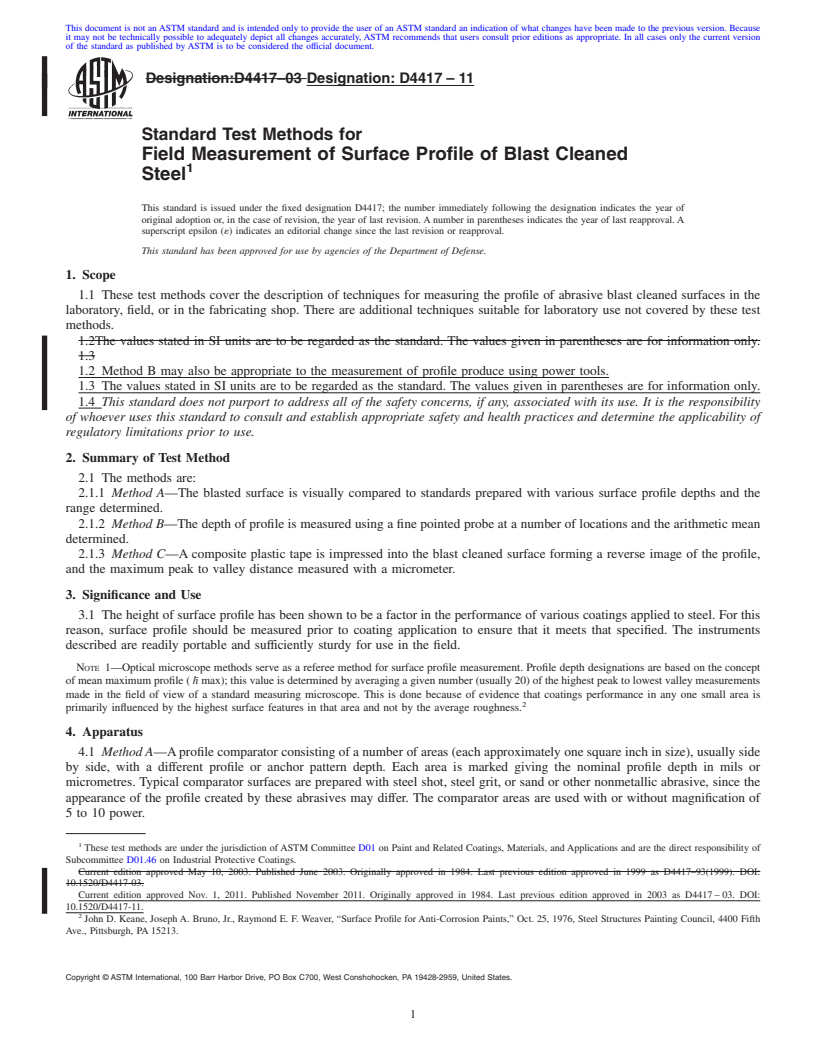
The height of surface profile has been shown to be a factor in the performance of various coatings applied to steel. For this reason, surface profile should be measured prior to coating application to ensure that it meets that specified. The instruments described are readily portable and sufficiently sturdy for use in the field.
Note 1—Optical microscope methods serve as a referee method for surface profile measurement. Profile depth designations are based on the concept of mean maximum profile ( h max); this value is determined by averaging a given number (usually 20) of the highest peak to lowest valley measurements made in the field of view of a standard measuring microscope. This is done because of evidence that coatings performance in any one small area is primarily influenced by the highest surface features in that area and not by the average roughness.
SCOPE
1.1 These test methods cover the description of techniques for measuring the profile of abrasive blast cleaned surfaces in the laboratory, field, or in the fabricating shop. There are additional techniques suitable for laboratory use not covered by these test methods.
1.2 Method B may also be appropriate to the measurement of profile produce using power tools.
1.3 The values stated in SI units are to be regarded as the standard. The values given in parentheses are for information only.
1.4 This standard does not purport to address all of the safety concerns, if any, associated with its use. It is the responsibility of whoever uses this standard to consult and establish appropriate safety and health practices and determine the applicability of regulatory limitations prior to use.
General Information
Relations
Buy Standard
Standards Content (Sample)
NOTICE: This standard has either been superseded and replaced by a new version or withdrawn.
Contact ASTM International (www.astm.org) for the latest information
Designation:D4417 −11
StandardTest Methods for
Field Measurement of Surface Profile of Blast Cleaned
1
Steel
This standard is issued under the fixed designation D4417; the number immediately following the designation indicates the year of
original adoption or, in the case of revision, the year of last revision. A number in parentheses indicates the year of last reapproval. A
superscript epsilon (´) indicates an editorial change since the last revision or reapproval.
This standard has been approved for use by agencies of the Department of Defense.
1. Scope For this reason, surface profile should be measured prior to
coating application to ensure that it meets that specified. The
1.1 These test methods cover the description of techniques
instruments described are readily portable and sufficiently
for measuring the profile of abrasive blast cleaned surfaces in
sturdy for use in the field.
the laboratory, field, or in the fabricating shop. There are
additionaltechniquessuitableforlaboratoryusenotcoveredby
NOTE 1—Optical microscope methods serve as a referee method for
surface profile measurement. Profile depth designations are based on the
these test methods.
concept of mean maximum profile (h¯ max); this value is determined by
1.2 Method B may also be appropriate to the measurement
averagingagivennumber(usually20)ofthehighestpeaktolowestvalley
of profile produce using power tools.
measurements made in the field of view of a standard measuring
microscope. This is done because of evidence that coatings performance
1.3 The values stated in SI units are to be regarded as the
in any one small area is primarily influenced by the highest surface
2
standard. The values given in parentheses are for information
features in that area and not by the average roughness.
only.
4. Apparatus
1.4 This standard does not purport to address all of the
safety concerns, if any, associated with its use. It is the
4.1 MethodA—Aprofile comparator consisting of a number
responsibility of whoever uses this standard to consult and
of areas (each approximately one square inch in size), usually
establish appropriate safety and health practices and deter-
side by side, with a different profile or anchor pattern depth.
mine the applicability of regulatory limitations prior to use.
Each area is marked giving the nominal profile depth in mils or
micrometres. Typical comparator surfaces are prepared with
2. Summary of Test Method
steel shot, steel grit, or sand or other nonmetallic abrasive,
since the appearance of the profile created by these abrasives
2.1 The methods are:
may differ. The comparator areas are used with or without
2.1.1 Method A—The blasted surface is visually compared
magnification of 5 to 10 power.
to standards prepared with various surface profile depths and
the range determined.
4.2 Method B—A dial gage depth micrometer fitted with a
2.1.2 Method B—The depth of profile is measured using a
pointed probe. The probe is typically machined at a 60° angle
fine pointed probe at a number of locations and the arithmetic
with a nominal radius of 50 µm. The base of the instrument
mean determined.
rests on the tops of the peaks of the surface profile while the
2.1.3 Method C—Acomposite plastic tape is impressed into
spring loaded tip projects into the valleys.
theblastcleanedsurfaceformingareverseimageoftheprofile,
3
4.3 Method C—A special tape containing a compressible
and the maximum peak to valley distance measured with a
foam attached to a noncompressible uniform plastic film. A
micrometer.
burnishingtoolisusedtoimpressthefoamfaceofthetapeinto
the surface to create a reverse replica of the profile that is
3. Significance and Use
measured using a spring-loaded micrometer.
3.1 The height of surface profile has been shown to be a
factor in the performance of various coatings applied to steel.
2
John D. Keane, Joseph A. Bruno, Jr., Raymond E. F. Weaver, “Surface Profile
for Anti-Corrosion Paints,” Oct. 25, 1976, Steel Structures Painting Council, 4400
1
These test methods are under the jurisdiction of ASTM Committee D01 on Fifth Ave., Pittsburgh, PA 15213.
3
Paint and Related Coatings, Materials, and Applications and are the direct The sole source of supply of suitable replica tape, Press-O-Film, known to the
responsibility of Subcommittee D01.46 on Industrial Protective Coatings. committee at this time is Testex. 8 Fox Lane, Newark, DE 19711. If you are aware
Current edition approved Nov. 1, 2011. Published November 2011. Originally of alternative suppliers, please proved this information to ASTM International
approved in 1984. Last previous edition approved in 2003 as D4417 – 03. DOI: Headquarters.Your comments will receive careful consideration at a meeting of the
1
10.1520/D4417-11. responsible technical committee, which you may attend
Copyright © ASTM International, 100 Barr Harbor Drive, PO Box C700
...
This document is not an ASTM standard and is intended only to provide the user of an ASTM standard an indication of what changes have been made to the previous version. Because
it may not be technically possible to adequately depict all changes accurately, ASTM recommends that users consult prior editions as appropriate. In all cases only the current version
of the standard as published by ASTM is to be considered the official document.
Designation:D4417–03 Designation: D4417 – 11
Standard Test Methods for
Field Measurement of Surface Profile of Blast Cleaned
1
Steel
This standard is issued under the fixed designation D4417; the number immediately following the designation indicates the year of
original adoption or, in the case of revision, the year of last revision. A number in parentheses indicates the year of last reapproval. A
superscript epsilon (´) indicates an editorial change since the last revision or reapproval.
This standard has been approved for use by agencies of the Department of Defense.
1. Scope
1.1 These test methods cover the description of techniques for measuring the profile of abrasive blast cleaned surfaces in the
laboratory, field, or in the fabricating shop. There are additional techniques suitable for laboratory use not covered by these test
methods.
1.2The values stated in SI units are to be regarded as the standard. The values given in parentheses are for information only.
1.3
1.2 Method B may also be appropriate to the measurement of profile produce using power tools.
1.3 The values stated in SI units are to be regarded as the standard. The values given in parentheses are for information only.
1.4 This standard does not purport to address all of the safety concerns, if any, associated with its use. It is the responsibility
of whoever uses this standard to consult and establish appropriate safety and health practices and determine the applicability of
regulatory limitations prior to use.
2. Summary of Test Method
2.1 The methods are:
2.1.1 Method A—The blasted surface is visually compared to standards prepared with various surface profile depths and the
range determined.
2.1.2 Method B—The depth of profile is measured using a fine pointed probe at a number of locations and the arithmetic mean
determined.
2.1.3 Method C—A composite plastic tape is impressed into the blast cleaned surface forming a reverse image of the profile,
and the maximum peak to valley distance measured with a micrometer.
3. Significance and Use
3.1 The height of surface profile has been shown to be a factor in the performance of various coatings applied to steel. For this
reason, surface profile should be measured prior to coating application to ensure that it meets that specified. The instruments
described are readily portable and sufficiently sturdy for use in the field.
NOTE 1—Optical microscope methods serve as a referee method for surface profile measurement. Profile depth designations are based on the concept
of mean maximum profile ( h¯ max); this value is determined by averaging a given number (usually 20) of the highest peak to lowest valley measurements
made in the field of view of a standard measuring microscope. This is done because of evidence that coatings performance in any one small area is
2
primarily influenced by the highest surface features in that area and not by the average roughness.
4. Apparatus
4.1 Method A—Aprofile comparator consisting of a number of areas (each approximately one square inch in size), usually side
by side, with a different profile or anchor pattern depth. Each area is marked giving the nominal profile depth in mils or
micrometres. Typical comparator surfaces are prepared with steel shot, steel grit, or sand or other nonmetallic abrasive, since the
appearance of the profile created by these abrasives may differ. The comparator areas are used with or without magnification of
5 to 10 power.
1
These test methods are under the jurisdiction of ASTM Committee D01 on Paint and Related Coatings, Materials, and Applications and are the direct responsibility of
Subcommittee D01.46 on Industrial Protective Coatings.
Current edition approved May 10, 2003. Published June 2003. Originally approved in 1984. Last previous edition approved in 1999 as D4417–93(1999). DOI:
10.1520/D4417-03.
Current edition approved Nov. 1, 2011. Published November 2011. Originally approved in 1984. Last previous edition approved in 2003 as D4417 – 03. DOI:
10.1520/D4417-11.
2
John D. Keane, Joseph A. Bruno, Jr., Raymond E. F. Weaver, “Surface Profile for Anti-Corrosion Paints,” Oct. 25, 1976, Steel Structures Painting Council, 4400 Fifth
Ave., Pittsburgh, PA 15213.
Copyright © ASTM International, 100 Barr Harbor Drive, PO Box C700, West Conshohocken, PA 19428-2959, United States.
1
---------------------- Page: 1 ----------------------
D4417 – 11
4.2 Method B—Adial gage depth micrometer fitted with a pointed probe. The probe is typically machined at a 60° angle with
a nominal radius of 50 µm. The base of the instrument rest
...


Questions, Comments and Discussion
Ask us and Technical Secretary will try to provide an answer. You can facilitate discussion about the standard in here.