ISO/R 583-3:1970
(Main)Title missing - Legacy paper document
Title missing - Legacy paper document
General Information
Relations
Standards Content (Sample)
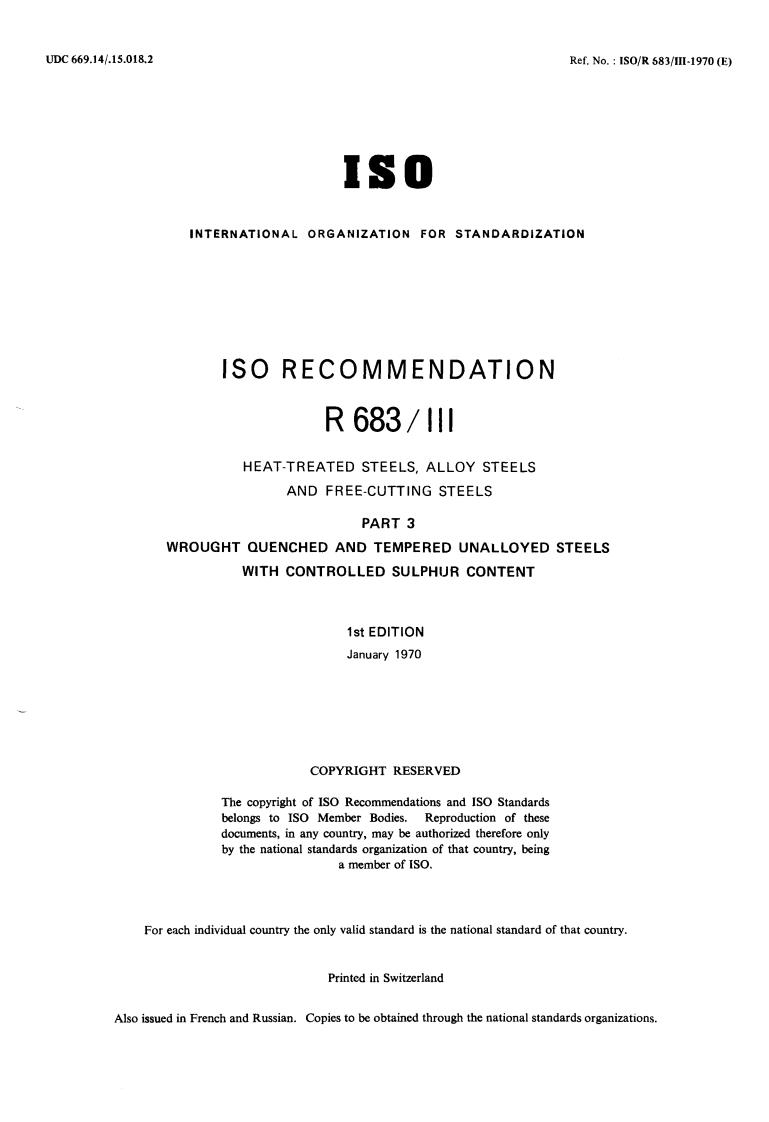
UDC 669.14/.15.018.2
Ref. No. : ISO/R 583/III-1970 (E)
IS0
I NT E RN AT I ON A L ORGAN I Z AT I O N FOR STAND AR D 1 ZATl O N
IS0 RECOMMENDATION
R 683/ 111
HEAT-TREATED STEELS, ALLOY STEELS
AND FREE-CUTTING STEELS
PART 3
WROUGHT QUENCHED AND TEMPERED UNALLOYED STEELS
WITH CONTROLLED SULPHlJR CONTENT
1st EDITION
January 1970
COPYRIGHT RESERVED
The copyright of IS0 Recommendations and IS0 Standards
belongs to IS0 Member Bodies. Reproduction of these
documents, in any country, may be authorized therefore only
by the national standards organization of that country, being
a member of ISO.
For each individual country the only valid standard is the national standard of that country.
Printed in Switzerland
Also issued in French and Russian. Copies to be obtained through the national standards organizations,
---------------------- Page: 1 ----------------------
-3-
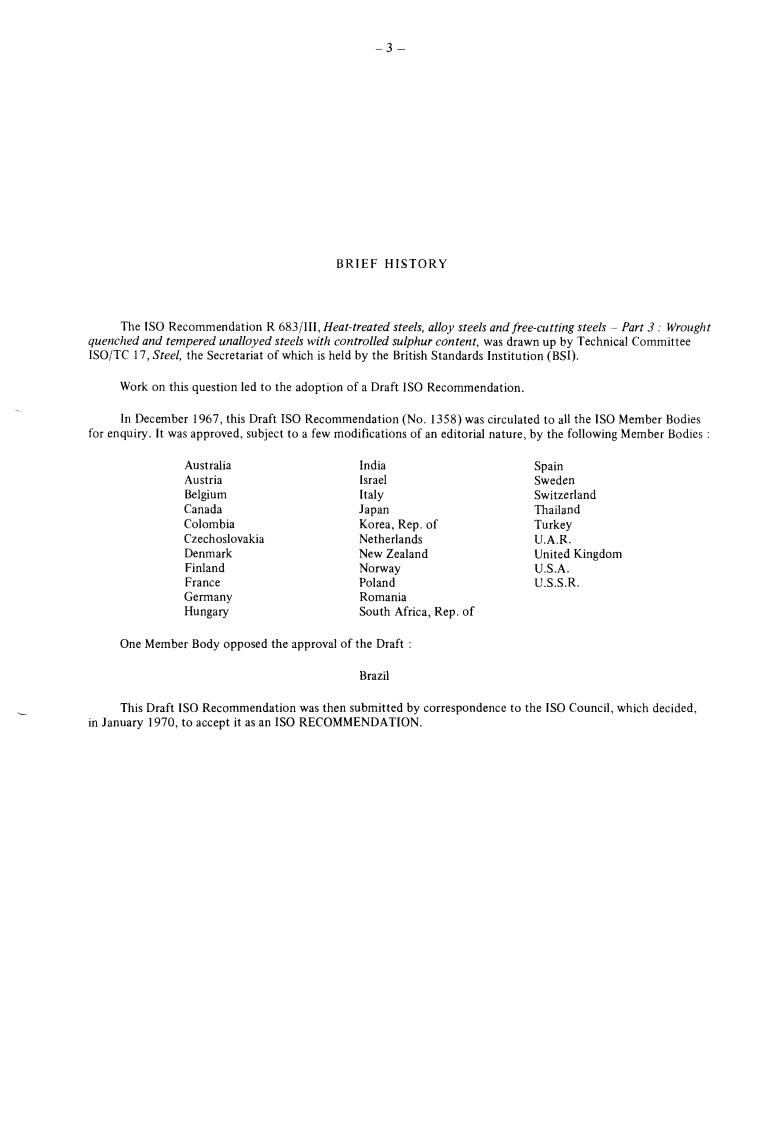
BRIEF HISTORY
The IS0 Recommendation R 683/III, Heat-treated steels, alloy steels and free-cutting steels - Part 3 : Wrought
quenched and tempered unalloyed steels with controlled sulphur content, was drawn up by Technical Committee
ISO/TC 17, Steel, the Secretariat of which is held by the British Standards Institution (BSI).
Work on this question led to the adoption of a Draft IS0 Recommendation.
In December 1967, this Draft IS0 Recommendation (No. 1358) was circulated to all the IS0 Member Bodies
for enquiry. It was approved, subject to a few modifications of an editorial nature, by the following Member Bodies :
Australia India Spain
Austria Israel Sweden
Belgium Italy Switzerland
Canada Japan Thailand
Colombia Korea, Rep. of Turkey
Czechoslovakia Netherlands U.A.R.
Denmark New Zealand United Kingdom
Finland Norway U.S.A.
France
Poland U.S.S.R.
Germany Romania
Hungary South Africa, Rep. of
One Member Body opposed the approval of the Draft :
Brazil
This Draft IS0 Recommendation was then submitted by correspondence to the IS0 Council, which decided,
in January 1970, to accept it as an IS0 RECOMMENDATION.
---------------------- Page: 2 ----------------------
-5- ISO/R 683/111-1970 (E)
IS0 Recommendation R 683/111 January 1970
HEAT-TREATED STEELS, ALLOY STEELS
AND FREE-CUTTING STEELS
PART 3
WROUGHT QUENCHED AND TEMPERED UNALLOYED STEELS
WITH CONTROLLED SULPHUR CONTENT
1. SCOPE
1.1 This IS0 Recommendation covers unalloyed wrought steels with controlled sulphur content for mechan-
ical purposes usually intended for use
in the quenched and tempered condition, or
(a)
(b) in the austempered condition,
with or without subsequent cold reduction.
1.2 For the purpose of simplification the steels covered by this IS0 Recommendation in both conditions are
called “quenched and tempered steels”, and both conditions are summarized under the term “quenched
and tempered”.
1.3 This IS0 Recommendation comprises the two series of steels listed in Table 2, which differ from the steels
covered by IS0 Recommendation R 68311, Heat-treated steels, allo-y steels and free-cutting steels - Part 1 :
Quenched and tempered unalloyed steels, in their sulphur contents to improve the machinability .
2. REQUIREMENTS
2.1 Production processes
Unless otherwise agreed in the order, the processes used in making the steel and the product are left to the
discretion of the manufacturer, but the steel should be killed. When he so requests, the user should be
informed what steelmaking process is being used.
2.2 Chemical composition and mechanical properties
2.2.1 The steels covered by this IS0 Recommendation should be ordered and delivered in accordance with
Table 1.
TABLE 1 - Types of condition of delivery
Types of condition of delivery*
I I
Requirements
Chemical composition
Hardness in a condition of delivery other
than quenched and tempered
Mechanical properties of
- quenched and tempered test bars of
16 mm diameter
- quenched and tempered ruling
sections
- quenched and tempered product in
final dimensions
- quenched and tempered product
subsequently cold-reduced to final
dimensions
*
The numbers indicating the type of condition of delivery follow a co-ordinated series of numbers throughout all relevant
IS0 Recommendations.
The type of condition of delivery according to Table 1 should be stated at the time of enquiry and order.
---------------------- Page: 3 ----------------------
-6- ISO/R 683/111-1970 (E)
2.2.2 The chemical composition expressed by the cast analysis should be in accordance with Table 2.
TABLE 2 - Types of steel and chemical composition guaranteed (applicable to cast analysis)*
TY Pe
C%
Si % Mn%
of steel
C 25 ea
0.1 5 to 0.40
0.22 to 0.29 0.40 to 0.70 0.035
0.030 to 0.050
C 30 ea
0.27 to 0.34 0.15 to 0.40 0.50 to 0.80 0.035
C 30eb
C 35 ea
0.32 to 0.39 0.15 to 0.40 0.50 to 0.80
0.035
C 35 eb
-
C 40 ea
1 0.37 to 0.44 0.15 to 0.40 0.50 to 0.80 0.035
C 40 eb
C 45 ea
- 0.42 to 0.50 0.15 to 0.40 0.50 to 0.80 0.035
C 45 eb
0.020 to 0.035
C 50 ea
0.035
0.47 to 0.55 0.15 to 0.40 0.60 to 0.90
C 50 eb
0.035 0.020 to 0.035
0.52 to 0.60 1 0.15 to 0.40 0.60 to 0.90
0.030 to 0.050
C 55 eb
C 60 ea
0.15 to 0.40 0.60 to 0.90
0.57 to 0.65
*
Elements not quoted in Table 2 should not be intentionally added to the steel without the agreement of the purchaser,
other than for the purpose of finishing the heat. Ail reasonable precautions should be taken to prevent the addition of
such elements, from scrap or other materials used in manufacture, which affect the mechanical properties and applicability.
If ordered to condition of delivery type 1 or l(a) (see Table l), the following deviations between
2.2.2.1
the values specified in Table 2 and the product analysis of products up to 160 mm (6.3 in)
diameter should apply. Above 160 mm (6.3 in) diameter, the permissible deviations should be
stated at the time of enquiry and order.
TABLE 3 - Permissible deviations between specified analysis and product analysis
Permissible deviations*
Type of steel
C% Si % S%
C 25 eaand C 25 eb f 0.02
C 30 ea and C 30 eb
C 35 ea andC 35 eb
f 0.04 + 0.005 f 0.005
C 40 ea and C 40 eb f 0.03 f 0.03
C 45 ea and C 45 eb
C50eaandC50eb
C 55 ea and C 55 eb
f 0.04
C 60 ea and C 60 eb
*
f means that in one cast the deviation may occur over the upper value or under the lower value of the specified range in
2 but not both at the same time.
Table
I-{
1-1
1-1
1-1
---------------------- Page: 4 ----------------------
ISO/R 683/111-1970 (E)
-7-
2.2.2.2 If ordered to condition of delivery types 3,3(a), 4,4(a), 5 and 6, the mechanical properties
specified in Table 4 and Table 5 should be the governing criteria for acceptance. In such cases, the
cast analysis may deviate slightly from the values shown in Table 2.
2.2.3 If specified, the mechanical properties should be those shown in Table 4 or Table 5.
2.2.3.1
The values apply to test pieces, taken on rounds in the direction of the metal fibre, the axis of the
test piece corresponding to Figure 1.
2.2.3.2 For rectangular sections, the ranges for equivalent diameters are given in Figure 2.
For other sections, the equivalent diameter should be agreed at the time of enquiry and order.
2.2.3.3
2.2.4 The mechanical properties in the quenched and tempered conditions as given in Table 4 are those which
can be obtained for one of the conditions given below :
For a reference test bar of 16 mm diameter, taken from the product to be delivered either by
(1)
machining from a location according to Figure 1 or by forging, and then quenched and tempered
according to the temperatures and times listed in Table 7 (types of condition of delivery 3 and
3(a) of Table 1).
For a ruling section*, to be specified at the time of enquiry and order, which is quenched and
(2)
tempered according to the temperatures listed in Table 7 (types of condition of delivery 4 and
4(a) of Table 1).
For location of the test bar, see clause 3.2.1.
For the product in the quenched and tempered condition of delivery (type of condition of delivery 5
(3)
of Table 1).
For location of the test bar, see clause 3.2.1.
2.2.5 The mechanical properties in the quenched and tempered and subsequently cold-reduced condition as
given in Table 5 may be agreed for the product to be delivered in this condition (type of condition of
delivery 6 of Table 1).
For location of the test bar, see clause 3.2.1.
2.2.6 If the products are delivered in a condition other than quenched and tempered, with or without
subsequent cold reduction, a maximum hardness in accordance with Table 6, measured after preparation
of the surface in the c
...


Questions, Comments and Discussion
Ask us and Technical Secretary will try to provide an answer. You can facilitate discussion about the standard in here.