ASTM G195-13a
(Guide)Standard Guide for Conducting Wear Tests Using a Rotary Platform Abraser
Standard Guide for Conducting Wear Tests Using a Rotary Platform Abraser
SIGNIFICANCE AND USE
5.1 This test guide provides a means to quantify the abrasion resistance of material surfaces, and may be related to end-use performance, or used to comparatively rank material performance, or both. The resistance of material surfaces to abrasion, as measured on a testing machine in the laboratory, is generally only one of several factors contributing to wear performance as experienced in the actual use of the material. Other factors may need to be considered in any calculation of predicted life from specific abrasion data.
5.2 The resistance of material surfaces to abrasion may be affected by factors including test conditions; type of abradant; pressure between the specimen and abradant; mounting or tension of the specimen; and type, kind, or amount of finishing materials.
5.3 Abrasion tests utilizing the rotary platform abraser may be subject to variation due to changes in the abradant during the course of specific tests. Depending on abradant type and test specimen, the abrading wheel surface may change (that is, become clogged) due to the pick-up of finishing or other materials from test specimens. To reduce this variation, the abrading wheels should be resurfaced at regularly defined intervals. See Appendix X2.
5.4 The measurement of the relative amount of abrasion may be affected by the method of evaluation and influenced by the judgment of the operator.
SCOPE
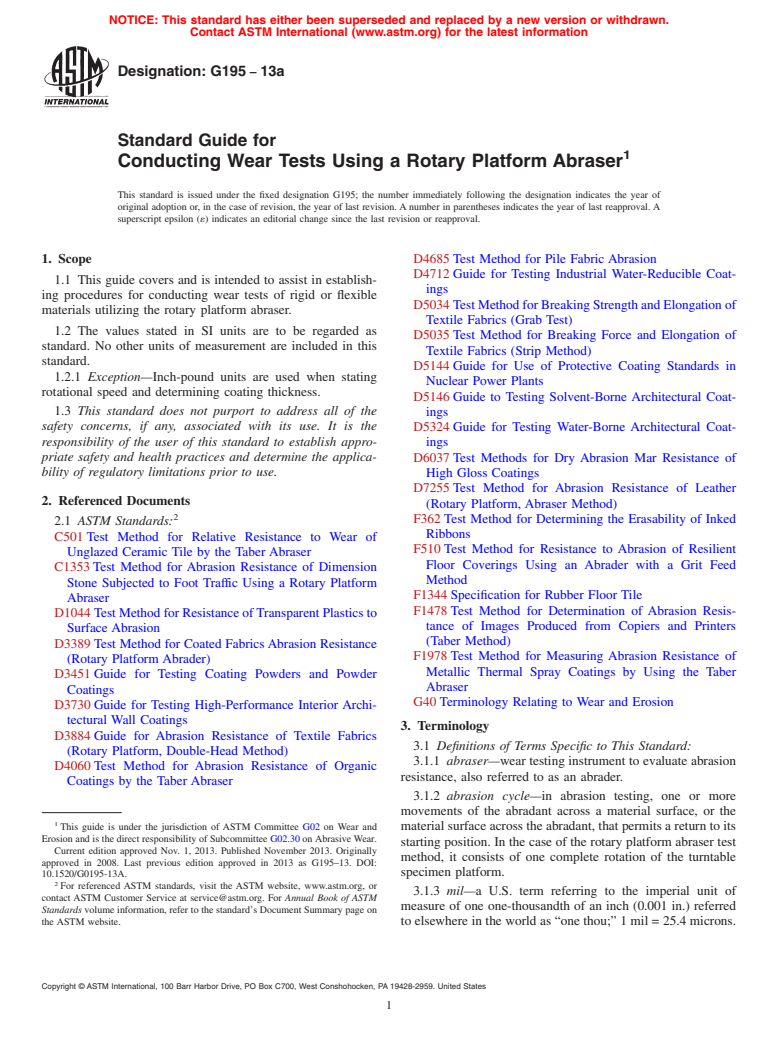
1.1 This guide covers and is intended to assist in establishing procedures for conducting wear tests of rigid or flexible materials utilizing the rotary platform abraser.
1.2 The values stated in SI units are to be regarded as standard. No other units of measurement are included in this standard.
1.2.1 Exception—Inch-pound units are used when stating rotational speed and determining coating thickness.
1.3 This standard does not purport to address all of the safety concerns, if any, associated with its use. It is the responsibility of the user of this standard to establish appropriate safety and health practices and determine the applicability of regulatory limitations prior to use.
General Information
Relations
Buy Standard
Standards Content (Sample)
NOTICE: This standard has either been superseded and replaced by a new version or withdrawn.
Contact ASTM International (www.astm.org) for the latest information
Designation: G195 − 13a
Standard Guide for
1
Conducting Wear Tests Using a Rotary Platform Abraser
This standard is issued under the fixed designation G195; the number immediately following the designation indicates the year of
original adoption or, in the case of revision, the year of last revision. A number in parentheses indicates the year of last reapproval. A
superscript epsilon (´) indicates an editorial change since the last revision or reapproval.
1. Scope D4685 Test Method for Pile Fabric Abrasion
D4712 Guide for Testing Industrial Water-Reducible Coat-
1.1 This guide covers and is intended to assist in establish-
ings
ing procedures for conducting wear tests of rigid or flexible
D5034 TestMethodforBreakingStrengthandElongationof
materials utilizing the rotary platform abraser.
Textile Fabrics (Grab Test)
1.2 The values stated in SI units are to be regarded as
D5035 Test Method for Breaking Force and Elongation of
standard. No other units of measurement are included in this
Textile Fabrics (Strip Method)
standard.
D5144 Guide for Use of Protective Coating Standards in
1.2.1 Exception—Inch-pound units are used when stating
Nuclear Power Plants
rotational speed and determining coating thickness.
D5146 Guide to Testing Solvent-Borne Architectural Coat-
1.3 This standard does not purport to address all of the
ings
safety concerns, if any, associated with its use. It is the D5324 Guide for Testing Water-Borne Architectural Coat-
responsibility of the user of this standard to establish appro-
ings
priate safety and health practices and determine the applica- D6037 Test Methods for Dry Abrasion Mar Resistance of
bility of regulatory limitations prior to use.
High Gloss Coatings
D7255 Test Method for Abrasion Resistance of Leather
2. Referenced Documents
(Rotary Platform, Abraser Method)
2
F362 Test Method for Determining the Erasability of Inked
2.1 ASTM Standards:
Ribbons
C501 Test Method for Relative Resistance to Wear of
F510 Test Method for Resistance to Abrasion of Resilient
Unglazed Ceramic Tile by the Taber Abraser
Floor Coverings Using an Abrader with a Grit Feed
C1353 Test Method for Abrasion Resistance of Dimension
Method
Stone Subjected to Foot Traffic Using a Rotary Platform
F1344 Specification for Rubber Floor Tile
Abraser
F1478 Test Method for Determination of Abrasion Resis-
D1044 Test Method for Resistance ofTransparent Plastics to
tance of Images Produced from Copiers and Printers
Surface Abrasion
(Taber Method)
D3389 Test Method for Coated FabricsAbrasion Resistance
F1978 Test Method for Measuring Abrasion Resistance of
(Rotary Platform Abrader)
Metallic Thermal Spray Coatings by Using the Taber
D3451 Guide for Testing Coating Powders and Powder
Abraser
Coatings
G40 Terminology Relating to Wear and Erosion
D3730 Guide for Testing High-Performance Interior Archi-
tectural Wall Coatings
3. Terminology
D3884 Guide for Abrasion Resistance of Textile Fabrics
3.1 Definitions of Terms Specific to This Standard:
(Rotary Platform, Double-Head Method)
3.1.1 abraser—wear testing instrument to evaluate abrasion
D4060 Test Method for Abrasion Resistance of Organic
resistance, also referred to as an abrader.
Coatings by the Taber Abraser
3.1.2 abrasion cycle—in abrasion testing, one or more
movements of the abradant across a material surface, or the
1
This guide is under the jurisdiction of ASTM Committee G02 on Wear and
material surface across the abradant, that permits a return to its
Erosion and is the direct responsibility of Subcommittee G02.30 on Abrasive Wear.
starting position. In the case of the rotary platform abraser test
Current edition approved Nov. 1, 2013. Published November 2013. Originally
method, it consists of one complete rotation of the turntable
approved in 2008. Last previous edition approved in 2013 as G195–13. DOI:
specimen platform.
10.1520/G0195-13A.
2
For referenced ASTM standards, visit the ASTM website, www.astm.org, or
3.1.3 mil—a U.S. term referring to the imperial unit of
contact ASTM Customer Service at service@astm.org. For Annual Book of ASTM
measure of one one-thousandth of an inch (0.001 in.) referred
Standards volume information, refer to the standard’s Document Summary page on
the ASTM website. to elsewhere in the world as “one thou;” 1 mil = 25.4 microns.
Copyright © ASTM International, 100 Barr Harbor Drive, PO Box C700, West Conshohocken, PA 19428-2959. United States
1
---------------------- Page: 1 ----------------------
G195 − 13a
3.1.4 resurface—procedure of cleaning and refreshing the Other factors may need to be considered in any calculation of
running surface of an abrasive wheel prior to use or during predicted life from specific abrasion data.
testing.
5.2 The resistance of material surfaces to abrasion may be
3.2 For definitions of other wear terms used in this guide,
affected by factors inclu
...
This document is not an ASTM standard and is intended only to provide the user of an ASTM standard an indication of what changes have been made to the previous version. Because
it may not be technically possible to adequately depict all changes accurately, ASTM recommends that users consult prior editions as appropriate. In all cases only the current version
of the standard as published by ASTM is to be considered the official document.
Designation: G195 − 13 G195 − 13a
Standard Guide for
1
Conducting Wear Tests Using a Rotary Platform Abraser
This standard is issued under the fixed designation G195; the number immediately following the designation indicates the year of
original adoption or, in the case of revision, the year of last revision. A number in parentheses indicates the year of last reapproval. A
superscript epsilon (´) indicates an editorial change since the last revision or reapproval.
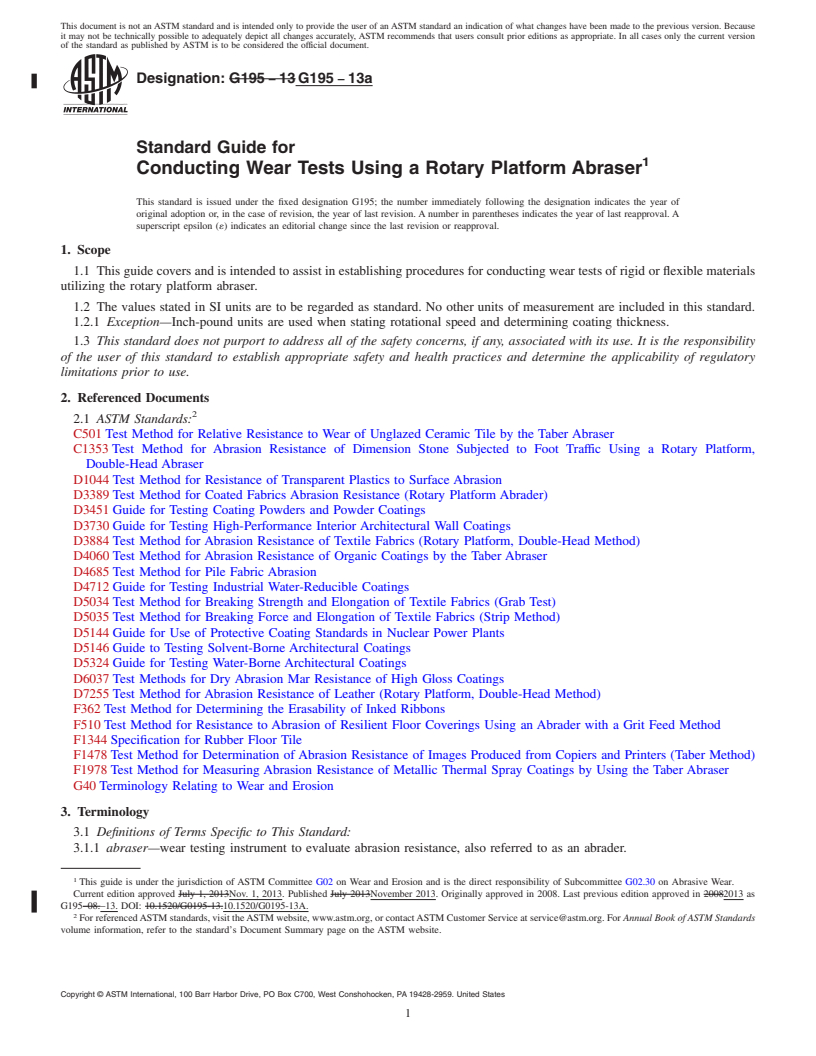
1. Scope
1.1 This guide covers and is intended to assist in establishing procedures for conducting wear tests of rigid or flexible materials
utilizing the rotary platform abraser.
1.2 The values stated in SI units are to be regarded as standard. No other units of measurement are included in this standard.
1.2.1 Exception—Inch-pound units are used when stating rotational speed and determining coating thickness.
1.3 This standard does not purport to address all of the safety concerns, if any, associated with its use. It is the responsibility
of the user of this standard to establish appropriate safety and health practices and determine the applicability of regulatory
limitations prior to use.
2. Referenced Documents
2
2.1 ASTM Standards:
C501 Test Method for Relative Resistance to Wear of Unglazed Ceramic Tile by the Taber Abraser
C1353 Test Method for Abrasion Resistance of Dimension Stone Subjected to Foot Traffic Using a Rotary Platform,
Double-Head Abraser
D1044 Test Method for Resistance of Transparent Plastics to Surface Abrasion
D3389 Test Method for Coated Fabrics Abrasion Resistance (Rotary Platform Abrader)
D3451 Guide for Testing Coating Powders and Powder Coatings
D3730 Guide for Testing High-Performance Interior Architectural Wall Coatings
D3884 Test Method for Abrasion Resistance of Textile Fabrics (Rotary Platform, Double-Head Method)
D4060 Test Method for Abrasion Resistance of Organic Coatings by the Taber Abraser
D4685 Test Method for Pile Fabric Abrasion
D4712 Guide for Testing Industrial Water-Reducible Coatings
D5034 Test Method for Breaking Strength and Elongation of Textile Fabrics (Grab Test)
D5035 Test Method for Breaking Force and Elongation of Textile Fabrics (Strip Method)
D5144 Guide for Use of Protective Coating Standards in Nuclear Power Plants
D5146 Guide to Testing Solvent-Borne Architectural Coatings
D5324 Guide for Testing Water-Borne Architectural Coatings
D6037 Test Methods for Dry Abrasion Mar Resistance of High Gloss Coatings
D7255 Test Method for Abrasion Resistance of Leather (Rotary Platform, Double-Head Method)
F362 Test Method for Determining the Erasability of Inked Ribbons
F510 Test Method for Resistance to Abrasion of Resilient Floor Coverings Using an Abrader with a Grit Feed Method
F1344 Specification for Rubber Floor Tile
F1478 Test Method for Determination of Abrasion Resistance of Images Produced from Copiers and Printers (Taber Method)
F1978 Test Method for Measuring Abrasion Resistance of Metallic Thermal Spray Coatings by Using the Taber Abraser
G40 Terminology Relating to Wear and Erosion
3. Terminology
3.1 Definitions of Terms Specific to This Standard:
3.1.1 abraser—wear testing instrument to evaluate abrasion resistance, also referred to as an abrader.
1
This guide is under the jurisdiction of ASTM Committee G02 on Wear and Erosion and is the direct responsibility of Subcommittee G02.30 on Abrasive Wear.
Current edition approved July 1, 2013Nov. 1, 2013. Published July 2013November 2013. Originally approved in 2008. Last previous edition approved in 20082013 as
G195–08.–13. DOI: 10.1520/G0195-13.10.1520/G0195-13A.
2
For referenced ASTM standards, visit the ASTM website, www.astm.org, or contact ASTM Customer Service at service@astm.org. For Annual Book of ASTM Standards
volume information, refer to the standard’s Document Summary page on the ASTM website.
Copyright © ASTM International, 100 Barr Harbor Drive, PO Box C700, West Conshohocken, PA 19428-2959. United States
1
---------------------- Page: 1 ----------------------
G195 − 13a
3.1.2 abrasion cycle—in abrasion testing, one or more movements of the abradant across a material surface, or the material
surface across the abradant, that permits a return to its starting position. In the case of the rotary platform abraser test method, it
consists of one complete rotation of the turntable specimen platform.
3.1.3 mil—a U.S. term referring to the imperial unit of measure of one one-thousandth of an inch (0.001 in.) referred to
elsewhere in the world as “one thou;” 1 mil = 25.4 microns.
3.1.4 resurface—procedu
...


Questions, Comments and Discussion
Ask us and Technical Secretary will try to provide an answer. You can facilitate discussion about the standard in here.