ASTM E2903-18
(Test Method)Standard Test Method for Measurement of the Effective Focal Spot Size of Mini and Micro Focus X-ray Tubes
Standard Test Method for Measurement of the Effective Focal Spot Size of Mini and Micro Focus X-ray Tubes
SIGNIFICANCE AND USE
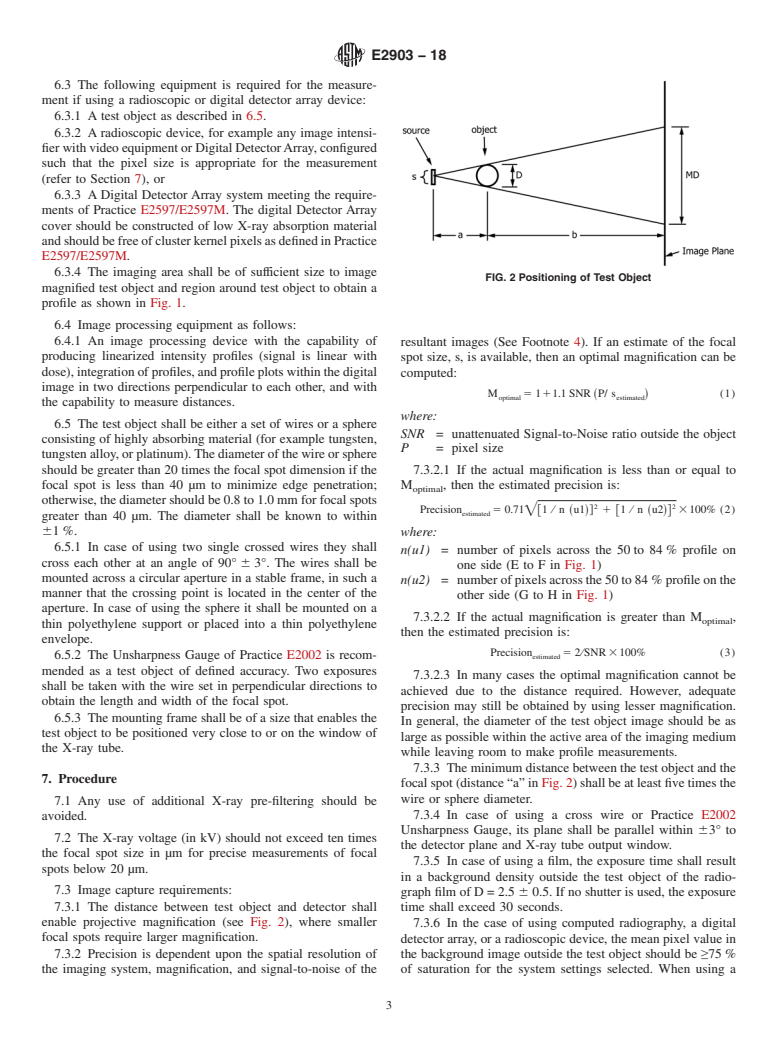
5.1 One of the factors affecting the image quality of a radiographic image is geometric unsharpness. The degree of geometric unsharpness is dependent upon the focal spot size of the radiation source, the distance between the source and the object to be radiographed, the distance between the object to be radiographed and the image plane (film, imaging plate, Digital Detector Array (DDA), or radioscopic detector). This test method allows the user to determine the effective focal spot size (dimensions) of the X-ray source. This result can then be used to establish source to object and object to image detector distances appropriate for maintaining the desired degree of geometric unsharpness or maximum magnification possible, or both, for a given radiographic imaging application. The accuracy of this method is dependent upon the spatial resolution of the imaging system, magnification, and signal-to-noise of the resultant images.
SCOPE
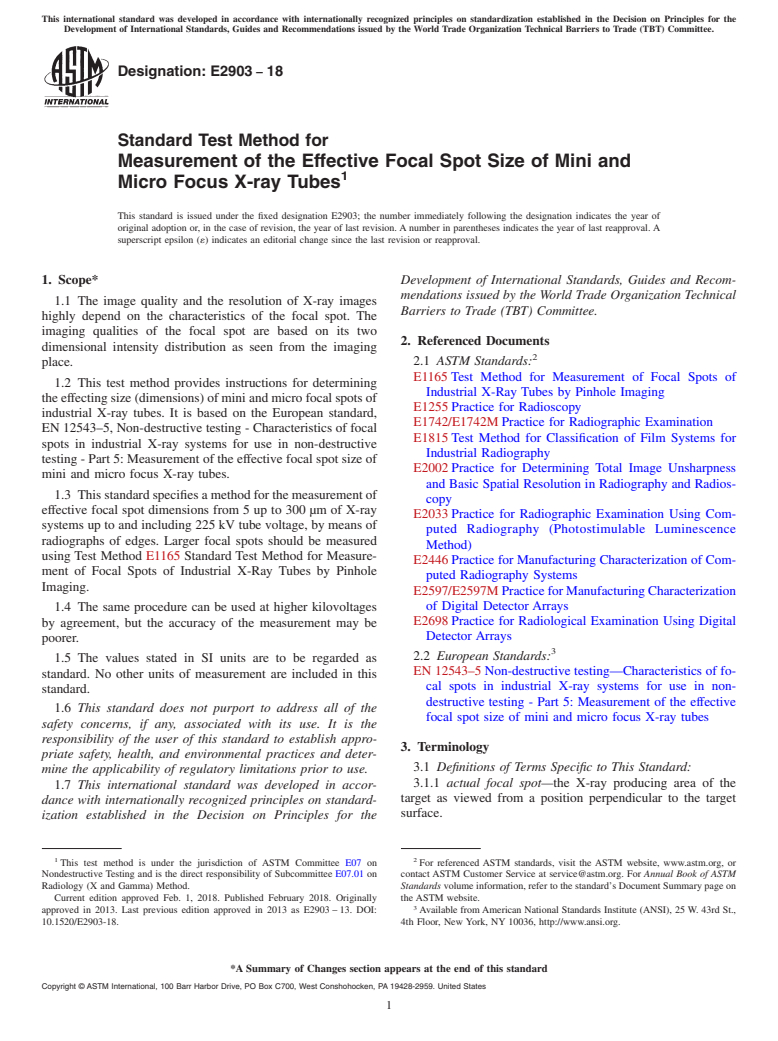
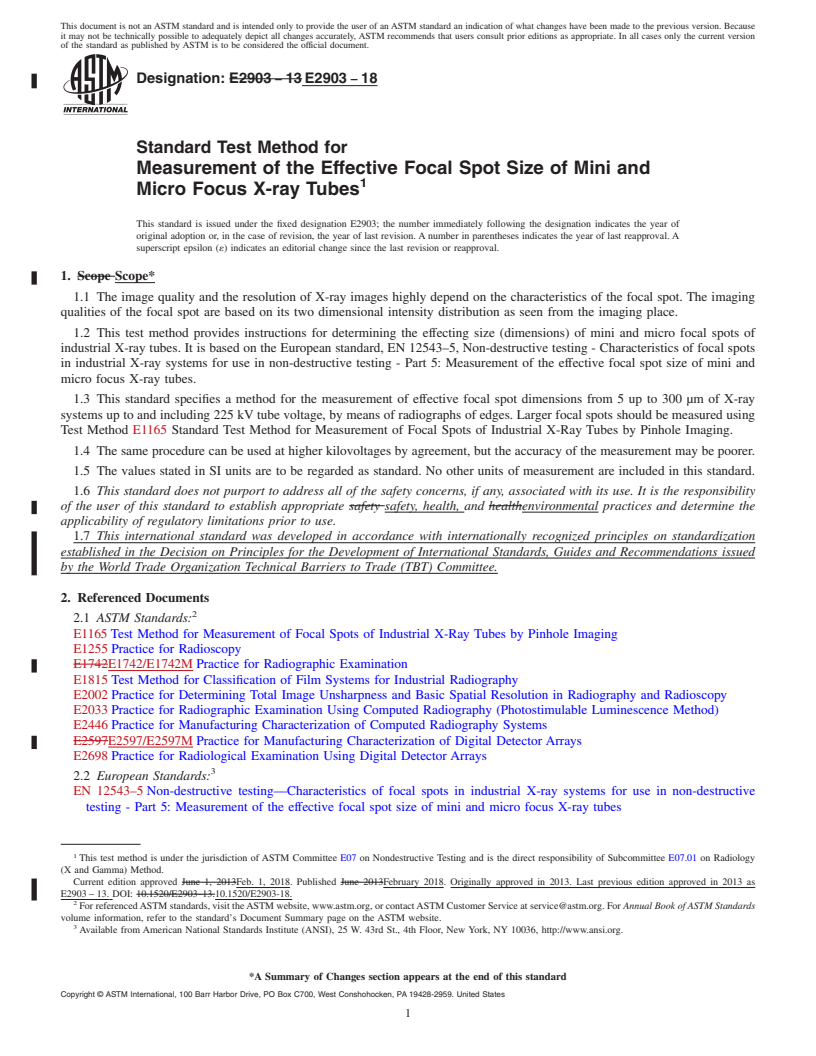
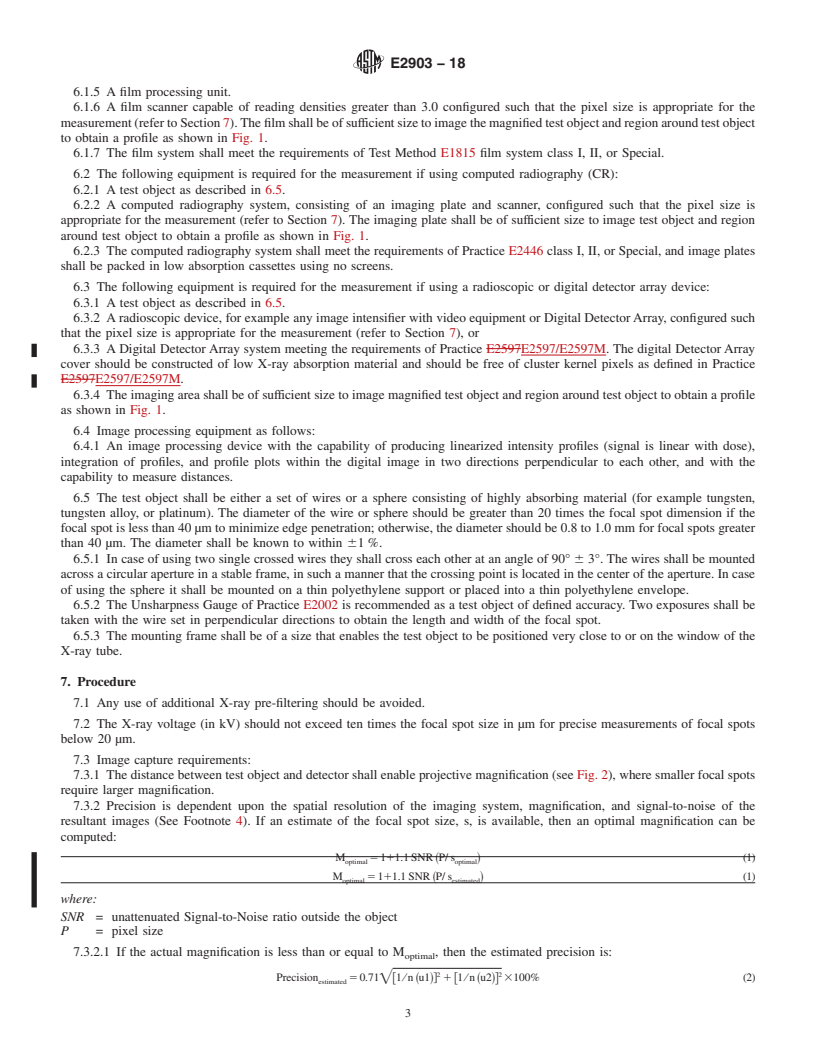
1.1 The image quality and the resolution of X-ray images highly depend on the characteristics of the focal spot. The imaging qualities of the focal spot are based on its two dimensional intensity distribution as seen from the imaging place.
1.2 This test method provides instructions for determining the effecting size (dimensions) of mini and micro focal spots of industrial X-ray tubes. It is based on the European standard, EN 12543–5, Non-destructive testing - Characteristics of focal spots in industrial X-ray systems for use in non-destructive testing - Part 5: Measurement of the effective focal spot size of mini and micro focus X-ray tubes.
1.3 This standard specifies a method for the measurement of effective focal spot dimensions from 5 up to 300 μm of X-ray systems up to and including 225 kV tube voltage, by means of radiographs of edges. Larger focal spots should be measured using Test Method E1165 Standard Test Method for Measurement of Focal Spots of Industrial X-Ray Tubes by Pinhole Imaging.
1.4 The same procedure can be used at higher kilovoltages by agreement, but the accuracy of the measurement may be poorer.
1.5 The values stated in SI units are to be regarded as standard. No other units of measurement are included in this standard.
1.6 This standard does not purport to address all of the safety concerns, if any, associated with its use. It is the responsibility of the user of this standard to establish appropriate safety, health, and environmental practices and determine the applicability of regulatory limitations prior to use.
1.7 This international standard was developed in accordance with internationally recognized principles on standardization established in the Decision on Principles for the Development of International Standards, Guides and Recommendations issued by the World Trade Organization Technical Barriers to Trade (TBT) Committee.
General Information
Relations
Buy Standard
Standards Content (Sample)
This international standard was developed in accordance with internationally recognized principles on standardization established in the Decision on Principles for the
Development of International Standards, Guides and Recommendations issued by the World Trade Organization Technical Barriers to Trade (TBT) Committee.
Designation: E2903 −18
Standard Test Method for
Measurement of the Effective Focal Spot Size of Mini and
1
Micro Focus X-ray Tubes
This standard is issued under the fixed designation E2903; the number immediately following the designation indicates the year of
original adoption or, in the case of revision, the year of last revision. A number in parentheses indicates the year of last reapproval. A
superscript epsilon (´) indicates an editorial change since the last revision or reapproval.
1. Scope* Development of International Standards, Guides and Recom-
mendations issued by the World Trade Organization Technical
1.1 The image quality and the resolution of X-ray images
Barriers to Trade (TBT) Committee.
highly depend on the characteristics of the focal spot. The
imaging qualities of the focal spot are based on its two
2. Referenced Documents
dimensional intensity distribution as seen from the imaging
2
place. 2.1 ASTM Standards:
E1165 Test Method for Measurement of Focal Spots of
1.2 This test method provides instructions for determining
Industrial X-Ray Tubes by Pinhole Imaging
theeffectingsize(dimensions)ofminiandmicrofocalspotsof
E1255 Practice for Radioscopy
industrial X-ray tubes. It is based on the European standard,
E1742/E1742M Practice for Radiographic Examination
EN 12543–5, Non-destructive testing - Characteristics of focal
E1815 Test Method for Classification of Film Systems for
spots in industrial X-ray systems for use in non-destructive
Industrial Radiography
testing - Part 5: Measurement of the effective focal spot size of
E2002 Practice for Determining Total Image Unsharpness
mini and micro focus X-ray tubes.
and Basic Spatial Resolution in Radiography and Radios-
1.3 Thisstandardspecifiesamethodforthemeasurementof
copy
effective focal spot dimensions from 5 up to 300 µm of X-ray
E2033 Practice for Radiographic Examination Using Com-
systems up to and including 225 kV tube voltage, by means of
puted Radiography (Photostimulable Luminescence
radiographs of edges. Larger focal spots should be measured
Method)
using Test Method E1165 Standard Test Method for Measure-
E2446 Practice for Manufacturing Characterization of Com-
ment of Focal Spots of Industrial X-Ray Tubes by Pinhole
puted Radiography Systems
Imaging.
E2597/E2597M PracticeforManufacturingCharacterization
of Digital Detector Arrays
1.4 The same procedure can be used at higher kilovoltages
E2698 Practice for Radiological Examination Using Digital
by agreement, but the accuracy of the measurement may be
Detector Arrays
poorer.
3
2.2 European Standards:
1.5 The values stated in SI units are to be regarded as
EN 12543–5 Non-destructive testing—Characteristics of fo-
standard. No other units of measurement are included in this
cal spots in industrial X-ray systems for use in non-
standard.
destructive testing - Part 5: Measurement of the effective
1.6 This standard does not purport to address all of the
focal spot size of mini and micro focus X-ray tubes
safety concerns, if any, associated with its use. It is the
responsibility of the user of this standard to establish appro-
3. Terminology
priate safety, health, and environmental practices and deter-
3.1 Definitions of Terms Specific to This Standard:
mine the applicability of regulatory limitations prior to use.
3.1.1 actual focal spot—the X-ray producing area of the
1.7 This international standard was developed in accor-
target as viewed from a position perpendicular to the target
dance with internationally recognized principles on standard-
surface.
ization established in the Decision on Principles for the
1 2
This test method is under the jurisdiction of ASTM Committee E07 on For referenced ASTM standards, visit the ASTM website, www.astm.org, or
Nondestructive Testing and is the direct responsibility of Subcommittee E07.01 on contact ASTM Customer Service at service@astm.org. For Annual Book of ASTM
Radiology (X and Gamma) Method. Standards volume information, refer to the standard’s Document Summary page on
Current edition approved Feb. 1, 2018. Published February 2018. Originally the ASTM website.
3
approved in 2013. Last previous edition approved in 2013 as E2903 – 13. DOI: Available fromAmerican National Standards Institute (ANSI), 25 W. 43rd St.,
10.1520/E2903-18. 4th Floor, New York, NY 10036, http://www.ansi.org.
*A Summary of Changes section appears at the end of this standard
Copyright © ASTM International, 100 Barr Harbor Drive, PO Box C700, West Conshohocken, PA 19428-2959. United States
1
---------------------- Page: 1 ----------------------
E2903 − 18
3.1.2 effective focal spot—the X-ray producing area of the 6. Apparatus
target as viewed from the image pl
...
This document is not an ASTM standard and is intended only to provide the user of an ASTM standard an indication of what changes have been made to the previous version. Because
it may not be technically possible to adequately depict all changes accurately, ASTM recommends that users consult prior editions as appropriate. In all cases only the current version
of the standard as published by ASTM is to be considered the official document.
Designation: E2903 − 13 E2903 − 18
Standard Test Method for
Measurement of the Effective Focal Spot Size of Mini and
1
Micro Focus X-ray Tubes
This standard is issued under the fixed designation E2903; the number immediately following the designation indicates the year of
original adoption or, in the case of revision, the year of last revision. A number in parentheses indicates the year of last reapproval. A
superscript epsilon (´) indicates an editorial change since the last revision or reapproval.
1. Scope Scope*
1.1 The image quality and the resolution of X-ray images highly depend on the characteristics of the focal spot. The imaging
qualities of the focal spot are based on its two dimensional intensity distribution as seen from the imaging place.
1.2 This test method provides instructions for determining the effecting size (dimensions) of mini and micro focal spots of
industrial X-ray tubes. It is based on the European standard, EN 12543–5, Non-destructive testing - Characteristics of focal spots
in industrial X-ray systems for use in non-destructive testing - Part 5: Measurement of the effective focal spot size of mini and
micro focus X-ray tubes.
1.3 This standard specifies a method for the measurement of effective focal spot dimensions from 5 up to 300 μm of X-ray
systems up to and including 225 kV tube voltage, by means of radiographs of edges. Larger focal spots should be measured using
Test Method E1165 Standard Test Method for Measurement of Focal Spots of Industrial X-Ray Tubes by Pinhole Imaging.
1.4 The same procedure can be used at higher kilovoltages by agreement, but the accuracy of the measurement may be poorer.
1.5 The values stated in SI units are to be regarded as standard. No other units of measurement are included in this standard.
1.6 This standard does not purport to address all of the safety concerns, if any, associated with its use. It is the responsibility
of the user of this standard to establish appropriate safety safety, health, and healthenvironmental practices and determine the
applicability of regulatory limitations prior to use.
1.7 This international standard was developed in accordance with internationally recognized principles on standardization
established in the Decision on Principles for the Development of International Standards, Guides and Recommendations issued
by the World Trade Organization Technical Barriers to Trade (TBT) Committee.
2. Referenced Documents
2
2.1 ASTM Standards:
E1165 Test Method for Measurement of Focal Spots of Industrial X-Ray Tubes by Pinhole Imaging
E1255 Practice for Radioscopy
E1742E1742/E1742M Practice for Radiographic Examination
E1815 Test Method for Classification of Film Systems for Industrial Radiography
E2002 Practice for Determining Total Image Unsharpness and Basic Spatial Resolution in Radiography and Radioscopy
E2033 Practice for Radiographic Examination Using Computed Radiography (Photostimulable Luminescence Method)
E2446 Practice for Manufacturing Characterization of Computed Radiography Systems
E2597E2597/E2597M Practice for Manufacturing Characterization of Digital Detector Arrays
E2698 Practice for Radiological Examination Using Digital Detector Arrays
3
2.2 European Standards:
EN 12543–5 Non-destructive testing—Characteristics of focal spots in industrial X-ray systems for use in non-destructive
testing - Part 5: Measurement of the effective focal spot size of mini and micro focus X-ray tubes
1
This test method is under the jurisdiction of ASTM Committee E07 on Nondestructive Testing and is the direct responsibility of Subcommittee E07.01 on Radiology
(X and Gamma) Method.
Current edition approved June 1, 2013Feb. 1, 2018. Published June 2013February 2018. Originally approved in 2013. Last previous edition approved in 2013 as
E2903 – 13. DOI: 10.1520/E2903–13.10.1520/E2903-18.
2
For referenced ASTM standards, visit the ASTM website, www.astm.org, or contact ASTM Customer Service at service@astm.org. For Annual Book of ASTM Standards
volume information, refer to the standard’s Document Summary page on the ASTM website.
3
Available from American National Standards Institute (ANSI), 25 W. 43rd St., 4th Floor, New York, NY 10036, http://www.ansi.org.
*A Summary of Changes section appears at the end of this standard
Copyright © ASTM International, 100 Barr Harbor Drive, PO Box C700, West Conshohocken, PA 19428-2959. United States
1
---------------------- Page: 1 ----------------------
E2903 − 18
3. Terminology
3.1 Definitions of Terms Specific to This Standard:
3.1.1 actual focal spot—the X-
...


Questions, Comments and Discussion
Ask us and Technical Secretary will try to provide an answer. You can facilitate discussion about the standard in here.